Embedded Files
The ibooks we will create this unit tell the stories of a Western boy discovering cultures around the world. Each book (and each group) will focus on one country, and you will navigate its culture alongside the little boy who is visiting his native friend. Together, they learn to greet others, buy food, travel the city/countryside, and celebrate the country's festival. Each page will include your graphics plus animation and other special features such as vocabulary pop-ups. Should your ibook be chosen for publication, you will have the opportunity to teach children about your assigned country, so find that value in your work and imagine the lasting educational effects of your project.
Use color schemes in your designs.
- Partners
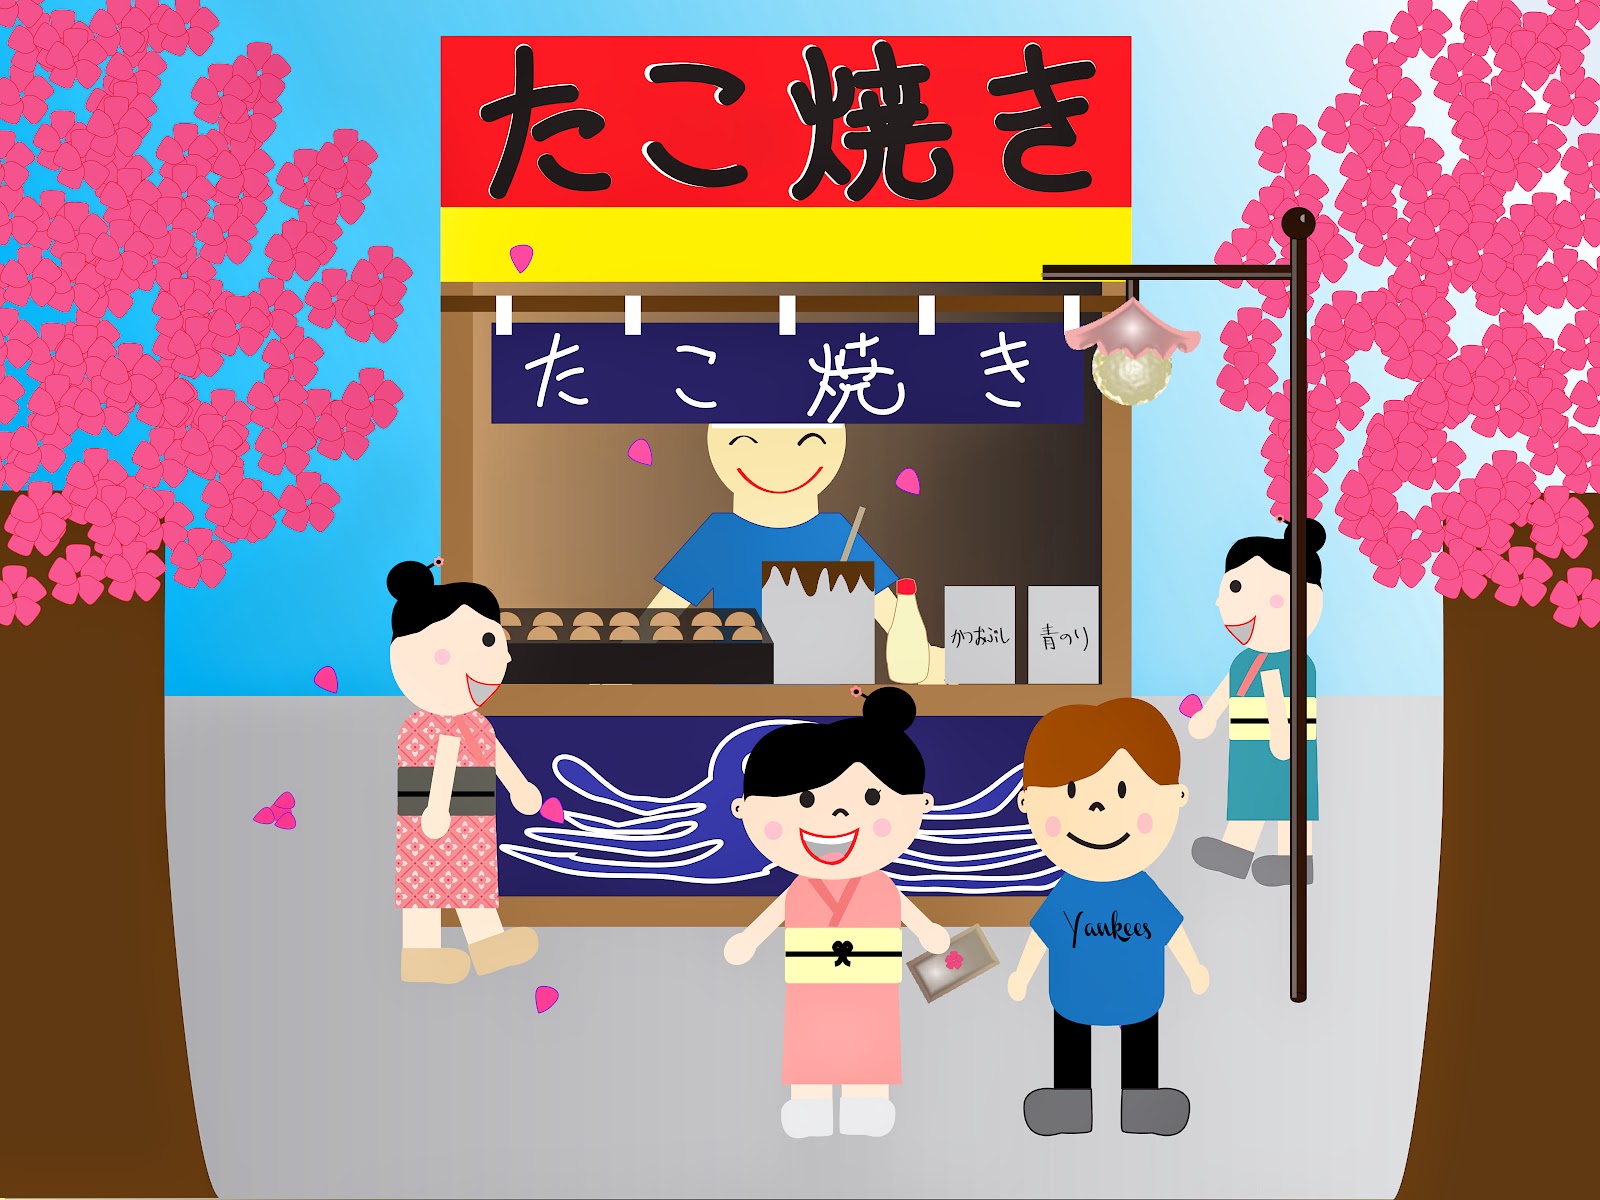
- In class you will be assigned a partner and a country for your iBook. One partner will create a local character for this checkpoint and the other partner create a background based off of the festival for that country.
- Now, open AI and create a document and use the same AI dimensions.
- Character
- If you are in the character group, create a boy or girl who is about 12 and the same ethnicity of your group's country. Make sure to make the character in AI and place parts of the body you want to move in different layers. When finished, export as PNG and post to WP and the link to the spreadsheet.
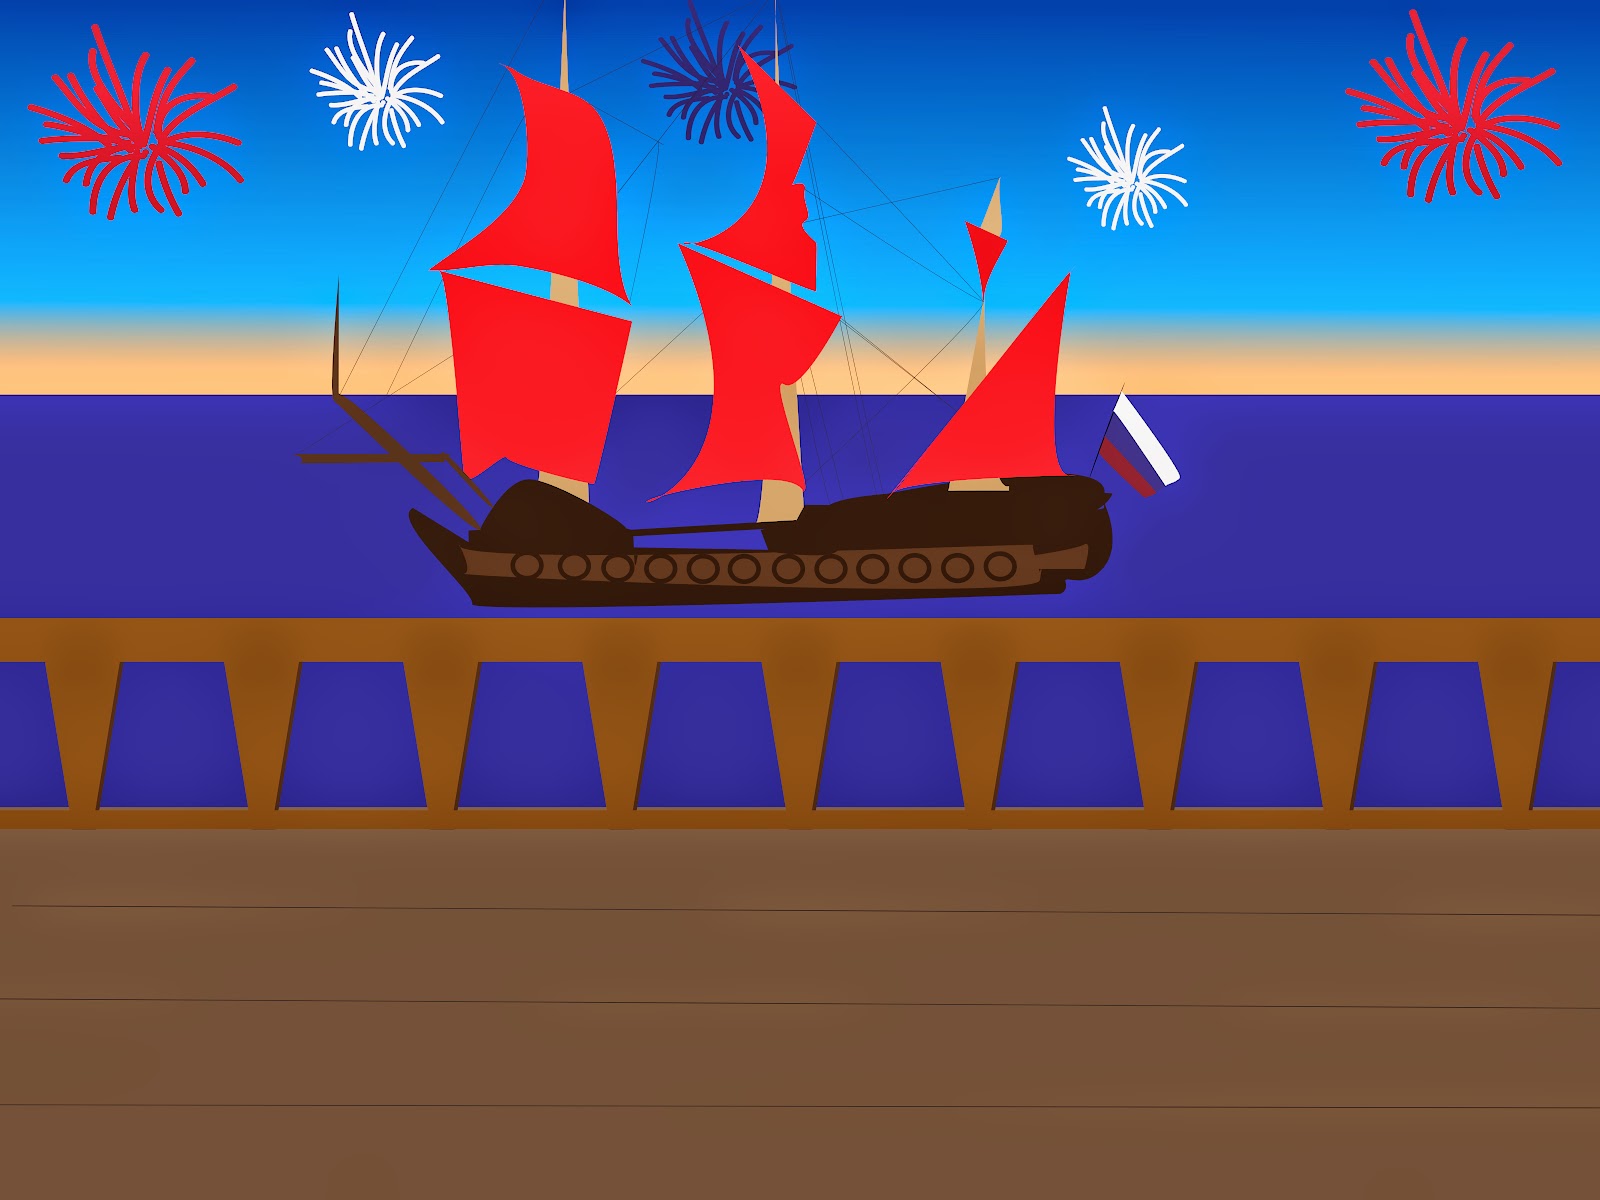
- Backgrounds
- If you are in the background group, create one of the backgrounds for the festival of your country. Export as JPG and post to WP to the MF Picasa Album and the link to the spreadsheet.
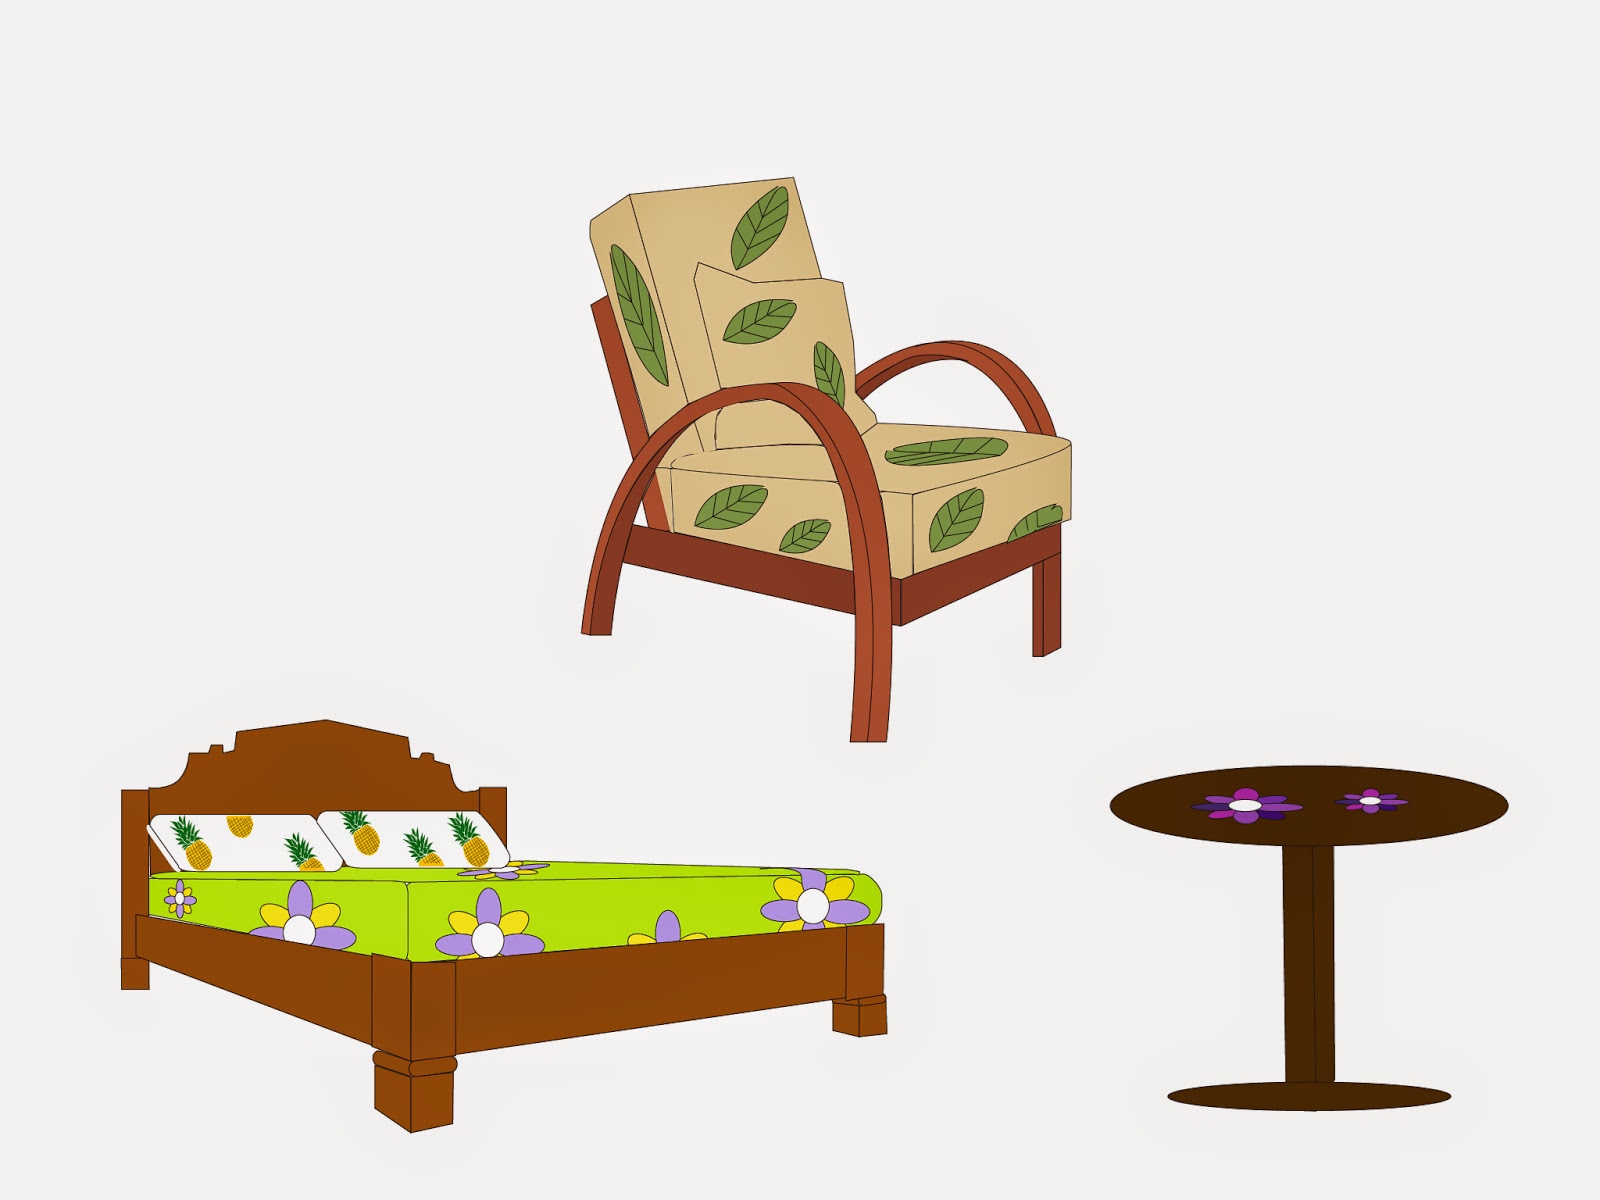
- Rooms
- Refer to the partner spreadsheet.
- Partner A
- Work on creating furniture and things for the room in one AI document using the same AI dimensions. Give the designs to Partner B to place in the room. When finished, export as JPG and upload to WP to the MF Picasa Album and the link to the spreadsheet.
- Partner B
- Work on creating the actual room. Place all the furniture pieces into the room from Partner A. Get the designs from Partner B to place in the room. When finished, export as JPG and upload to WP to the MF Picasa Album and the link to the spreadsheet.

- City Views
- Partner A
- Work on creating the street view (eye-level angle point of view from the character) with details according to the story spreadsheet. Make sure to make it culturally relevant. Use the AI dimensions but double the horizontal dimension because next week you will be creating a horizontal pan showing the street in AE. View the first 10 seconds to see an example (but you will be making it horizontal).
- When finished, export as JPG and upload to WP to the MF Picasa Album and the link to the spreadsheet.

- Partner BWatch this example. Work on creating a wide high angle view of the city with details according to the story spreadsheet. Use the AI dimensions but double the vertical dimension because next week you will be creating a vertical pan from the sky down to the city in AE. View the first 10 seconds to see an example.When finished, export as JPG and upload to WP to the MF Picasa Album and the link to the spreadsheet.
- Festival
- Partner A
- You were suppose to create a festival for your first background. For this checkpoint you will be creating various elements for the festival background (that your partner is creating) according to the image link on the the story spreadsheet.
- When finished, this background should be the best of all of your backgrounds since it is the culturally relevant the most.
- After you complete it, export as JPG and upload to WP and to the MF Picasa Album and the link to the spreadsheet.
- Partner B
- You were suppose to create a festival for your first background. For this checkpoint you will be creating a festival background according to the image link on the the story spreadsheet. You can use background parts from the first background if they relate. Your partner will be creating various elements to place in your background so talk it over with your partner to make sure they are creating culturally relevant elements that would work best for your background.
- When finished, this background should be the best of all of your backgrounds since it is the culturally relevant the most.
- After you complete it, export as JPG and upload to WP to the MF Picasa Album and the link to the spreadsheet.

- Objects
- First, read over your story outline to become more familiar with your story outline.
- We're almost finished with scene and object illustrations for your iBooks. Today, each group will be working on an element of your story that is yet incomplete, which may be different from other groups. For example, some will work on food while others will focus on the festival. Refer to the story spreadsheet for your specific assignments.
- After you complete it, export as JPG (export all of your objects as a group like the example below) and upload to WP to the MF Picasa Album and the link to the spreadsheet.

- Characters
- Today you will be putting together the separate pages of your ibook. Refer to the narration given by Mrs. Heil (or the outline if she is still working on the wording) and put together each page by adding items and/or characters to coincide with the storyline. She has separated pages by horizontal lines, and you can change the scene by zooming in or out to create a different visual effect.
- You will also need to create characters--except the main character (Justin) and his local friend. (These were already created by your classmate Jenny.) She will give you the generic form of a character, and you can add clothes and features to make the extra people needed for your story.
- There are two special scenes that appear in each story: a smartphone and a thought bubble. These were created by your classmate Abby. In it, you will paste either a scene you've created or one she has made of a memory of New York City.
- Look through the entire narration/outline today during class so you can ask questions while Mrs. Heil is present.
- Now find and read your storyline so you will know how to arrange your characters and backgrounds. Again, here is your story outline if needed. Then go and find your country's character and import him or her into your story background and create the background people with the character template.
- Below is a suggested partner breakdown of who should add and edit the characters for each background but you can switch and decide who does what as long as each partner posts three scenes (with the needed people according to the storyline).
- 1. Vertical city view (Partner B)
- 2. A room in the house (Partner B)
- 3. Horizontal Street Scene (journey to the festival) (Partner A)
- 4. Food Vender or at Home (Partner A)
- 5. Festival (Partner A)
- 6. One additional scene (checkpoint 1 background or another angle of a scene) (Partner B)
- As always, save your AI files to your dropbox and upload your JPG illustrations to to WP to the MF Picasa Album and the link to the spreadsheet.
- Today you will be putting together the separate pages of your ibook. Refer to the narration given by Mrs. Heil (or the outline if she is still working on the wording) and put together each page by adding items and/or characters to coincide with the storyline. She has separated pages by horizontal lines, and you can change the scene by zooming in or out to create a different visual effect.

- Compile
- Today's assignment: Finish final Page Illustrations and compile the book with your partner.
- First: Download the iPhone template and use the rectangle to make a clipping mask of the photo according to the descriptions of smartphone photos. Look at the list of smartphone photos in your story. Send those JPG files listed to Abby (abby.bacon@yisseoul.org) that must be sent during class (should only take you 10 minutes). She and Jenny will put those pages together for you.
- Second: Go through the storyline and make sure you have a completed scene for every section of text (divided by lines). There will be at least one additional page missing that you will need to create so make sure to identify any needed pages.
- List of objects and scenes still needed
- Often, there will be two pages of the same background and characters, but one is a close-up and you should never have the exact same Illustration. You can figure this out by reading the storyline.
- Finally: Upload all ibook pages to Partner B's Picasa album. As the first comment on each page, note who designed what on that page in the following format:
- Partner A: the furniture in the room
- Partner B: the background of the room
- As the second comment, copy the narration for that page from the storyline. This will ensure that you do have every page finished. These will also be used in the future narrations for the iBook so make sure to copy them correctly. They will be graded (project/classwork) next class for quality, not just a checkpoint.

- Animation
- Part A: Follow the directions to create your animated scene in After Effects.
- (due May 14)
- Part B: Animate the characters according to the storyline and add two sound effects that are appropriate the what is going on in the scene (e.g. traffic noises, birds chirping, etc.).

- Final Illustrator Edits
- It's time for final edits to your page illustrations. Mrs. Heil has listed the pages that need correcting on our assignment spreadsheet. You can find what needs to be changed, deleted, or added by looking at your country's storyline. There, you can find each page numbered and all the correction instructions in bold.
- She and I will be coming around to answer questions and give guidance for your final edits. I will focus on your graphics, and she will make sure your drawings fit the written story.
- Update your Picasa album once you've corrected all your pages and added necessary ones. Make sure you have your two comments for each Picasa image (partner responsibility & the text of the story).

- Make sure your group's correct Picasa link is posted to the spreadsheet. Next to the picture at the top right in Picasa there is the Photo information. It is very important that the normal size images are 2048×1536 pixels. If they are not, resave in AI.


- Then upload your final JPGs of the story to the shared Dropbox folder and name the files in order 1 Mexico, 2 Mexico, 3 Mexico, etc).

- 2048×1536 pixels
- Prepare for Print
- In this checkpoint you will be preparing your story for print and next checkpoint your group will be creating the electronic iBook.
- In the directions, one partner will work on creating the front cover and the other will work on the Book and inserting the images and text in preparation for print:
- iBook
- Follow the directions to complete the iBook and final prep for print.
- Submit
- Go to the partner spreadsheet and you will find if both your Illustrations and either iBook or Word Doc was approved. It must get approved here by Tue May 27 before midnight. To get it approved, follow the email directions in the previous checkpoint; there are already a group of students who made corrections and have been approved.
- Then go download a classmate's iBook and look through it while filling out the answers on this form and take a screenshot of the completed form before you submit it and email to WordPress and the link to the spreadsheet. It is a checkpoint but you will be given a tutorial completion grade for it.
Do not do
- Phone Photos
- Today's assignment: Finish final Page Illustrations and compile the book with your partner.
- Make any final changes to
- First: Download the iPhone template and use the rectangle to make a clipping mask of the photo according to the descriptions of smartphone photos. Look at the list of smartphone photos in your story. Send those JPG files listed to Abby. She and Jenny will put those pages together for you.
- Compile
- Second: Go through the storyline and make sure you have a completed scene for every section of text (divided by lines). There will be at least one additional page missing that you will need to create so make sure to identify any needed pages.
- List of objects and scenes still needed
- Often, there will be two pages of the same background and characters, but one is a close-up and you should never have the exact same Illustration. You can figure this out by reading the storyline
- Finally: Upload all ibook pages to Partner B's Picasa album. As the first comment on each page, note who designed what on that page in the following format:
- Partner A: the furniture in the room
- Partner B: the background of the room
- As the second comment, copy the narration for that page from the storyline. This will ensure that you do have every page finished. These will also be used in the future narrations for the iBook so make sure to copy them correctly
Page updated
Google Sites
Report abuse