Embedded Files

Each number below is a separate checkpoint.
For example, 1. represents checkpoint 1 and 2. represents checkpoint 2.
- After reading the PC project directions and watching the video explanation (don't forget to add a YT (YouTube comment) of the directions, watch one of the previous student's projects by clicking on an image and the link in the caption. Write in the same posterous post whose video you watched, what you liked about it, and what you would have done to improve the video.
- Take a few minutes and make a sketch on paper (add color to your drawings) on the outward shape and design of your computer case. If you want you can also start planning on unique ways to include your theme on the inside as well. Remember to be creative and choose a theme for your personal computer. Take a photo of your sketch and submit it.
- You will be required to use a small notebook without any lines to use just for this class. You will be using it sketch and draw ideas and concepts for various projects. You are required to have it by Monday of the first full week of courses. Use this to draw your PC design ideas or use a separate sheet of paper and paste it in when you purchase it.
- Watch the two part video (one, two) about how a PC works. In a new post (posterous), write the job responsibility that you are going to do and what your partner is going to do (if you have a partner, if you don't, just list all of the responsibilities under your name). Be specific in listing out your plan and include the specific computer parts and how you are going to make them along with the materials you will use to make the parts. If you don't have a partner, you still need to write your responsibilities. Example
- If you have time, try to start and gather materials which you will use to create your computer parts.
- You and your partner should decide on the idea you will use for your PC. You can change groups and ideas if needed. Remember, your partner can be in a different class. Find your materials you will use to make the outer case and other parts. Don't forget to think of creative theme ideas for the inside of the PC. Work some on designing your case (you do not need to finish it or work many many hours on it although if you have the time, feel free to get ahead).
- Take a photo of the case, materials you will use for your theme that you will use, and any progress you complete with your theme. If you have a partner, the photo should be posted on both posterous accounts. When I grade the photo checkpoint, it is based on competition, not quality at this point so do as little or as much as you want at this point. For example, if you were planning on getting your case on Sunday, just take a photo of a box and some theme ideas and upgrade it later.
- It is highly recommended to work as a group because the homework load given factors that two people are working on it, which is half the work. You can work solo but understand it will be double the homework. If working with a partner, please limit the times you meet. Simply divide up the responsibilities, each makes their parts, and then come together to put it together. Use online communication when possible to plan instead of meeting face to face in order to save time.

- examples
- You should have watched the vintage computer video in class to understand how the computer works. If you did not or need, check it out.
- In the previous checkpoint you had gathered supplies to make your parts. Now, you or your partner will create the CD/DVD drive, hard drive, case fan, and power supply/fan. It is strongly suggested to divide up the work so it does not take too long. You may alter the responsibilities of each of the parts at any time.
- When you are finished, take photos of the parts. Send your partner the parts you created and post your parts along with their parts in one article on posterous and submit the link (both of you). It is not recommended for your group to physically meet as it will take extra time. Don't spend too much time making your parts look perfect; they just need to be an estimate that is relatively close. Do these steps for each checkpoint that requires you to make your PC parts.
- Good examples.

- Make the main motherboard and add the CPU & fan to cool the CPU. The CPU is under the fan.
- The motherboard below received full credit because it was the right dimensions, scale, and appearance. Do your best to create it but don't spend too much time.

- Creating the motherboard parts: PCI, AGP, and RAM slots.
- Create the AGP card, PCI card, & at least two RAM cards. Examples

- Add the ROM, battery, IDE Connector, & Power Connector to the motherboard.
- Make all the power wires and IDE cables and connect them to the correct devices and places.


- Finish creating the motherboard parts: all required ports (e.g. USB, mouse, keyboard)
- Make sure that most of your parts are assembled and placed firmly in the correct place. Make any needed changes and upgrades if desired. Post a photo showing the inside of the PC. Everything does not have to be completely assembled, but you should work on it and show progress.
- Work on creating the inside and outside design and parts if needed. Post a photo of your progress. It does not have to be completely finished but most of it should be completed.
- You should have a complete rough draft of your PC project. Now go back and improve areas of your PC (it does not need to be completely finished). Post to posterous a short description of what you completed. If you already finished your PC project, just write "Project completed on (date)."
- Also, sign up for a time in class when you will take the PC interview or turn in the video. The PC interview should require minimum preparation so it is suggested that you choose this option instead of a video because the video takes more time although you are welcome to create the video if you want to spend the extra time.
- You should have a complete rough draft of your PC project. Now go back and improve areas of your PC (it does not need to be completely finished).
- Post to posterous a short description of what you completed. If you already finished your PC project, just write "Project completed on (date)." When you are finished, complete PC checkpoint 15 below and take the interview or turn in the video.
- You should have a complete rough draft of your PC project. Now go back and improve areas of your PC (it does not need to be completely finished but it does by the next checkpoint).
- Post to posterous a short description of what you completed. If you already finished your PC project, just write "Project completed on (date)." When you are finished, complete PC checkpoint 15 below and take the interview or turn in the video.
- Finish the last touches on your PC project; this is the last day to turn in the physical PC project in class, checkpoint #18, and take the interview (or video).
- Take a photo of each of the sides except the bottom as well as a quality photo of the inside that is well lit with good lighting. Then take a photo of yourself (and any group members if any) showing your computer (position the PC so that you can clearly see the inside of the computer). Make sure the picture is a closeup of the computer that fills at least 65% of the photo. Make sure the photo is bright and avoid using a flash if possible. Upload all the photos to posterous as well as your personal picasa album. When you create the album, call it "PC Project." Also, post your group photo to the MF Picasa Album. In the caption of the photo in the MF Picasa Album, type the text "More Photos:" and insert a link to your picasa album that shows photos of all sides of your PC.
- Now begin preparing for your PC interview or video.
- This photo would not be approved

- The PC is too small in this photo
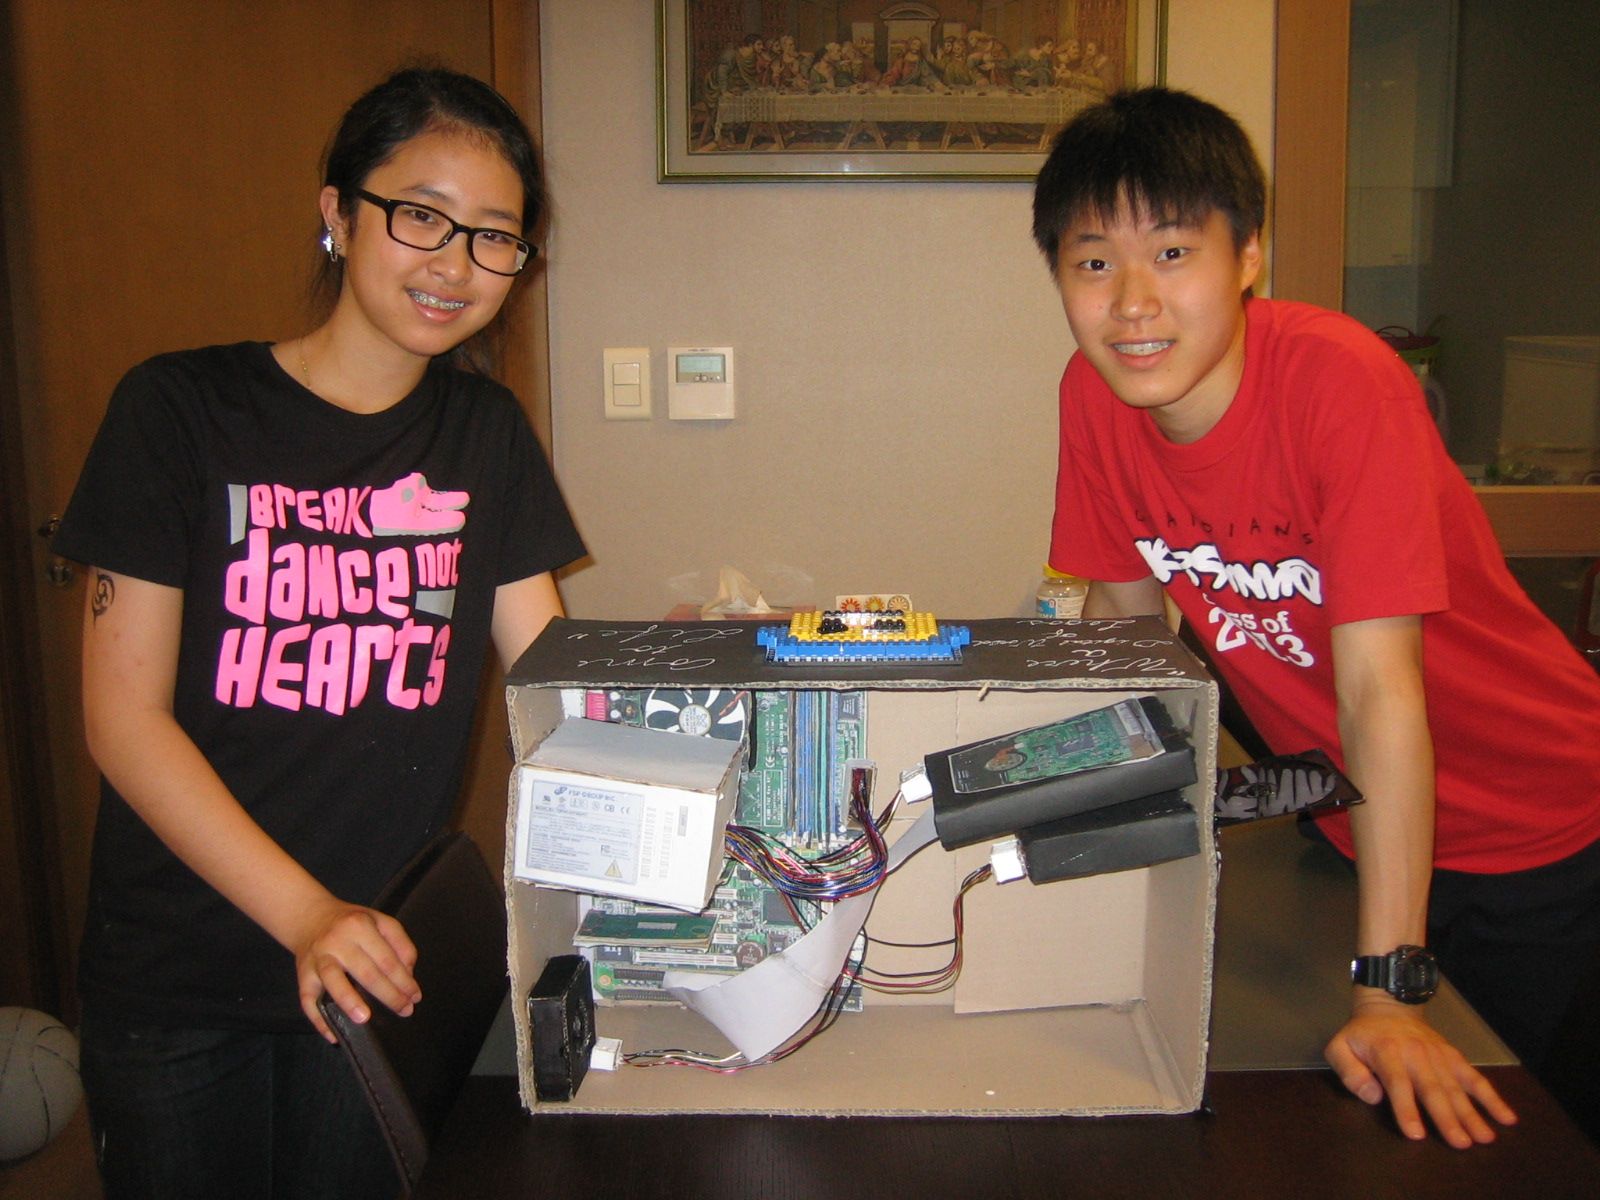
- This is a good photo

Page updated
Google Sites
Report abuse