Embedded Files
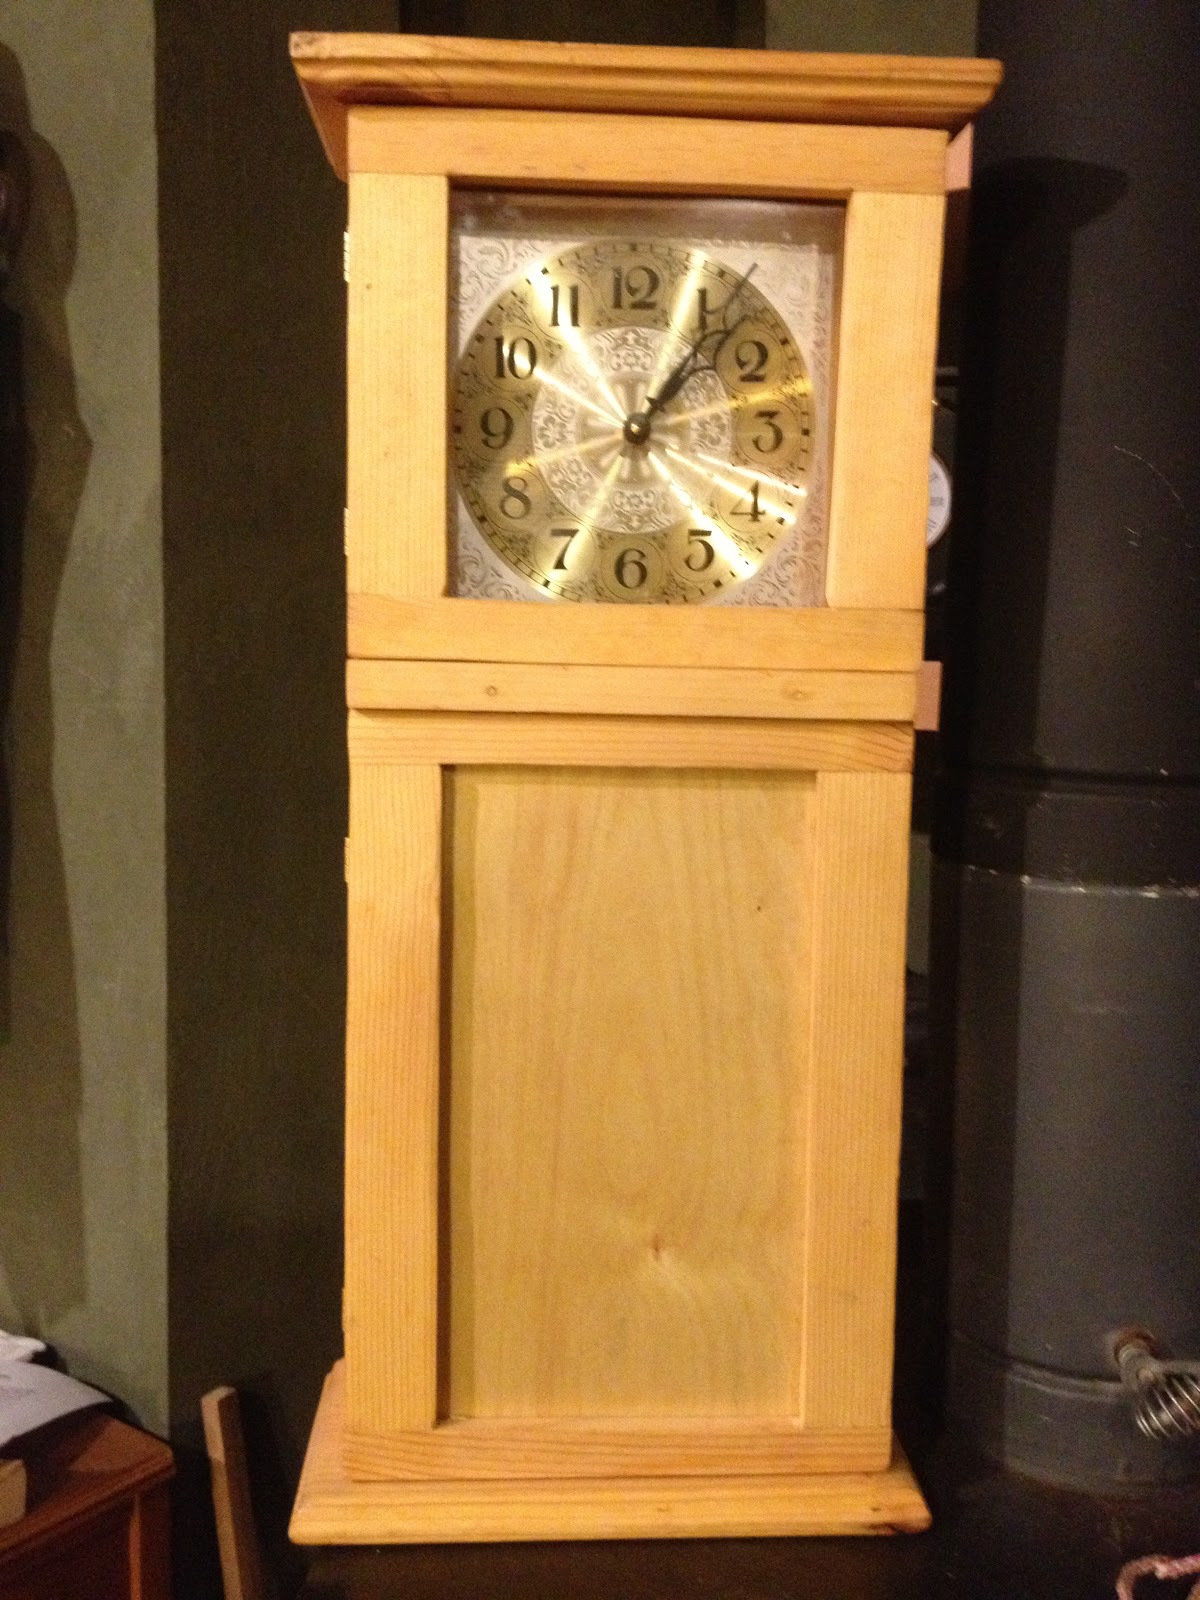
The "mantle" clock is a great project and involves intermediate skills such as precise measuring, crosscutting identical pieces, pocket screws, router bits, rabbets, and wood staining & overcoat.
Materials:
One piece 1x6x8' lumber (we use pine, but it could be poplar, alder, or maple)
Plywood for back, big door, and clock face backing
four small brass hinges,
two latches,
a battery-powered clock and hands
clock face.
Steps:
Mark pieces on the 1x8
Mark all the pieces on the 1x6x8' and put your name on both sides of each.
Draw a diagram of the carcass and write the materials list.
Cut off top and bottom, rip others
Cut the outer top and bottom off of one end of the 1x6x8 (each piece is 5.5 x 10.75)
If I have cut both together as one piece, then you need to find the mid-point and then cross-cut so both pieces are equal. Trim as needed.
Put your name on both sides of both pieces.
(Chris) Rip the remaining piece into strips that are 4 and 1.5 inches wide.

Cut, Rip, Rabbet, Drill
Mark and cut the two sides (22.5), and the top, middle, and bottom (7.75) from the 4" piece. Name!
On the table saw, rip the center piece 1/4 inch narrower than the other two.
On the router table, cut a 1/4 inch deep rabbet into the two sides, as well as the top and bottom pieces.
Drill two centered pocket holes into each end (same side) of the inner top, middle, and bottom pieces.
Assemble Carcass
Mark where the center piece will attach onto the inner faces of both side pieces so that the clock-compartment is 7.75 x 7.75.
Screw the top and bottom pieces to the sides so that the pockets face out (they will be covered by the decorative top and bottom).
Using the driver angle attachment, screw that middle piece into place according to the lines of step 1.
Cut and Rabbet Door Pieces
Cut 4 rails (the horizontal pieces) to 6.5 inch length.
Cut 4 stiles (the vertical pieces) to length using carcass. If your clock will have a divider or not, the stile length will be different.
Cut a 1/4 inch deep rabbet into the back side of each of the 4 rails, end to end.
Cut a 1/4 inch deep rabbet into the back side of each of the stiles, but stop before the end.
Assemble Doors

Assemble the door frames (one screw and glue, contrary to what is shown in the picture). Use a framing square to assure that each joint meets at a right angle.
Rout Ogee to Top & Bottom

The outer top and bottom will receive a decorative edge (ogee) on the sides and front.
7. Screw outer top and bottom to the inner top and bottom.
Plywood to Back & Door
7. Rabbet back of carcass and then cut plywood to fit.
7.1 Cut plywood to fit bottom door.
Mount Clock and Face
8 Mark center of clock face backing piece and drill hole for shaft.
8.1 Drill countersink holes into mounting blocks then attach.
8.2 Add velcro pieces to back of clock face and front of stop blocks.
Hinge Doors
9.

Chris' Notes to Self:
-hinges come in 4 pack @ HD
-backs made from 4x8 sheet of luan and each sheet makes 5 strips (8.5 ea) and each strip makes 2 backs (21.5 ea)
-big door back and clock back come from 3/16 sandboard and each 4x8 sheet makes ???
-
Page updated
Google Sites
Report abuse