How to turn your AutoCAD files into acrylic pieces. 1) Start with your AutoCAD file. Make sure that your file has appropriate layers, and that they are named something that you will recognize. Save your file as a 2000 dxf. 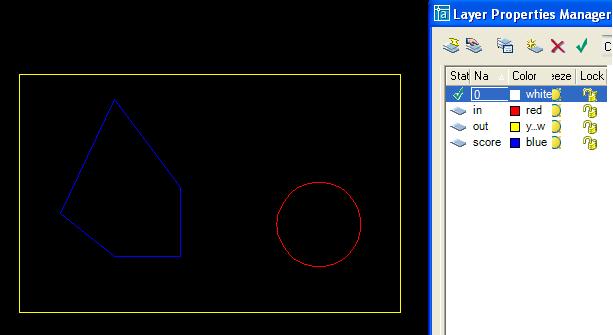 2)
Open the Lasercamm software on one of the lab
computers. The Lasercamm software is located on the computers in the Design Studio (EBU2 Room 315). Only .dmc cut files created on the computer directly connected to Lasercamm 2 will work on Lasercamm 2.  3) On the Lasercamm window, click load. 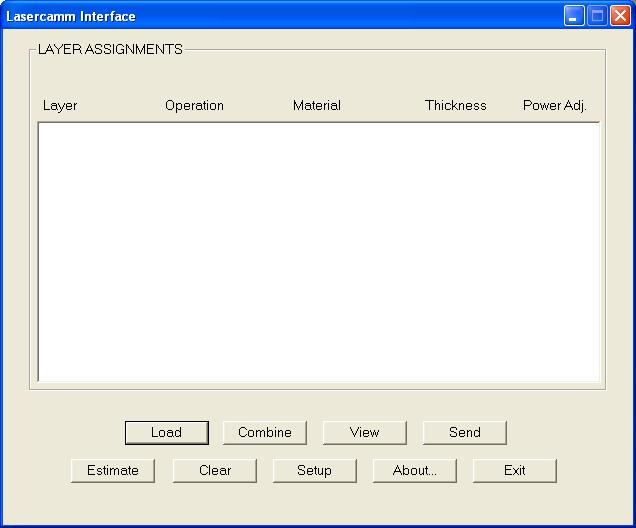 4) Select your .dxf file. Note the files name (i.e./tester). 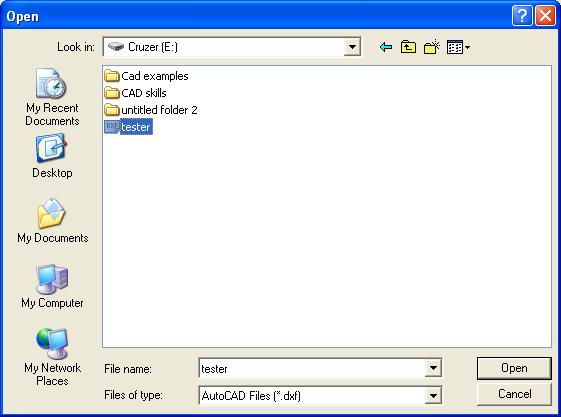 5) The Lasercamm window will change. Note that the layers have the same names that you gave them previously in your AutoCAD file. (Aside* layer 0 may still be active. If there are no lines in this layer, you can leave it blank). Double click on a blank line. 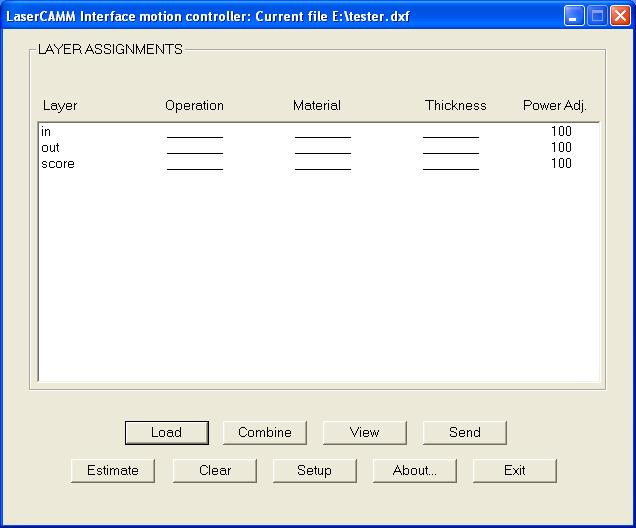 6) A layer setting window will appear. On each tab, choose the appropriate setting for the given layer (cut/cut on your inner and outer layers, score on your score layers). Set the operation to cut level, set the material, set the thickness, leave the power at 100 every time. 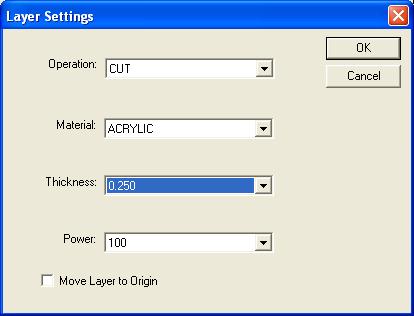 7) When you finish, a time estimation for the process will appear.  8) The blank lines will now be filled with the set information. Repeat this process until all layers are filled. 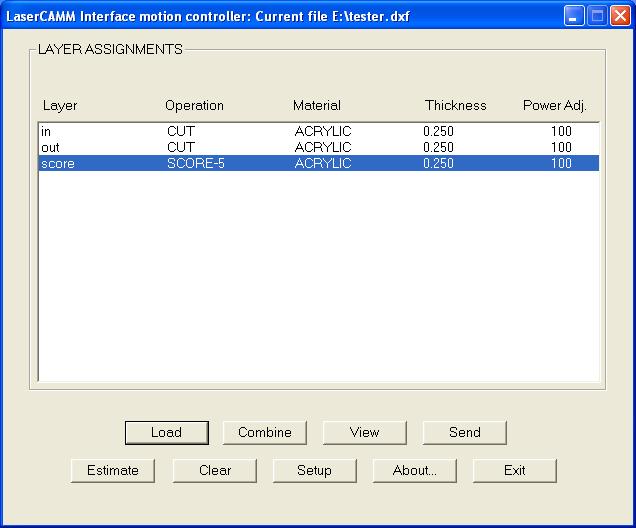 9) When filled, click the combine tab. A new window will appear. 10) On the combined list window, click the add file button. 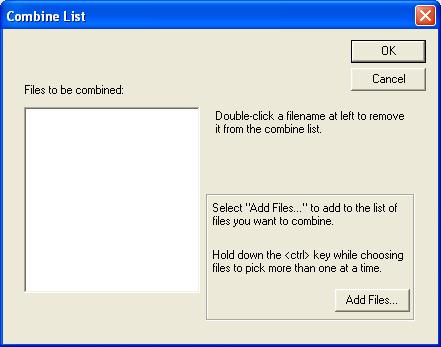
11) A new window will appear. 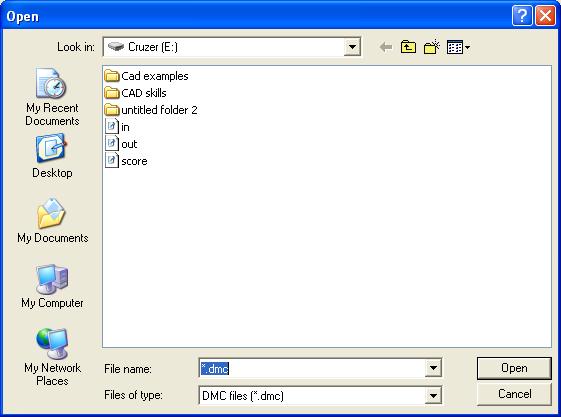
Click the layer you wish to add. Start with your scoring layers. Continue to add layers, one at a time, until all are added. The order should be a. Scoring b. Inner cuts c. Outer cuts 12) Once all the layers are added, select ok. 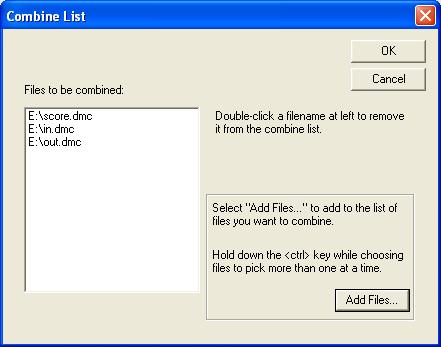 A window will appear. This is where you will name your combined file. A name of “cutme” is fairly self-explanatory. Click save. 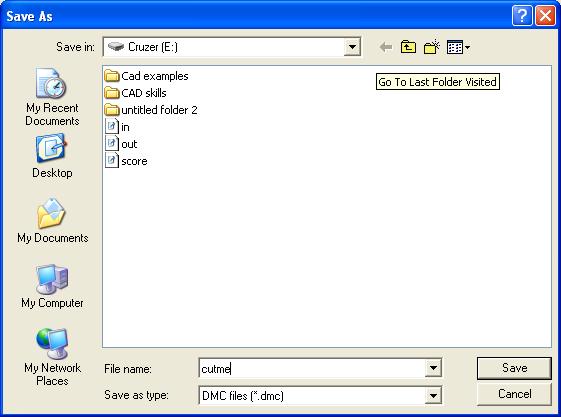 13) A cut time will appear. For a clock, an average of 7-9 min should be displayed. If there is ever a cut over 20 min, please alter your cut as the Lasercamm is shared between all of the students. 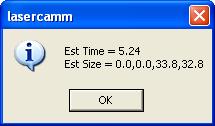 14) Once combined, click the send button on the Lasercamm window. 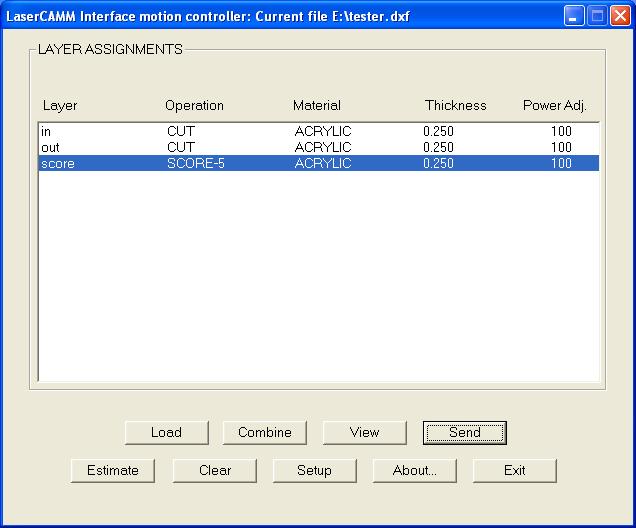 A prompt window will appear. Select your “cutme” file. 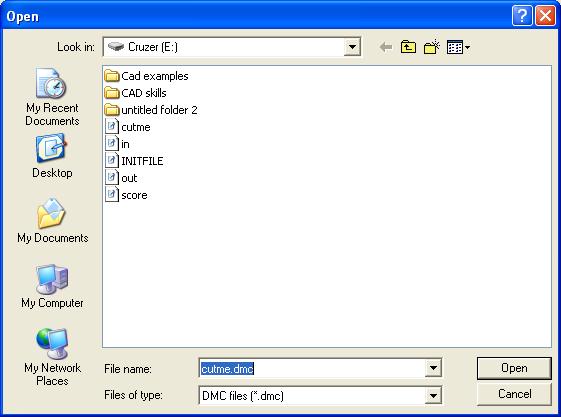 15) A black window will appear. Watch it to ensure your part sends properly. So long as it says “COMPLETE” your good. 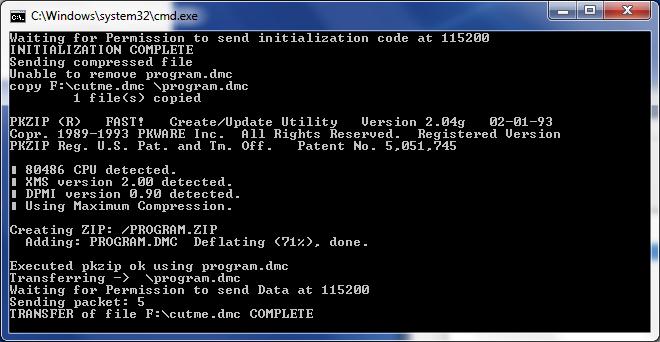 16) Now walk over to the Lasercamm and open the lid. a. On the LCD screen, confirm that the file name if the same as your ORIGINAL .dxf file (tester/tester in this case). 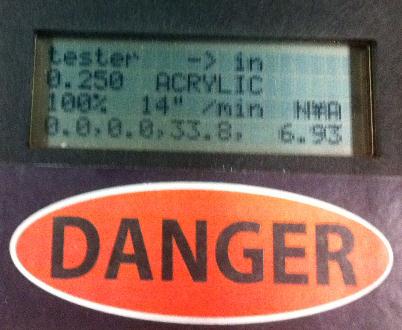 b. Check
that the laser thickness setting is appropriate for your material. (0.25'' in this case) 
c. Place you acrylic in the Lasercamm. Pay close attention to the starting location of the laser and the (0,0) point on your acrylic. Surround the acrylic with the mats. Please be sure that your cut will not accidentally cut the mats 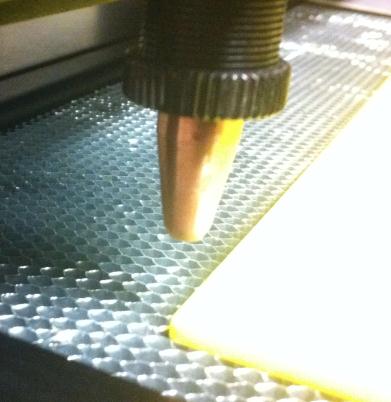 d. Close the Lasercamm lid. e. If: i. Computer said “COMPLETE” ii. LCD file name matches iii. Thickness set iv. Acrylic placed and surrounded. v. And green light is on f. Press the green button. Wait the required time for your part to be cut.  Ta-Dah You successfully cut a part on the Lasercamm |
Lasercamm >