Introduction:
With all CAD programs, you can combine individual parts into an assembly. There are many different ways to constrain/mate parts together, some ways are better than others. This tutorial will teach you the basics of creating assemblies in Inventor.
Getting Started: - Download the ZIP file above, unzip the parts into any folder, and open "RobotAssyTutorial.iam"
- UNZIP the folder's contents
- It is good practice to "lock" your largest/main component in space. To do this, right click the red "Chassis.ipt" and select "grounded". Important: you should avoid having more than one grounded component.
Wheel to Bearing Block: - Shaft axis to Bearing axis. Be sure to carefully select the axis by hovering over the cylindrical faces untill the dotted axis appears.
- Shaft face to Bearing face. You will probably need to switch from "mate" to "flush"
Bearing Block to Chassis:- Bearing screw hole axis to Chassis screw hole axis
- Repeat for 2nd set of holes
- Bottom Bearing face to top Chassis face
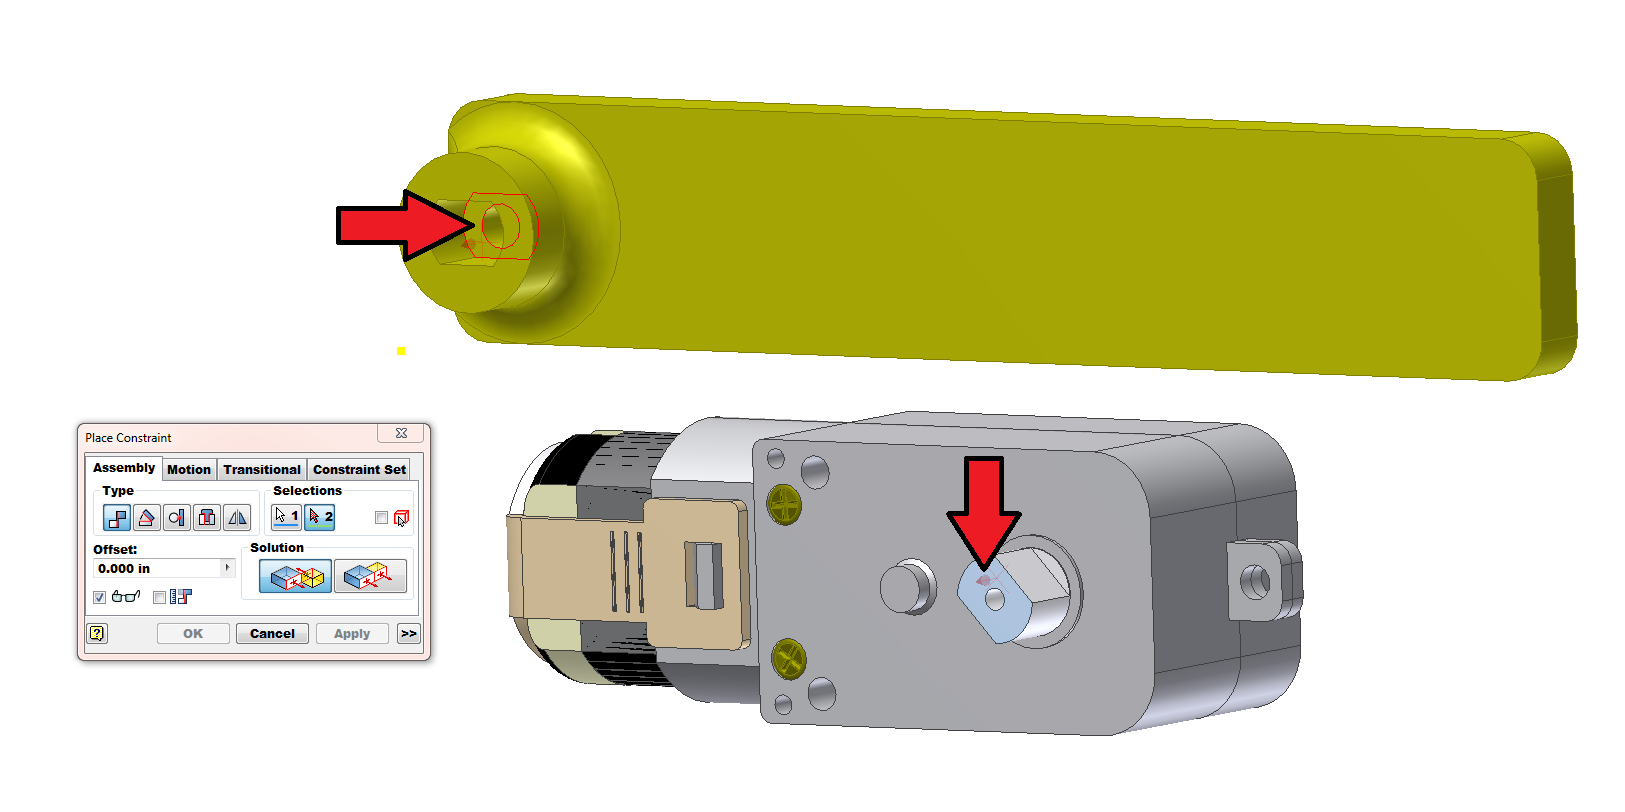
Arm to GM9 Motor: 2 constraints - Motor Shaft face to interior Arm face
- Motor Shaft axis to Arm axis
- Note: we are allowing the arm to rotate freely
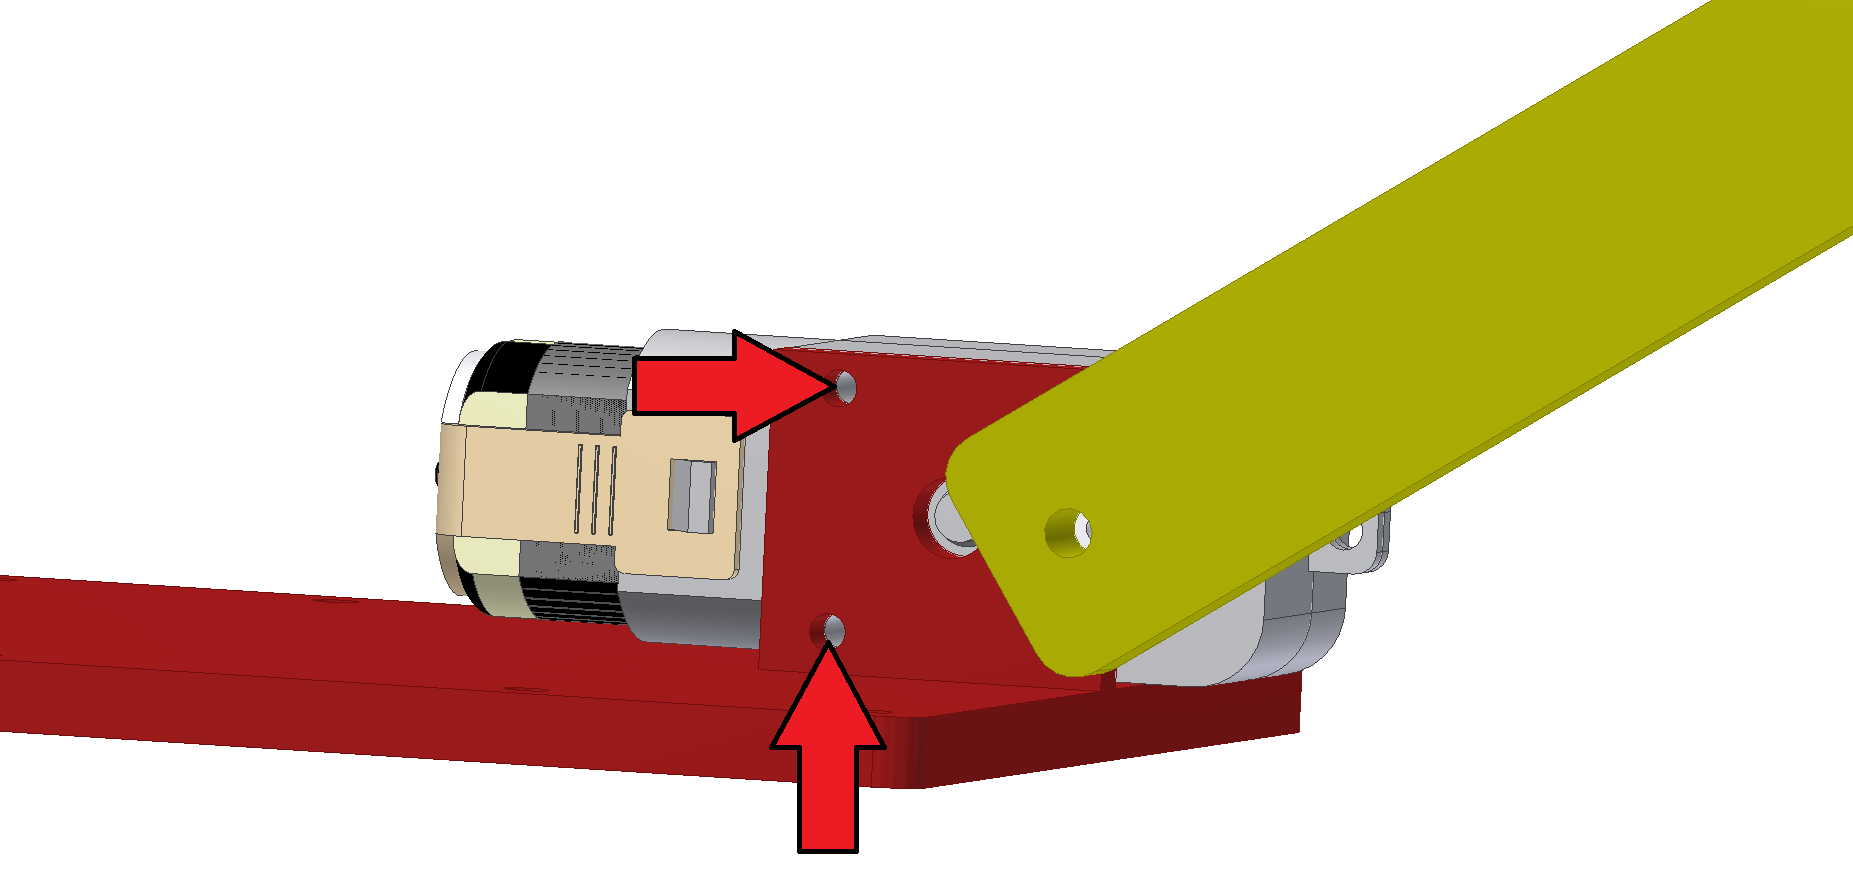
GM9 Motor to Chassis: - Motor face to vertical Chassis face
- Motor hole to Chassis hole (as shown above)
- Repeat for 2nd set of holes
- Shift-select both the wheel and bearing block, then Copy and Paste (Ctrl+C, Ctrl+V)
- The new wheel and bearing block should already be constrained together
- Constrain the remaining three bearing blocks and wheels to the chassis
Completed Assembly: Congratulations, you built a robot! Tips and Tricks:
 | Flush vs Mate: If your constraint did not turn out the way you expected, you may need to "flip" it by clicking the highlighted buttons.
Apply vs OK: OK closes the window, Apply keeps it open, allowing you to continue mating.
| 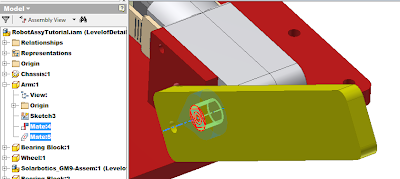 | Deleting Mates: You can view, delete, and edit constraints by expanding the Assembly Model Tree.
|  | Overconstrained: A part cannot be in two places at once! If you try to constrain a part into an impossible configuration, Inventor will give you an error. This can also occur if your holes do not physically line up! | | | Moving Assembly Files: In order to move or share Assemblies, you must copy the Assembly, and ALL of the referenced Parts and Sub-assemblies. Failure to do so will result in broken links to parts. Be careful when renaming parts or creating different versions, doing so can "break" the assembly. |
Daniel Yang (djyang@ucsd.edu) 4/22/16
|
 Updating... Assembly Tutorial Parts.zip (1572k) Daniel Yang, Apr 22, 2016, 11:57 AM
|