Good Design Practice: - Make sure your part has a large enough base to properly adhere to the bed of the printer.
- Avoid overhangs as much as possible. Bridging is okay, as long as it only occurs over a short distance.
- Design knowing that this printing process is inherently imperfect, such that no print will come out exactly like the design file, and that multiple prints of the same part does not guarantee that each of those prints will be exactly the same.
- Do not wait until the last minute to print, as prints take a long time.
- Design your part to be printable in an efficient manner (i.e. minimize height, bridge as little as possible, etc.).
- 100% infill is never needed in this class, it's just a waste of material and print time. Leave the default settings unless you know exactly what you're doing.
- The nature of additive printing is that different 'axes' of the print have different strengths and weaknesses. Keep this in mind:
- The printer's xy accuracy is relatively high, and definitely higher than the z accuracy. That is, holes designed on the xy-plane will be more accurate than those designed in the yz- and zx-planes.
- In addition, there is no guarantee that the height of the part (z axis) will be exactly as defined--expect it to be off by up to 5%.
- Layers can be separated from each other easier than layer components from each other. Example: A rod printed vertically will be easier to break than a rod printed horizontally. That being said, for parts bigger than .5 inches, this is usually not of much concern.
- The taller the part, the longer the print time. A part that is only horizontally big will not take too long simply because of the infill. Parts that are vertically challenged, however, can take a very long time to print.
- Even if you don't think your part needs support, it is worth checking the support setting and viewing the file preview, just to check and see where it was planning to add that support, so you can design better in the future.
- There is zero reason to place holes throughout printed parts for weight reduction, as printed parts are already basically hollow, and adding holes actually just adds more shell, and thus more weight.
- CAD all of your holes in before you print, as holes cannot be added to the finished part. Because of the nature of infill, even if a hole is successfully made, it will not be stable.
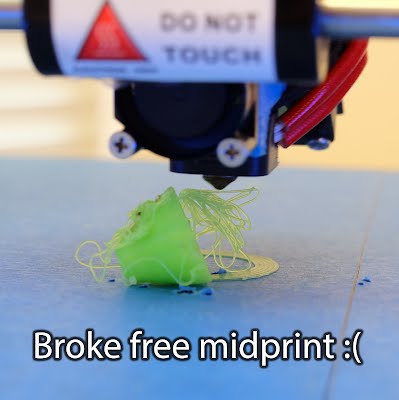
3D Printing Tips: Parts must stick to platform: You must design the part such that it has enough surface area to stick to the build plate. If your part does not stick well, it will break loose mid print! As a rule of thumb, ensure that at least 1 square inch contacts the build platform.
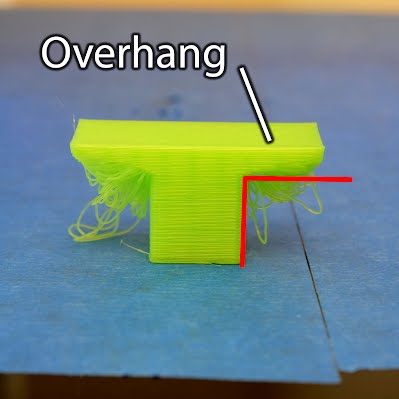
Overhangs will not print (well): You will not be able to print parts that have significant overhangs. Depending on the size and shape of the overhang, parts may still be printed successfully. However, overhangs should be avoided. As a rule of thumb, do not exceed 45 degree overhangs, and "unsupported overhangs" more than 1in. Again, overhangs should be avoided as much as possible.
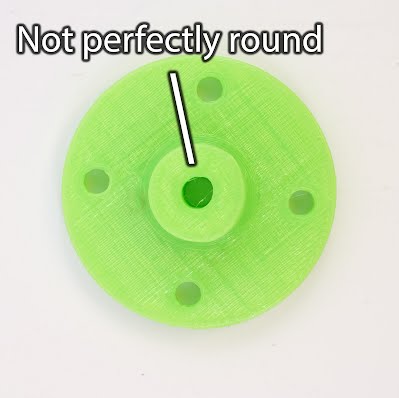
Features will be imperfect: You may have to file, drill, sand, a part to get it to work. Holes tend to print smaller.
Prints will take a LONG time: Due to the nature of additive manufacturing, long print times are inevitable. You should only print parts that are difficult/impossible to make otherwise. It would be foolish to spend 2 hours printing a flat plate when the lasercamm can cut it in 2 minutes.
|
|


