Embedded Files

After building my first Thacher replica (see 3 Thacher Replicas) Clark McCoy of the Oughtred Society suggested I might have the skills to replace the scales on some of the crumbling and decrepit real Thachers in members' collections. Wayne Harrison later told he'd hoped that someone would attempt this, and that's why he undertook to build the scales in the first place. So I felt it important to give it a shot, and this page documents the effort.
Buying a Decrepit Thacher
I bought a really distressed Thacher on eBay for $160: a 4012 with serial number 5112. For the purpose of this article, I'm assuming it is of typical construction - if anybody has information about production variations please let me know.
The rule was initially in unusable condition. The bars had rusted and scales were corroded, blistered, unreadable, and falling off.
(Click on any thumbnail for a full size image.)


The slide scale was spotty, and ripped at two places along an underlying seam in the drum. The edges of the tears caught on the bars, so the slide was unturnable.


There was some corrosion of the brass going on, and the lacquer was mottled such that the brass no longer shined. The knobs had come unglued from the slide.


In other regards, the base and the instruction label showed wear and age but were in good shape overall. The base was very slightly warped though, and some prior owner had compensated by driving a thumbtack into one corner of the bottom side. The left stanchion was slightly bent outward, causing an unattractive gap between it and the envelope. The Thacher's box was cracked and pretty beat up but intact, and the K&E label was still there, albeit torn and loose at 3 corners and hanging on only the upper right corner pin. Not so bad.
Preparing Scales
Before being glued to the instrument, Wayne's lovely reproduction scales need to be printed and coated. I've found that printing requires a high-precision ink jet printer.
I've tried having them done on a variety of large format laser printers, including those used by the big office stores, and none are accurate enough for slide rule purposes. The width of print varies vertically by as much as 1.5 mm in 12 inches, and the width of the A scales never matches that of the B/C. I was very frustrated by this, but I'm told by a friend at Hewlett Packard that it's to be expected of a laser printer.
I finally found an independent shop that specializes in architectural drawings. (They still call them "blueprints", which must be as confusing to recent generations as the word "clockwise".) Their lasers were bigger than any of the office stores', but did no better a job. However, they have a 42" wide HP Design Jet Z3100 Photo printer with 12 colors (wow) that nails the task every time.
As with my replicas, I printed to standard paper which I then coated with semi-gloss polyurethane to protect the paper from smudges. By coating I also seek to seal out humidity and stabilize the paper against expansion.
I didn't want a pristine white result, so I mixed some old yellow turpentine into the poly to make it look like honey. I've found it best to tape the scales down across their full edges to a big sheet of foam-core board before applying the poly with a brush, stroking width-wise. This keeps the work flat, prevents it from shifting, and lets me lift up the work and sight along it from many angles to make sure everything is coated. I've found that at least 2 coats are needed per side for adequate results.
Coating the paper with polyurethane may turn the paper somewhat translucent. If so, spray paint the back side with a couple coats of ivory/white.
Tackling the Envelope
Clearly, the first order of business was the envelope. I felt bad about destroying the original scales but reminded myself that K&E did it all the time when they replaced them. I kept the front face of bar 16, the only one that came off intact.
The bar paper is quite thin, 0.01". It's glued directly to the steel bar, and near as I can tell the bars are in no way sealed from rust. The paper came off easily with a razor blade and then I sanded the bare metal. I used clear Rustoleum to seal the bars, and used Dritz FrayCheck to stop some unraveling of the fabric bats on the insides of the bars.
I debated what I wanted to do about the unattractive lacquer of the rings at the ends of the envelope. I was reluctant to strip the patina, but I felt their aged appearance would clash with bright scales. I finally decided polished brass would look better on display and took the lacquer off.

Finally, from scouring the Internet for Thacher pictures, I concluded that at least some of the time, the parts of the bars not covered by paper were gold, so I dabbed a little gold paint on the end of each bar.
Gluing scales to the Thacher's long triangular bars is not easy. There are several difficulties. First there's folding each long paper strip exactly in half along its length. Second, there's finding a glue that won't stretch/warp the paper at all, and that won't set up too fast or slow. And third there's getting each scale into the right position and holding it there while the glue cures.
The first part is easier if you have something to fold the strip over. Having left-over bars from my replica projects, I laid each strip on top of one and, working from one end to the other, carefully pinched it down evenly over the apex. This produced less of a "fold" than a bend, but that's all that's needed to make sure the strip will be easy to place onto an envelope bar.


As for glues, I've found it essential to avoid anything water-based. In spite of the poly coating, some water gets in and warps the paper intolerably. It's also important to avoid any sort of cement that sets up quickly. There must be time to shift the scale into correct alignment even after it has been pressed onto the bar. This lets out traditional "paper" and "contact" cements.
Of the rest, I've found that silicon glues work well. They're pretty sticky from the start, but they remain workable for many minutes, giving me a chance to slide the paper into the right position or even remove the paper altogether and start over.
I applied the glue in dabs along the length of a bar and then smoothed it out with my fingertips.


Note in these photos that I worked on the bars with the slide, outfitted with a sacrificial scale that I didn't mind getting glue onto, held firmly in the envelope. This allowed me to place each bar scale over the bar, and press it into the glue while shifting slightly left and right as needed to bring it into alignment with the drum scale.

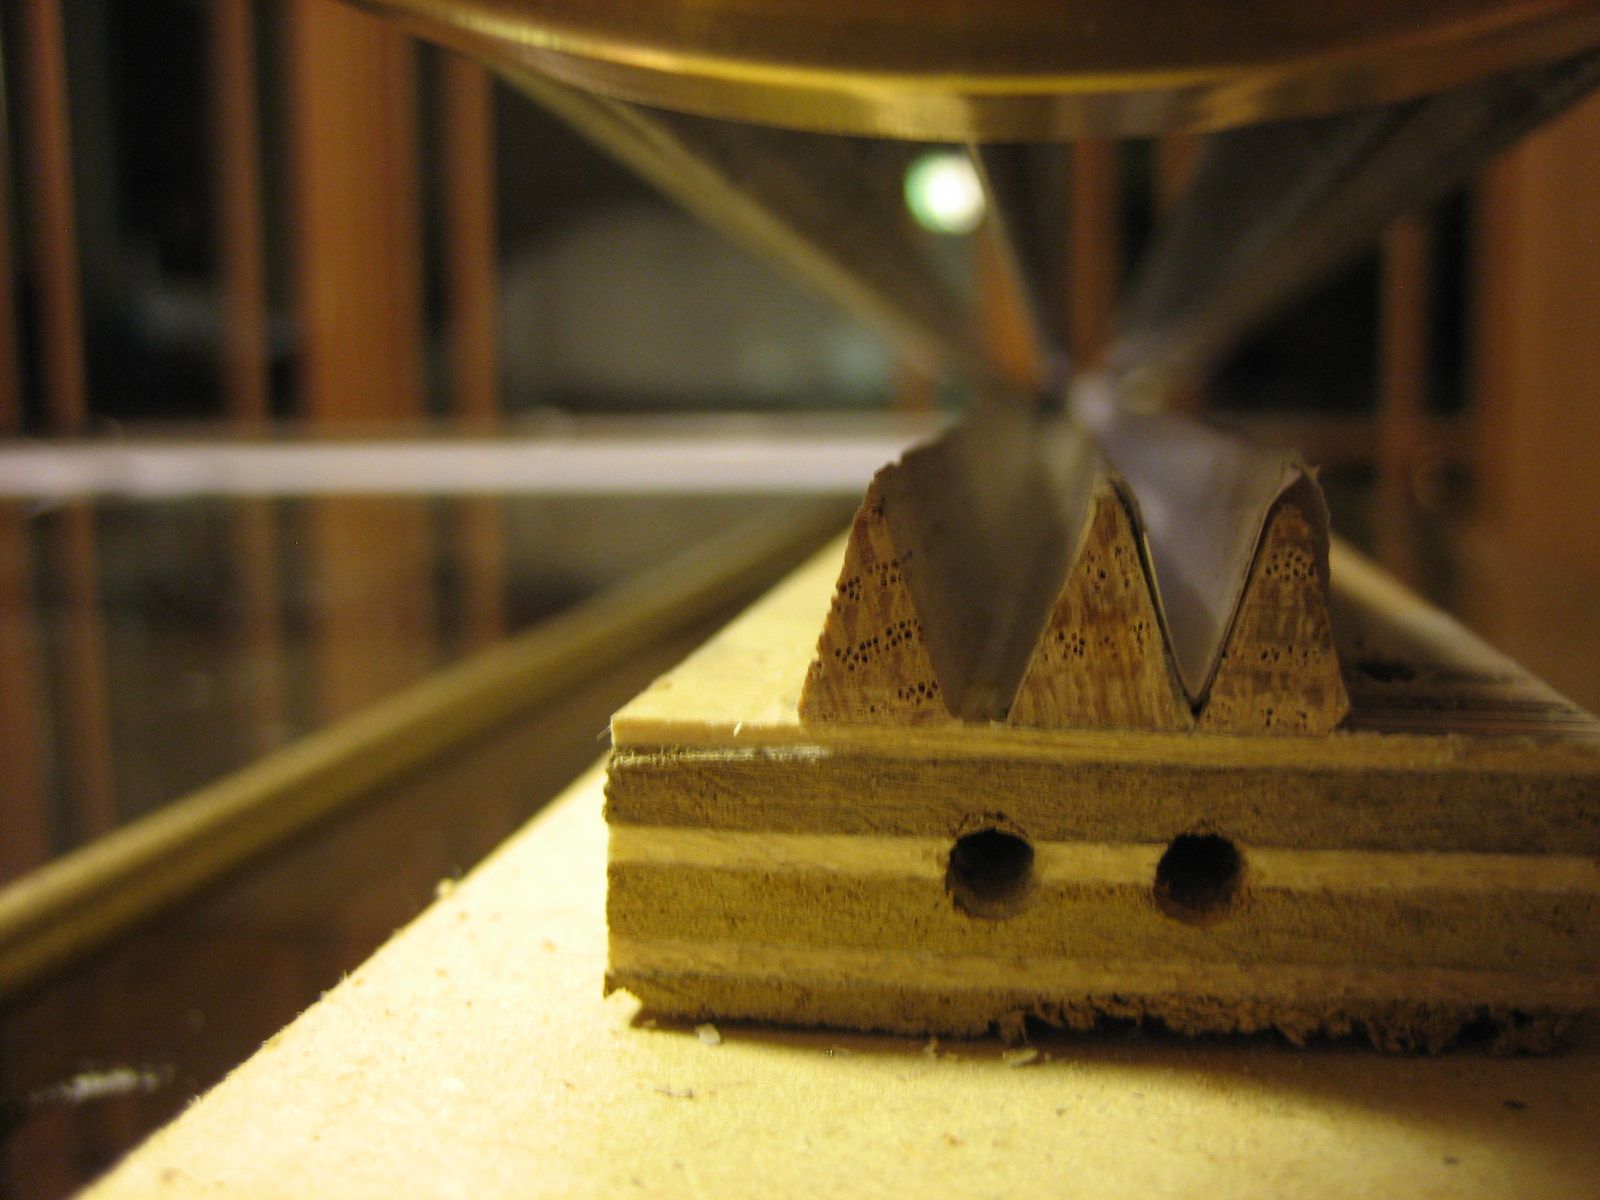
Because the glue is still fluid at this point, and because the bent, coated paper strip is somewhat springy, it needs to be held firmly to the glue while it cures or else it tends to lift off one side of the triangle. To handle this I built a jig that can clamp the paper to the bar. It bears a couple triangular slots (one slightly wide than the other) made by gluing some of my modeling bars to a stretch of wood. A bar of the envelope can be dropped into the slot and held tight with rubber bands to keep the paper pressed into the glue while it dries enough to continue working. That took about 1/2 hour per bar, so getting all the bar scales on the envelope took a couple days.


Rescaling the Slide
I used steam to remove the paper from the drum. The scale was not wrapped directly on the drum itself, but rather it was glued to the surface of thicker paper that was in turn glued to the drum.
The drum turned out to be made of 8 slats of wood, nailed to octagonal forms both at the ends and in the interior.


Brass caps cover and are glued to the ends of the drum. The ends of the drum are slightly recessed to accommodate them. When in place, the rims of the caps are more or less flush with the rest of the drum.


I sanded the wood and removed all the corrosion from the caps. I then re-glued the caps to the drum, and then wrapped/glued several layers of plain paper around the wood cylinder to form a smooth surface everywhere.
I prepared the slide scale with polyurethane as described above, but did a sloppy, uneven job. This left the poly thicker in some places than in others, leaving a spotty appearance that resembled a somewhat aged original. I then glued it to paper-covered drum using silicon glue.
There are were two difficulties in gluing the slide sale. First, the length of the scale had to be exactly right so that the edges met with no over- or underlap. There were a couple ways I approached this. First, I tried to get the drum's circumference to match the scale's height by pre-wrapping with just the right amount of paper. But I also had to re-generate and print the scale PDF (from PostScript) with various slightly different amounts of vertical stretch, and then select the one that fit best: leaving about 1/64" overlap. When the layer of glue was taken into account, things came out just about right.
The other difficulty is getting the horizontal alignment right, i.e. wrapping the scale so its edges exactly line up. I first fit the dry scale to the drum and got it all lined up when it was easy to adjust. Then, without shifting anything, I taped one edge of the scale to the underlying paper in several places. I used "Post It" tape that can be easily removed.
This let me set the drum down and unwrap the free (untaped) edge of the paper enough that I could apply glue to a good part of underside. It was important to apply only a thin layer of glue using a hard ink roller: too much would have increased the diameter of the drum enough that the scale would underwrap. I then rolled the free edge back onto the drum, carefully removing the tape to free the other edge. Now that one edge was glued, I unrolled the other, applied glue and re-rolled. Finally, firmly rolling the entire drum over a smooth hard surface (a glass tabletop) got the paper to glue evenly over the drum surface.
Finished Result
After also straightening the left stanchion, the finished re-scale job looked pretty reasonable to my eye:
The alignment of the scales is good, and the new scales, while distinctly whiter than the original instruction label, are still a little yellow/brown and don't clash too much. And the brass now shines some but still has an oldish patina.


No doubt K&E had better ways to accomplish this feat, but I'm proud to own the only Thacher re-scaled in the last 40+ years!
Page updated
Google Sites
Report abuse