Embedded Files
My order arrived.
I tried to fit it all on Ponoko's medium sized sheet (P2 384.0 x 384.0mm) to get the most bang for the buck. It did fit with room to spare, however, I had the distinct image in my head of wanting to try to bend a strip of acrylic to make a nice looking inner wall for the tank. This strip exceeded the sheet size so I ended up not using the bits that formed that part out of three pieces and made it from a larger sheet that I had lying around.
Here, I am quickly outlining my latest 'experiment', namely using Ponoko's laser cutting services. I designed a little aerated etch tank made from 4.5mm acrylic sheet and ordered it online.
The tank is aerated by a cheap fish tank air pump feeding a bubble wall (all this and the fitting tube can be had from most pet shops).
It will fit a full standard euro board but it's flat shape helps to use as little acid as possible (150ml if filled up completely).
I got very excited when I first saw the precise cuts of the laser. All my parts were cut out cleanly without problems. The acrylic was not warped or blemished with residue from the cutting.
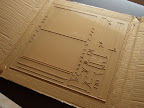
A closer inspection revealed however that the cutting edges were not smooth. The pulsed laser had left small ridges on the edges. It's obvious in the image of the beagle bone cover below.
For my purposes it didn't matter (It would have required some sanding if I had used the laser cut parts for the inner wall though).
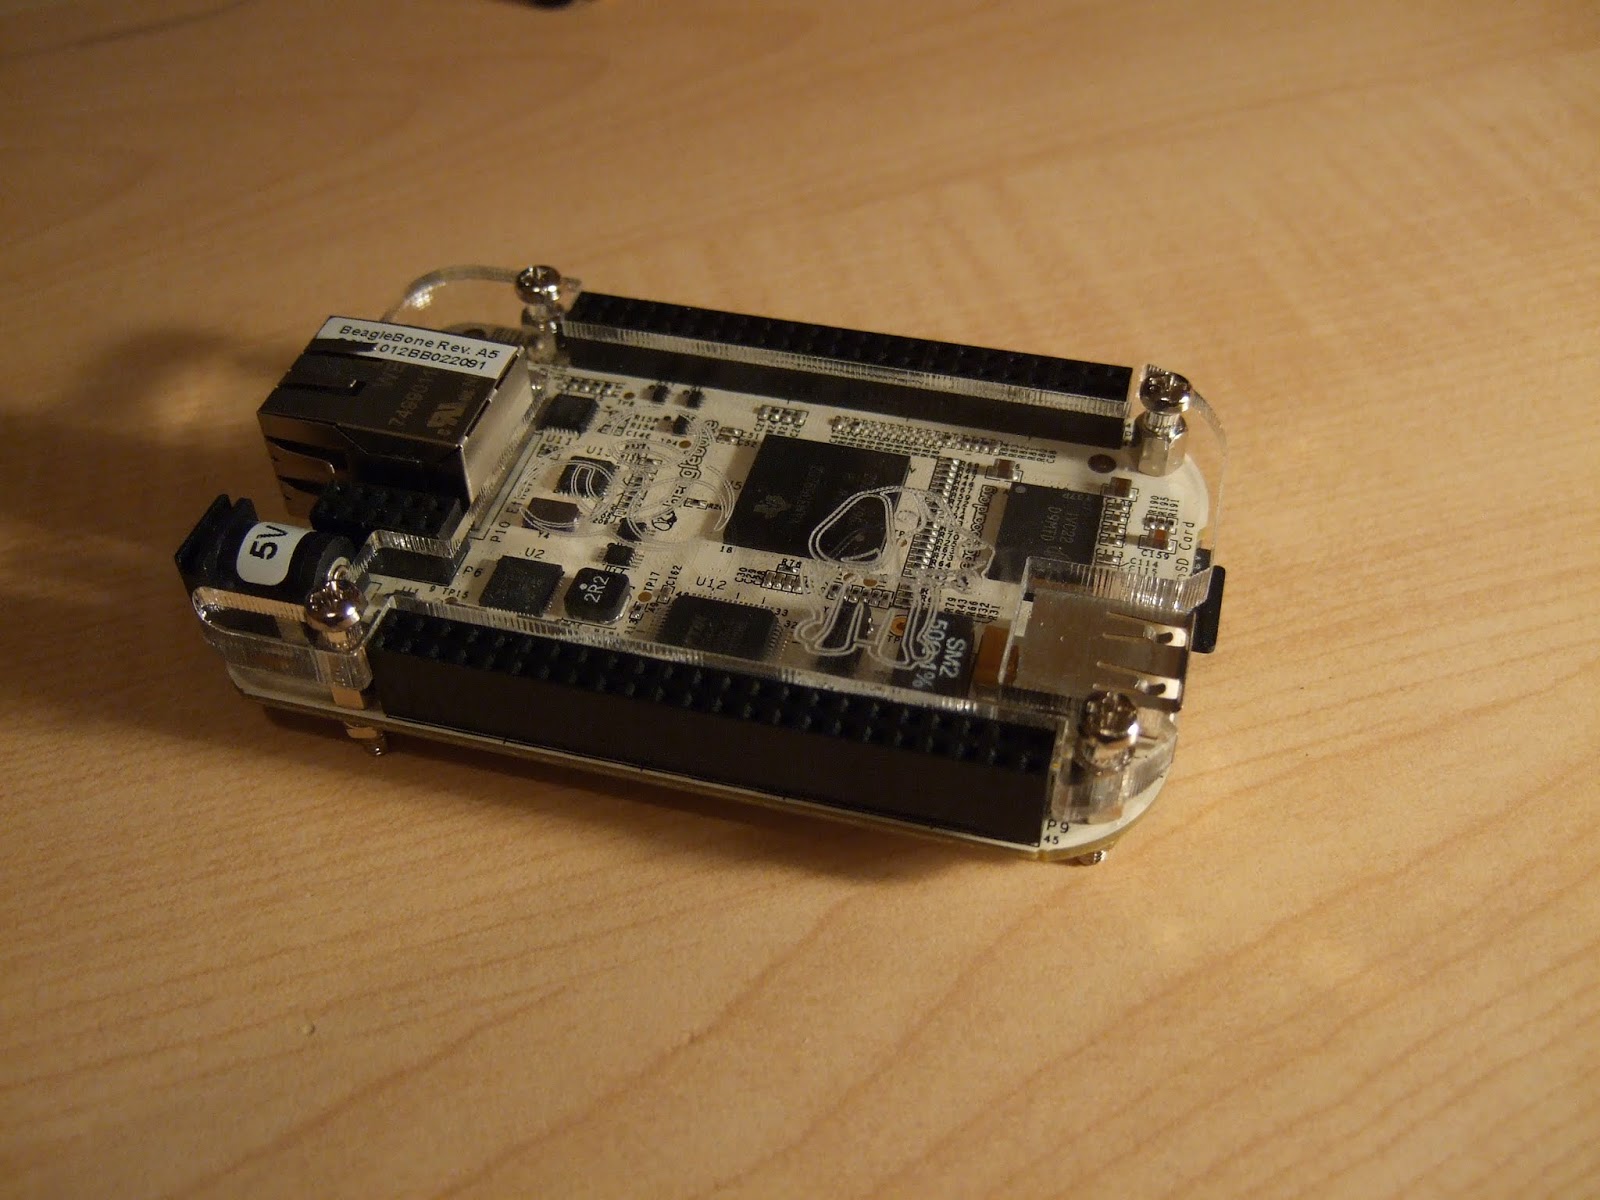
By-product: A cover for my beagle bone
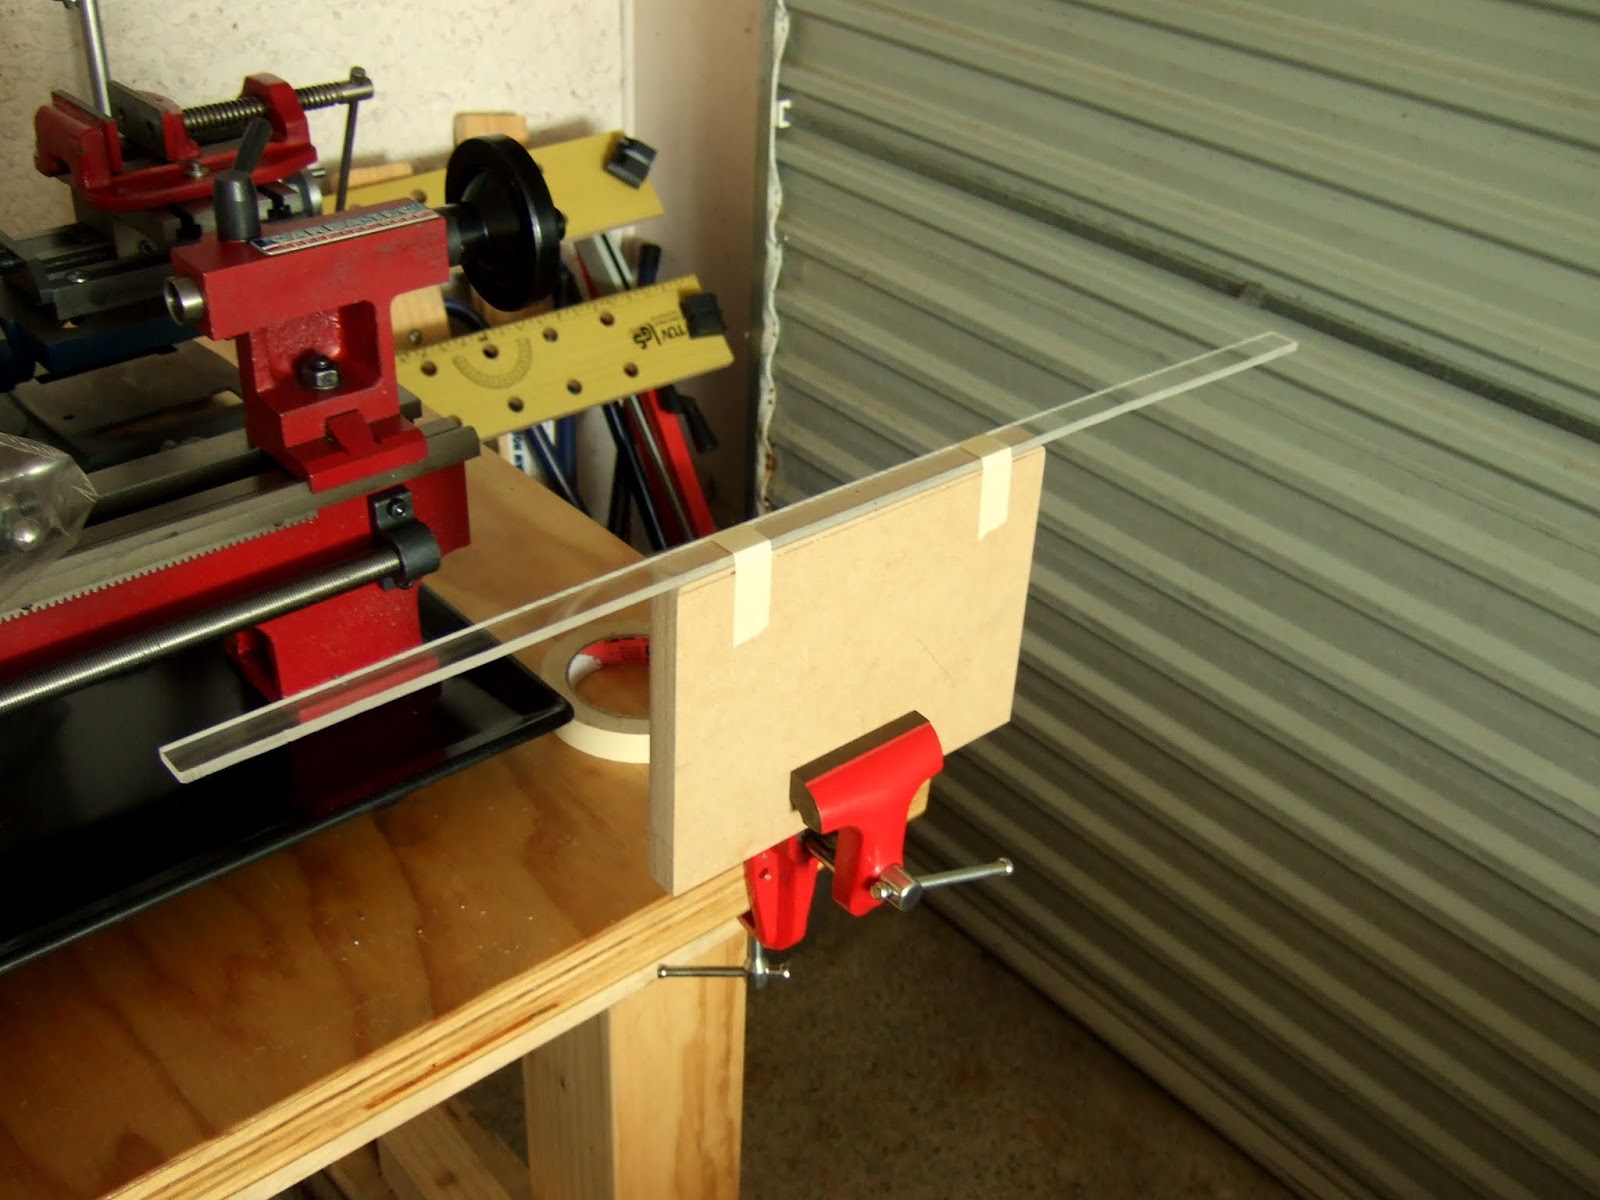
This is the inner wall, cut from a larger sheet, just before the heating and bending.

A heat gun makes this quite easy.
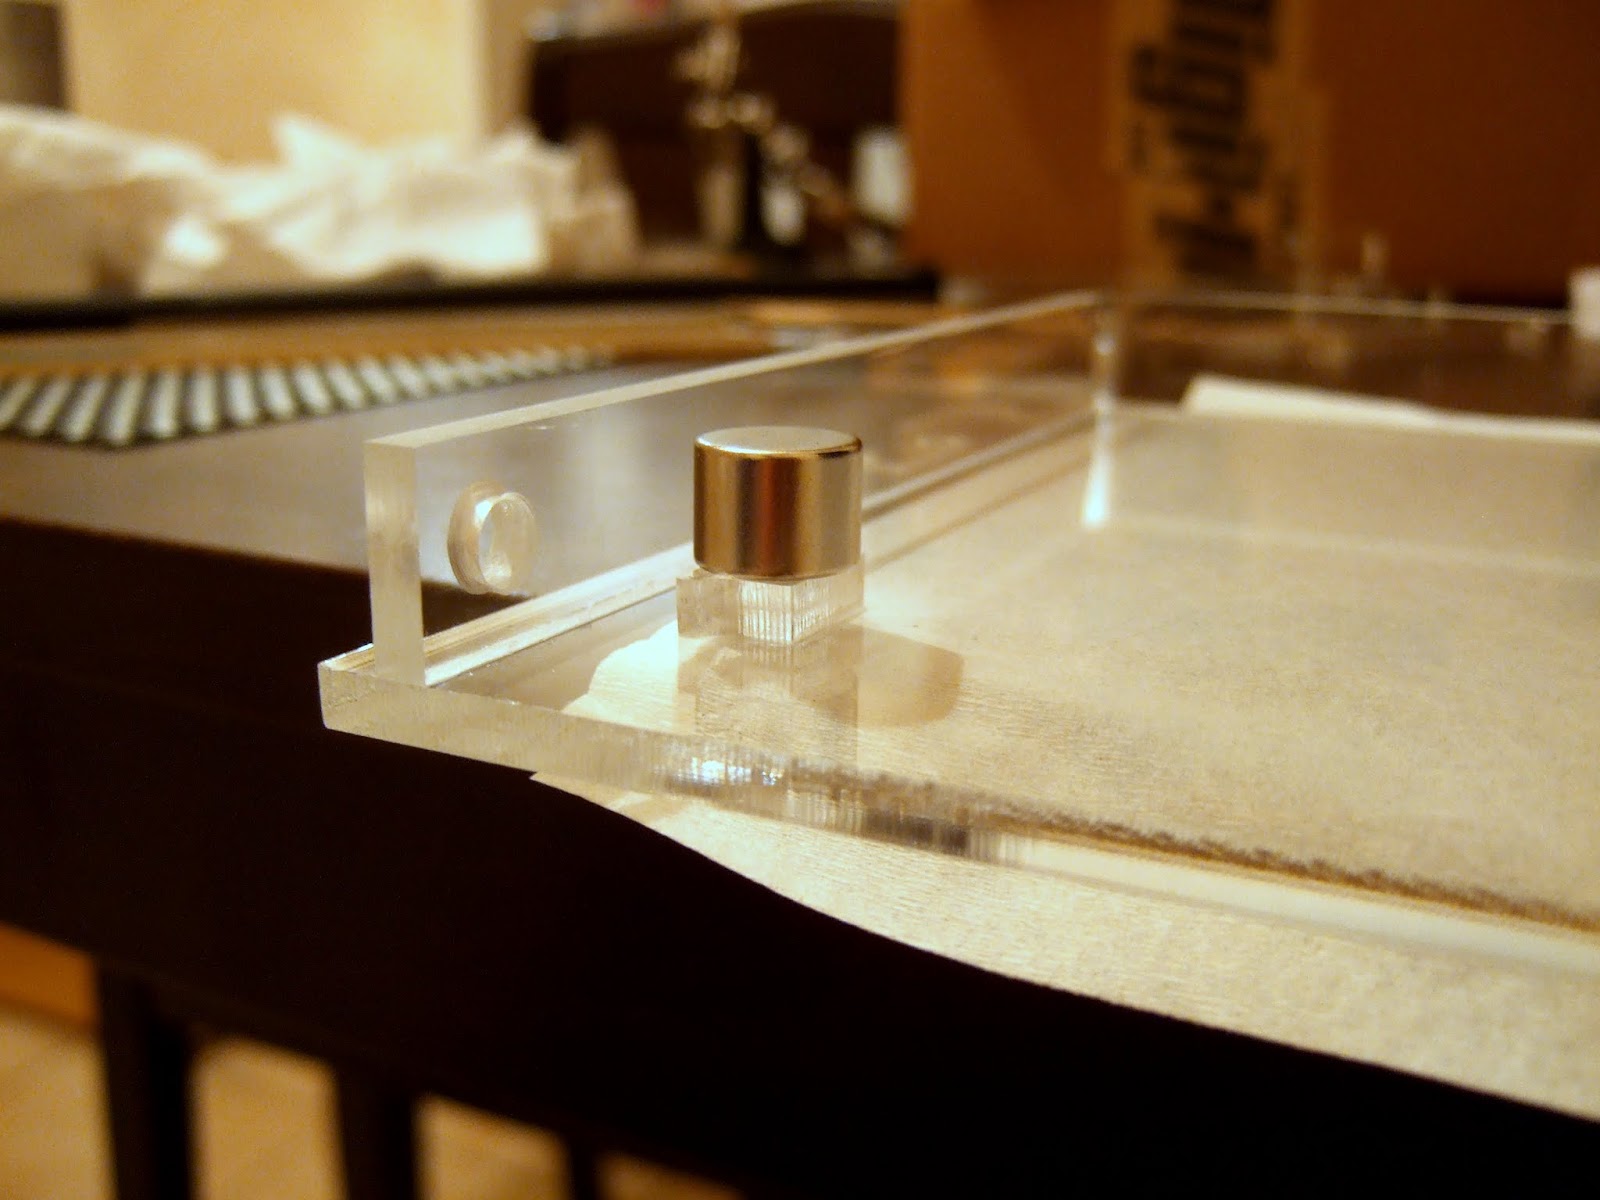
And the final part, the inner wall. The bending pushed the corners out slightly so I sanded the entire part on a flat surface. Later this wall is glued to the front and back walls and needs to be completely flush to them.

The inner wall is glued to the front and the little part held down by the magnet is going to be a holder for the pcb mount that will be suspended in the tank.
Epoxy was my glue of choice. I tried several other options but they would either stain the acrylic and/or not create a very strong bond. I didn't have special acrylic cement/glue at hand.
Next time I'd like try very low viscosity epoxy. Capillary action sucks it into the gap between parts without leaving any residue on the outside. (unfortunately I only got that insight later and only used it to fix some leaks. Also, all my low viscosity epoxies have a slight yellow tint, which wouldn't have looked very nice)

All done. The acrylic looks very good and catches light nicely.

Even the engravings came out nicely on my first try.

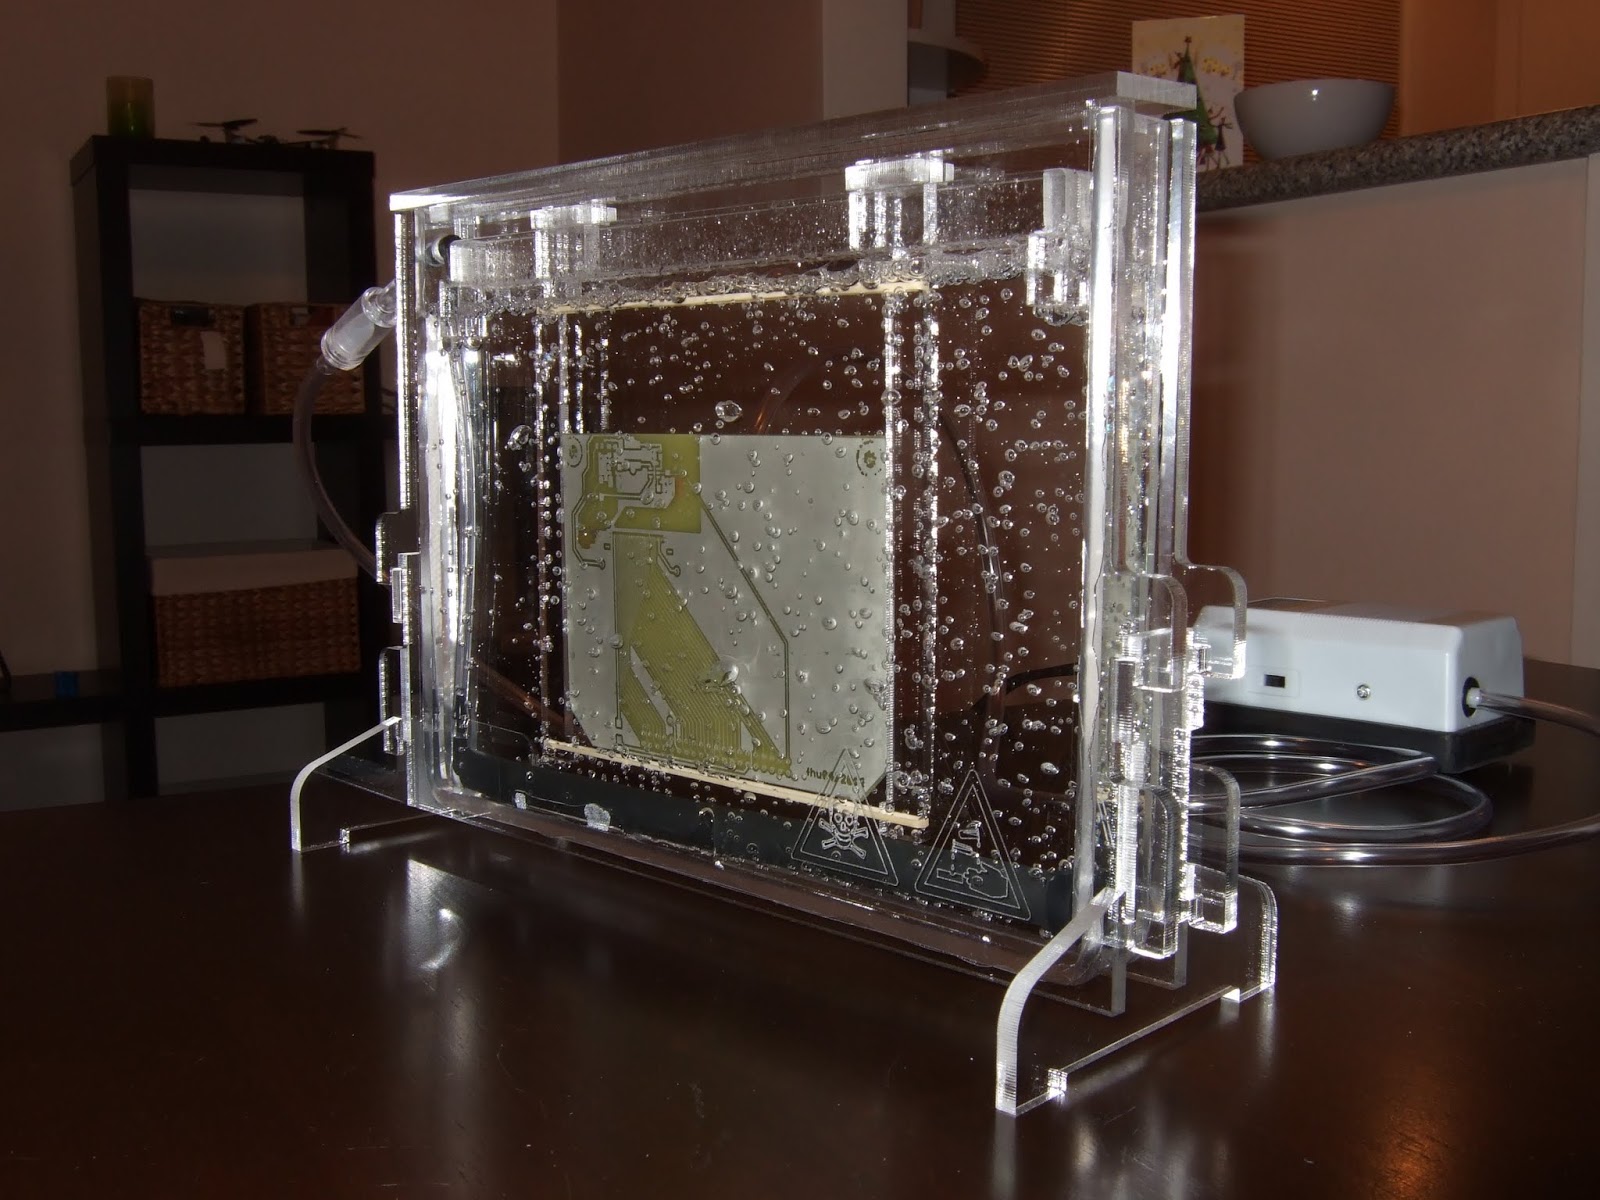
First full assembly with a dummy board and water to test for leakage and fit.
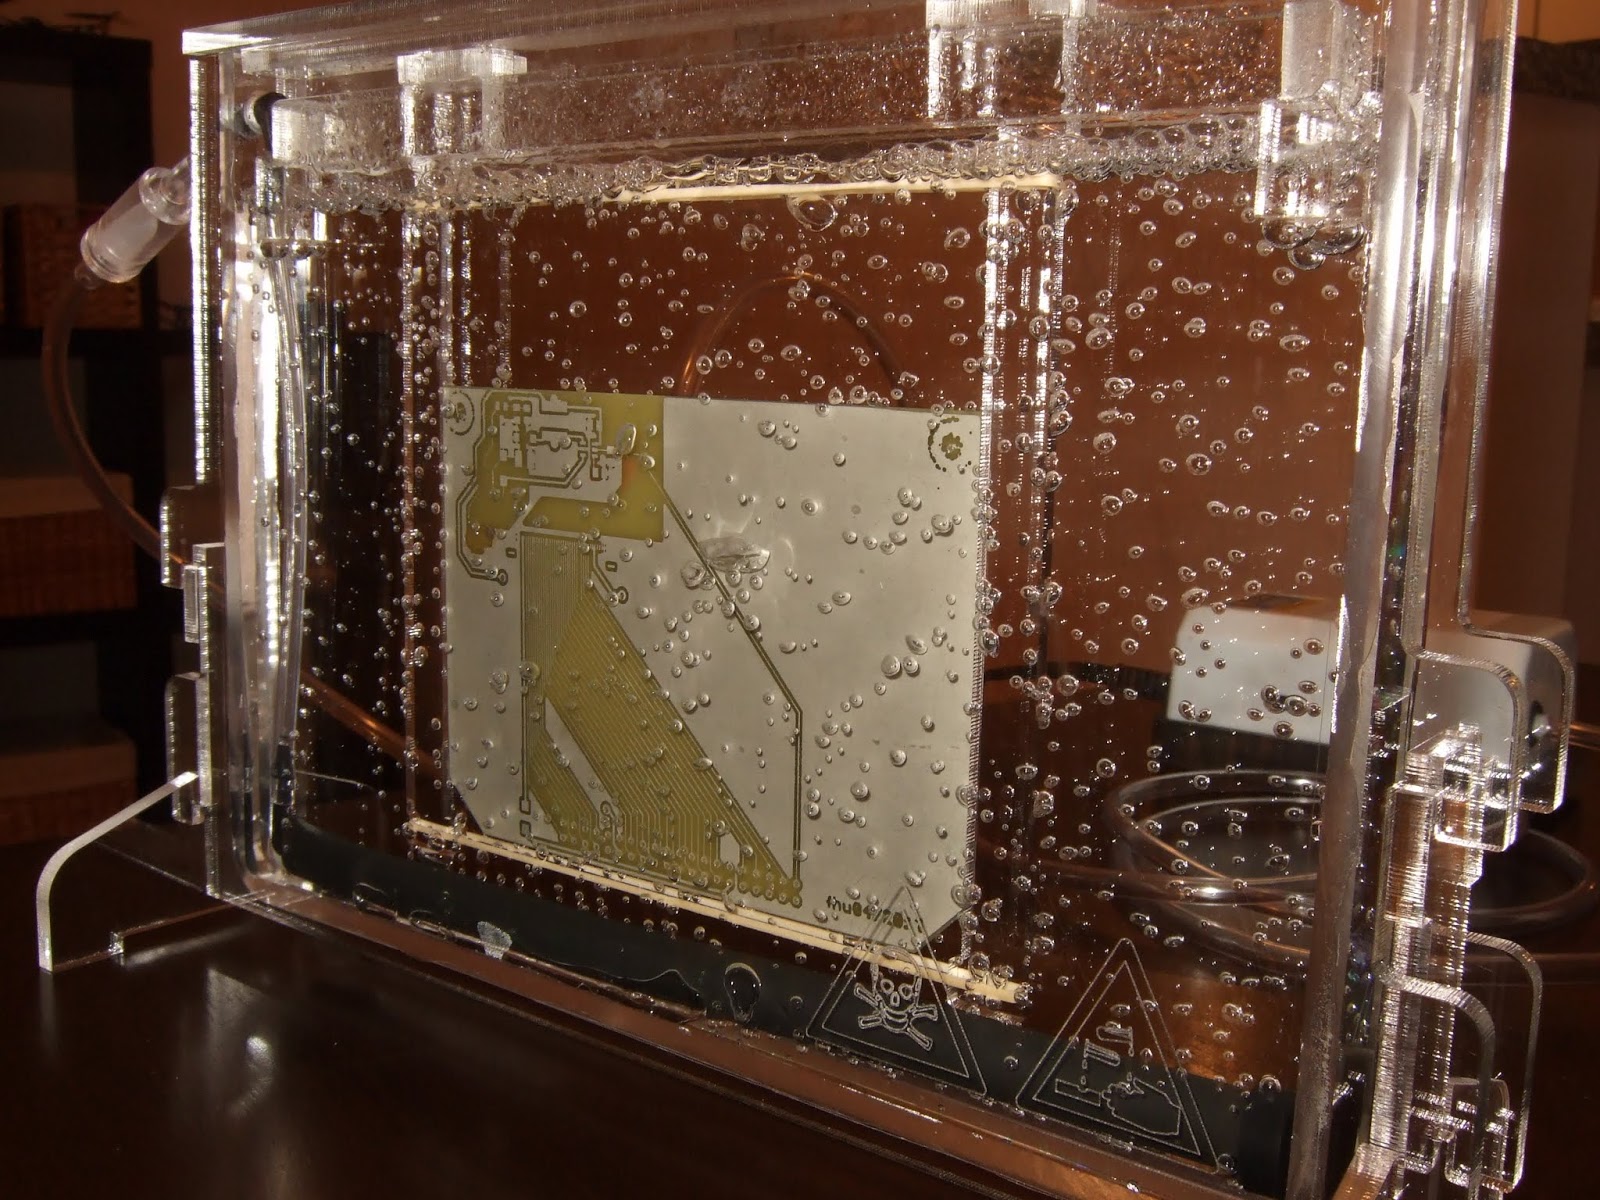
Bubbes..!

A real life test.
printing the traces on inkjet transparency film....

UV exposure...

after the developing the board we're ready to go...

1 part HCl(30%) + 1 part water + 1 part H2O2 (6%)
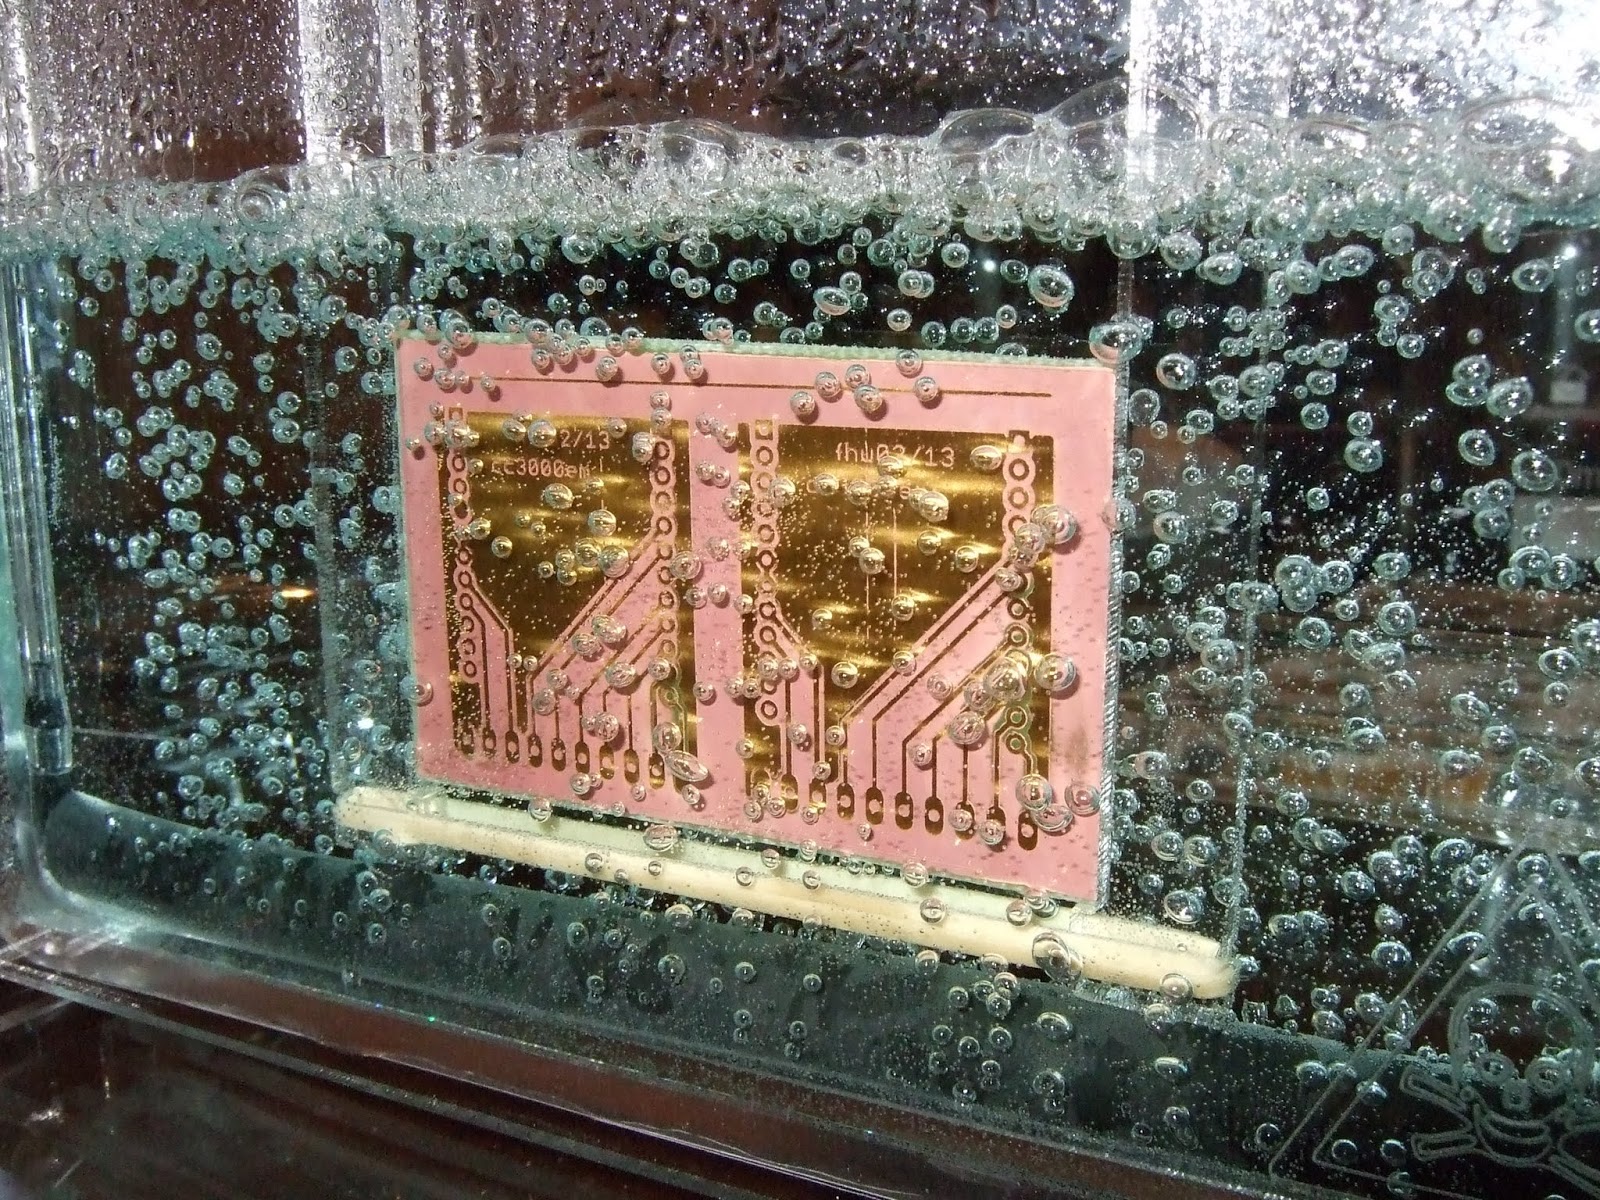

Works great !
Other projects you might like


Page updated
Google Sites
Report abuse