Embedded Files
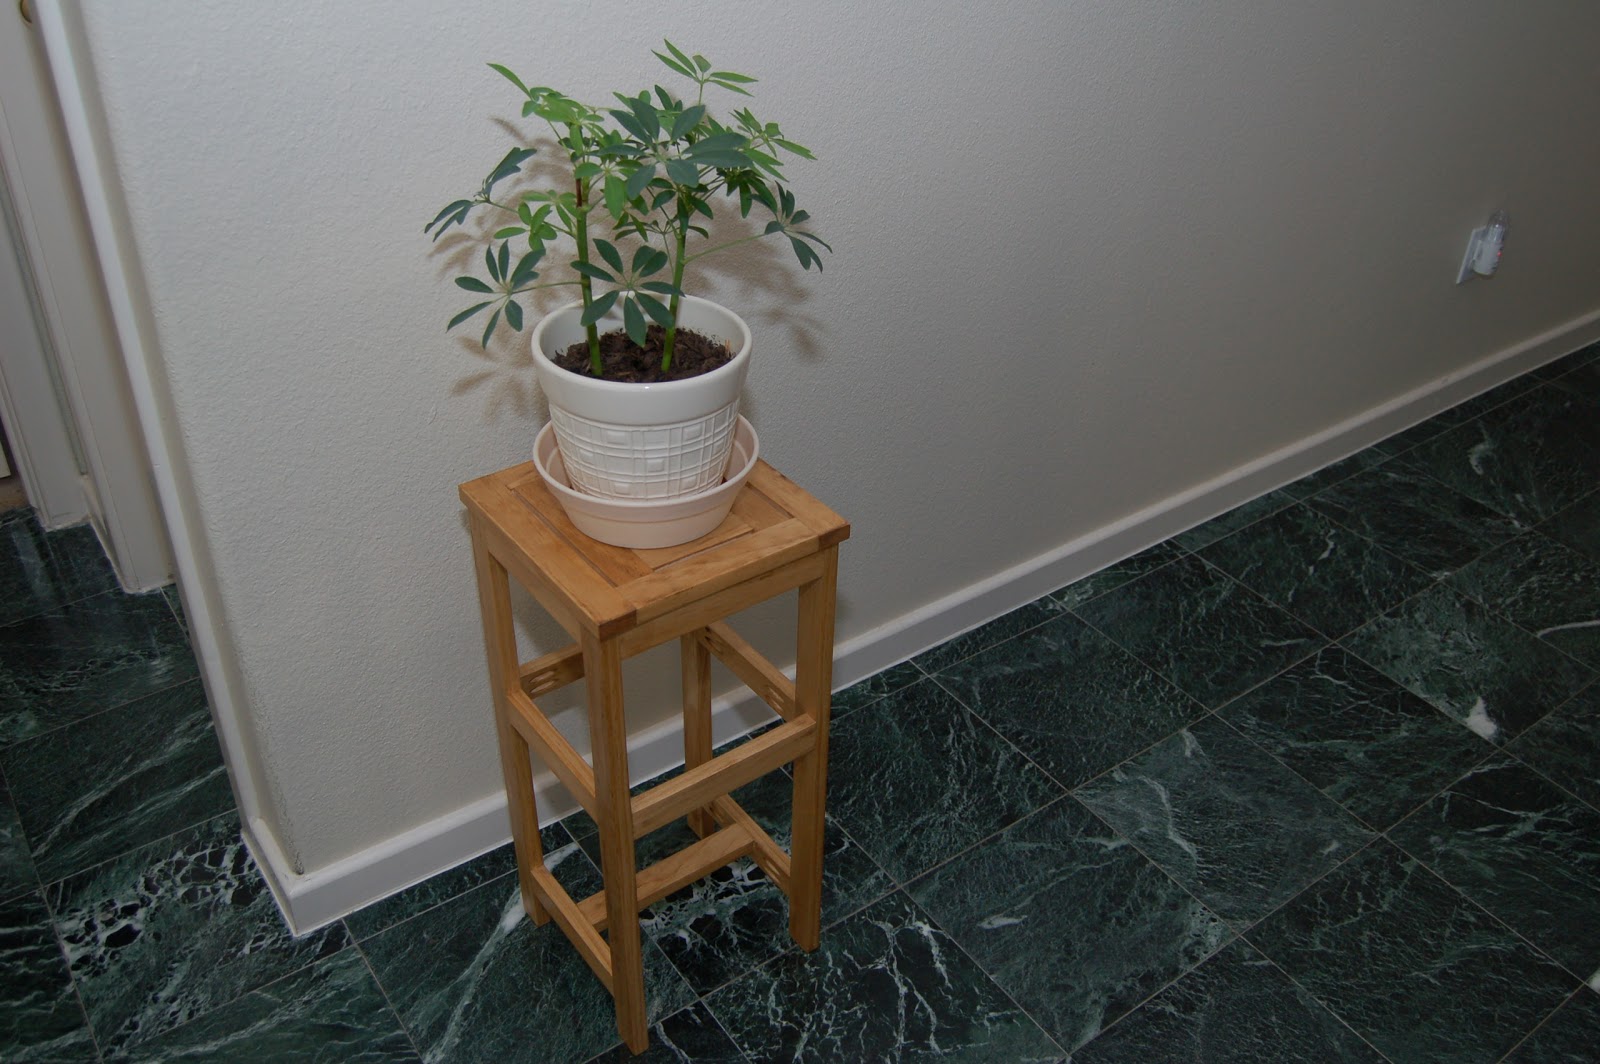
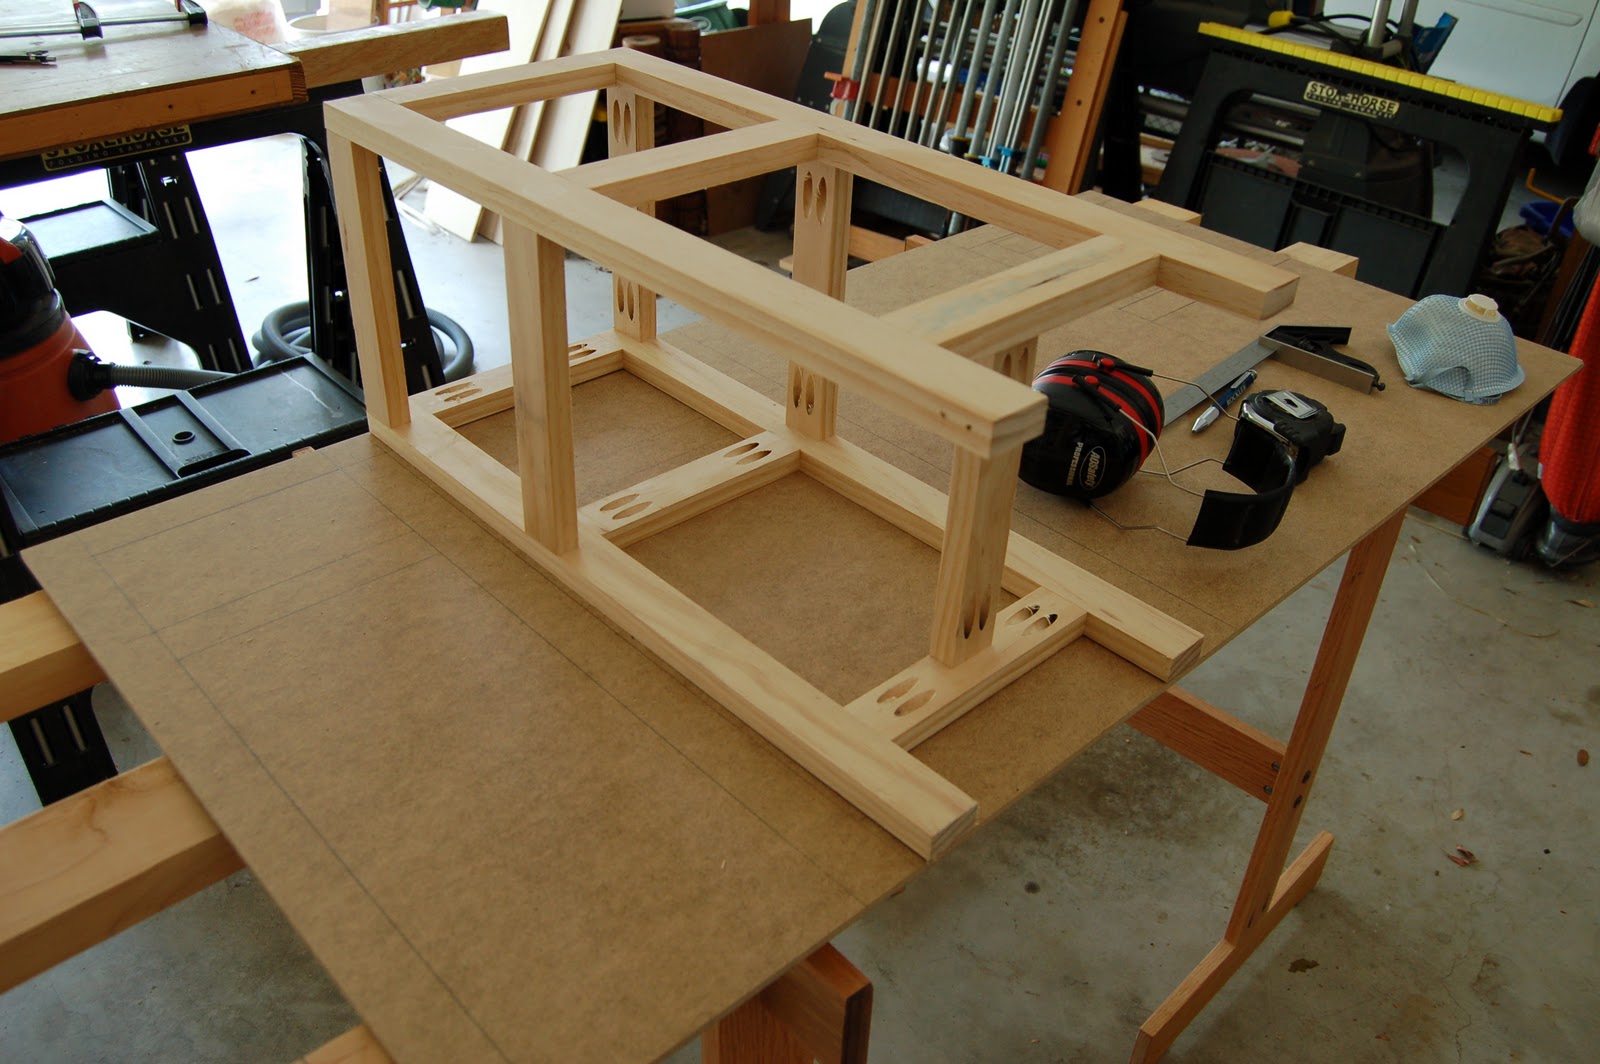
Wood material for this project was also bought for about $10 at the home center. The cutting of the work pieces and drilling of the pocket holes are the same processes as were used to construct the orchid planter. The frame that make up the stand is easily designed, again with just straight lines, with ample support structures that are at right angles to the four legs.Click picture to enlarge.
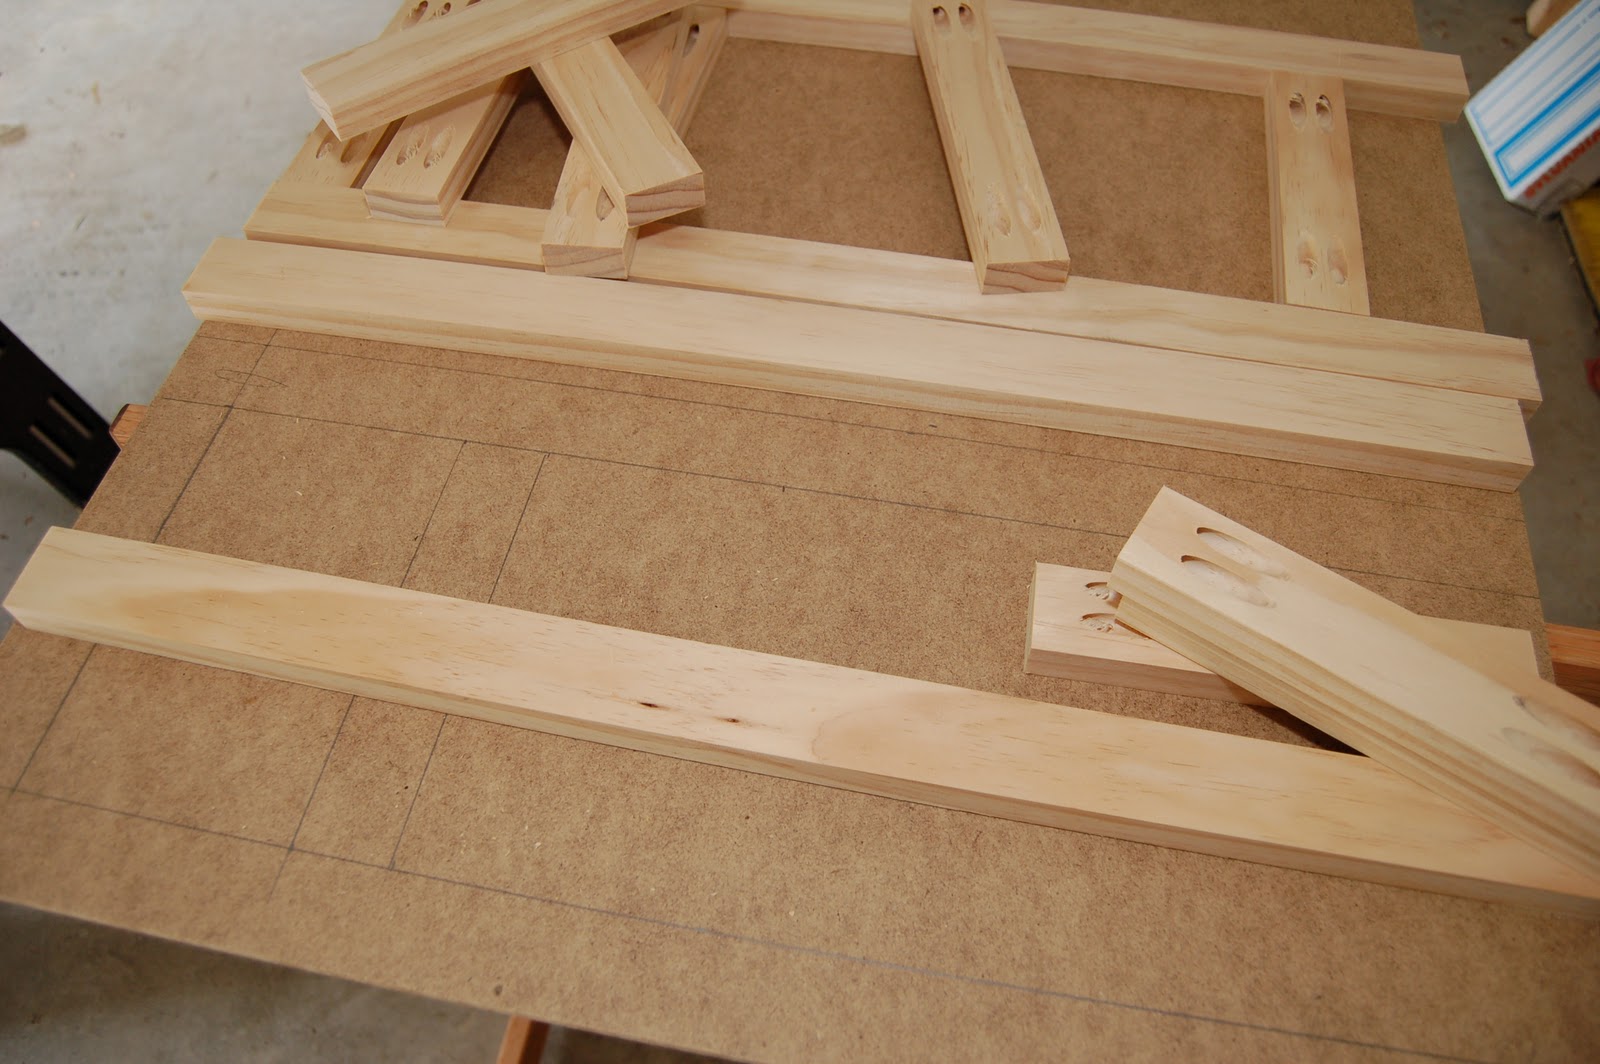
Drawing the lines on a hard board at full scale again is essential but easy to do. Carefully cut the four long posts at equal lengths but note that the short horizontal support structures have two different lengths if you want the cross section, when viewed from the top, to be an exact square. You'll discover this when you start drawing the lines of the opposite parts. A little note on the terms I use. "Work pieces" refer to individual cut pieces while "parts" are the partially assembled pieces that will ultimately make up the whole project.
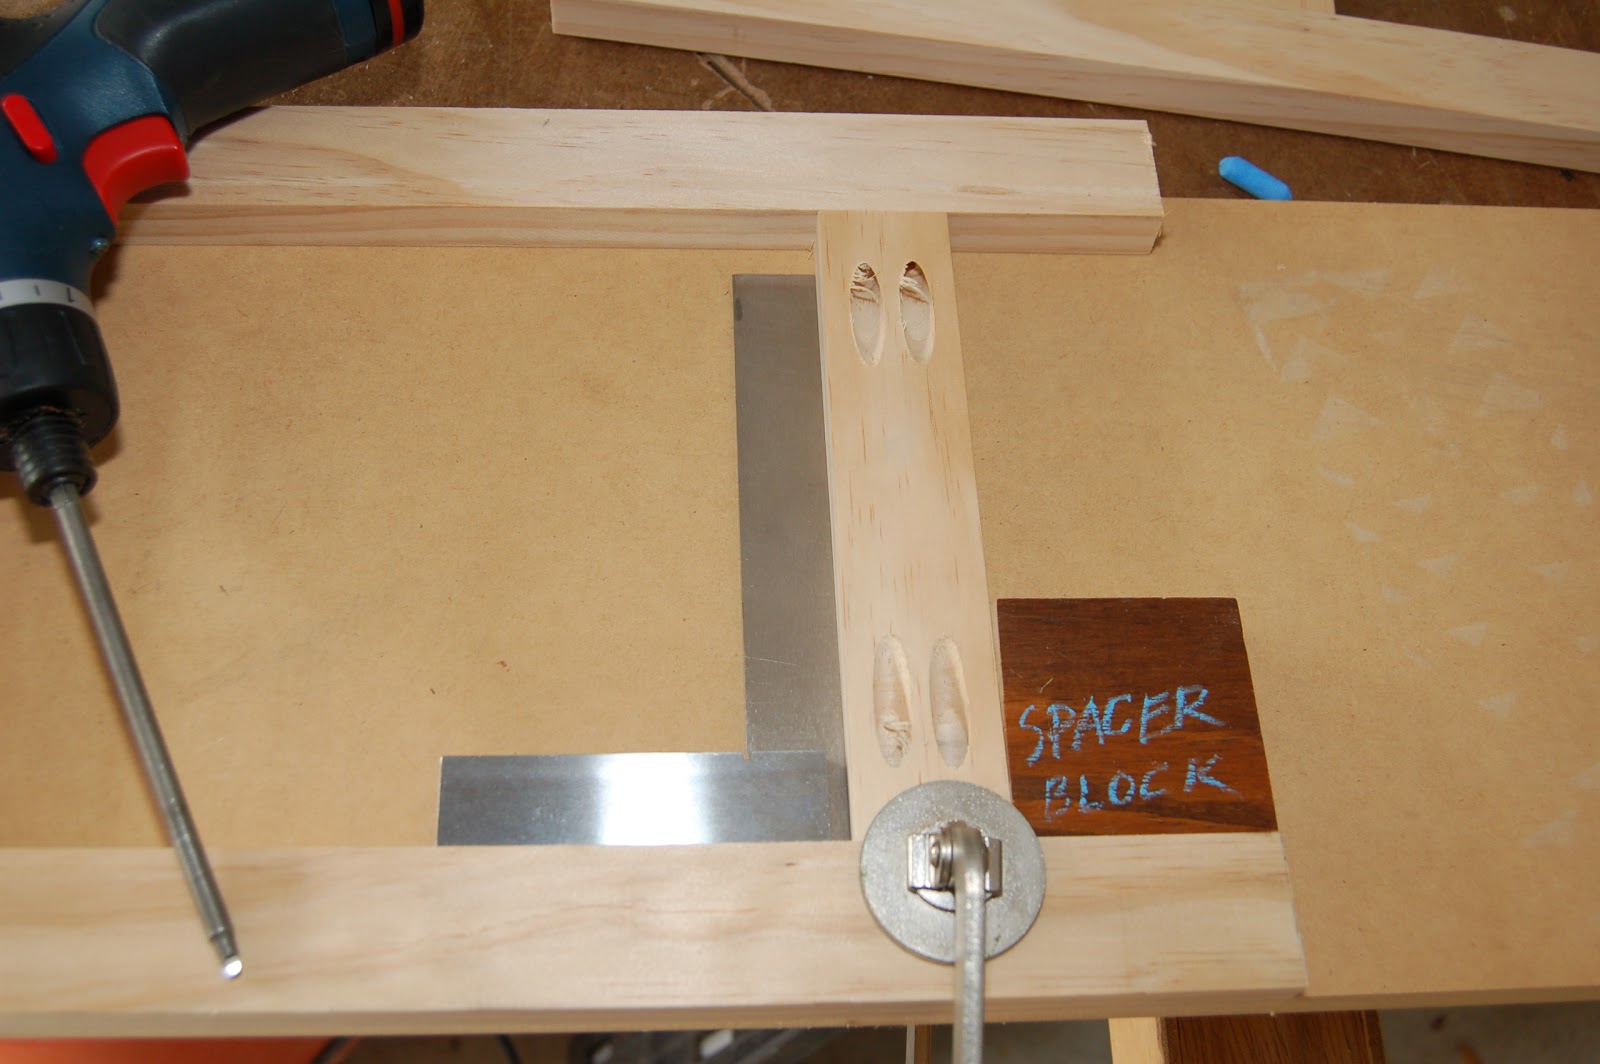
Below are three pieces joined to form one side of the stand. A spacer block ensures consistent placement of the rail piece and a square double checks for 90 degree fit.
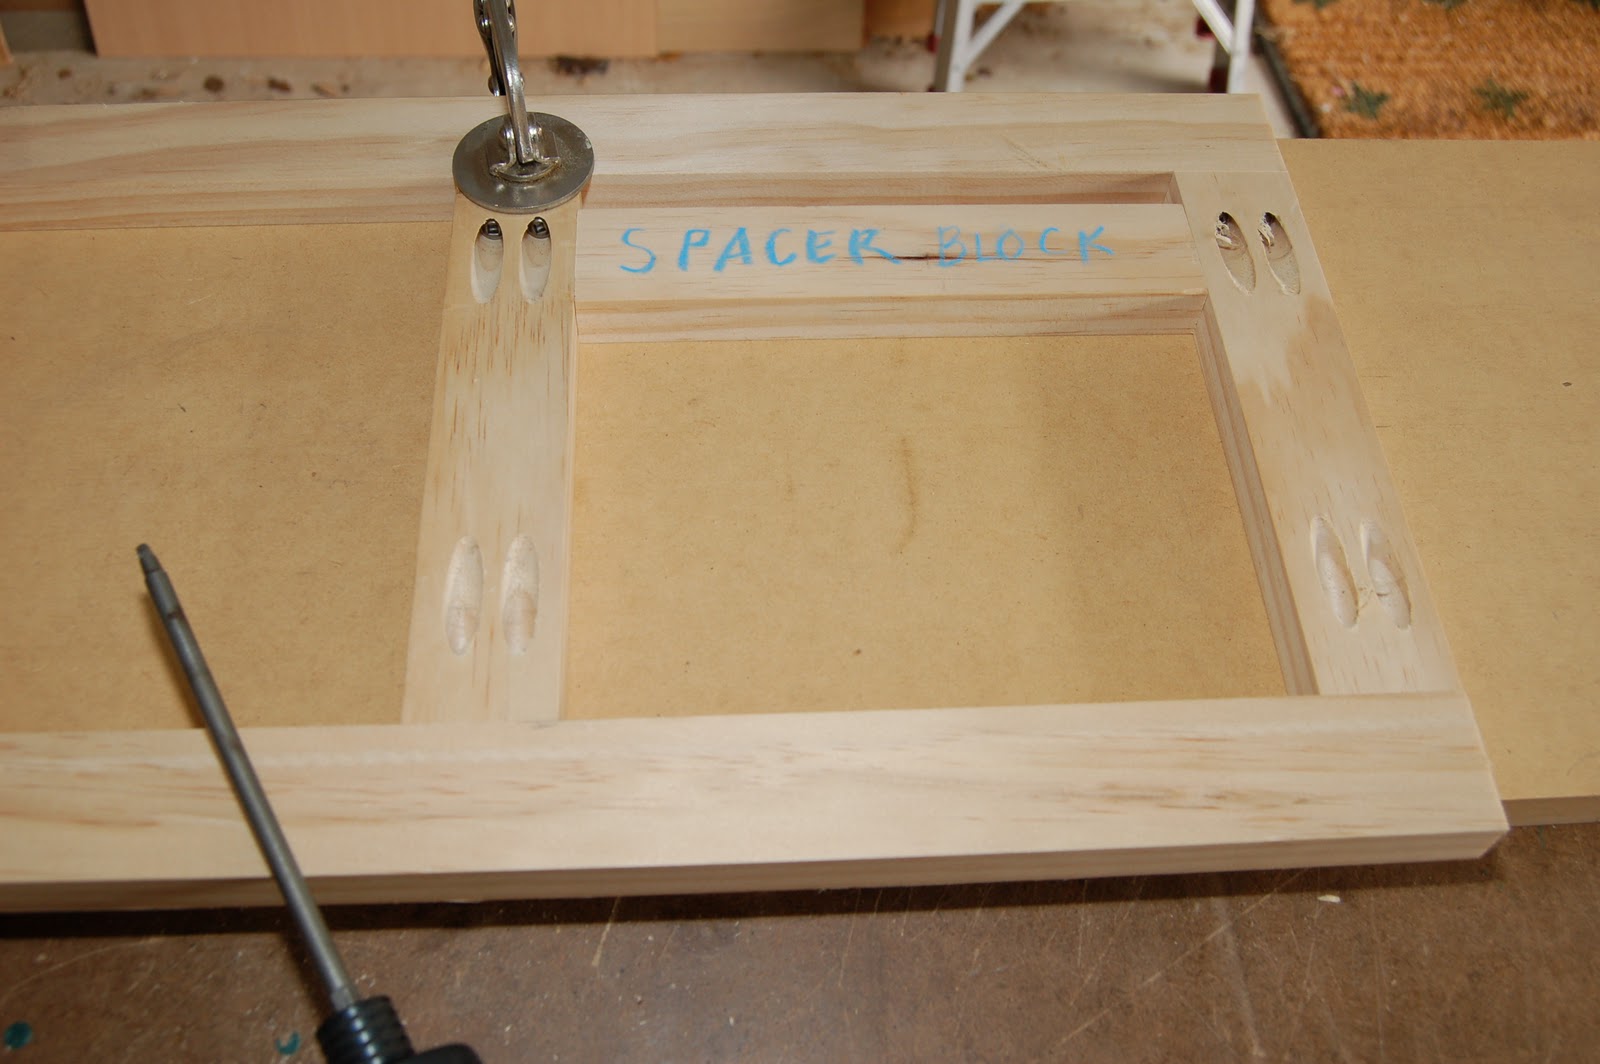
Another use of a spacer block to locate the rails equidistant with each other.
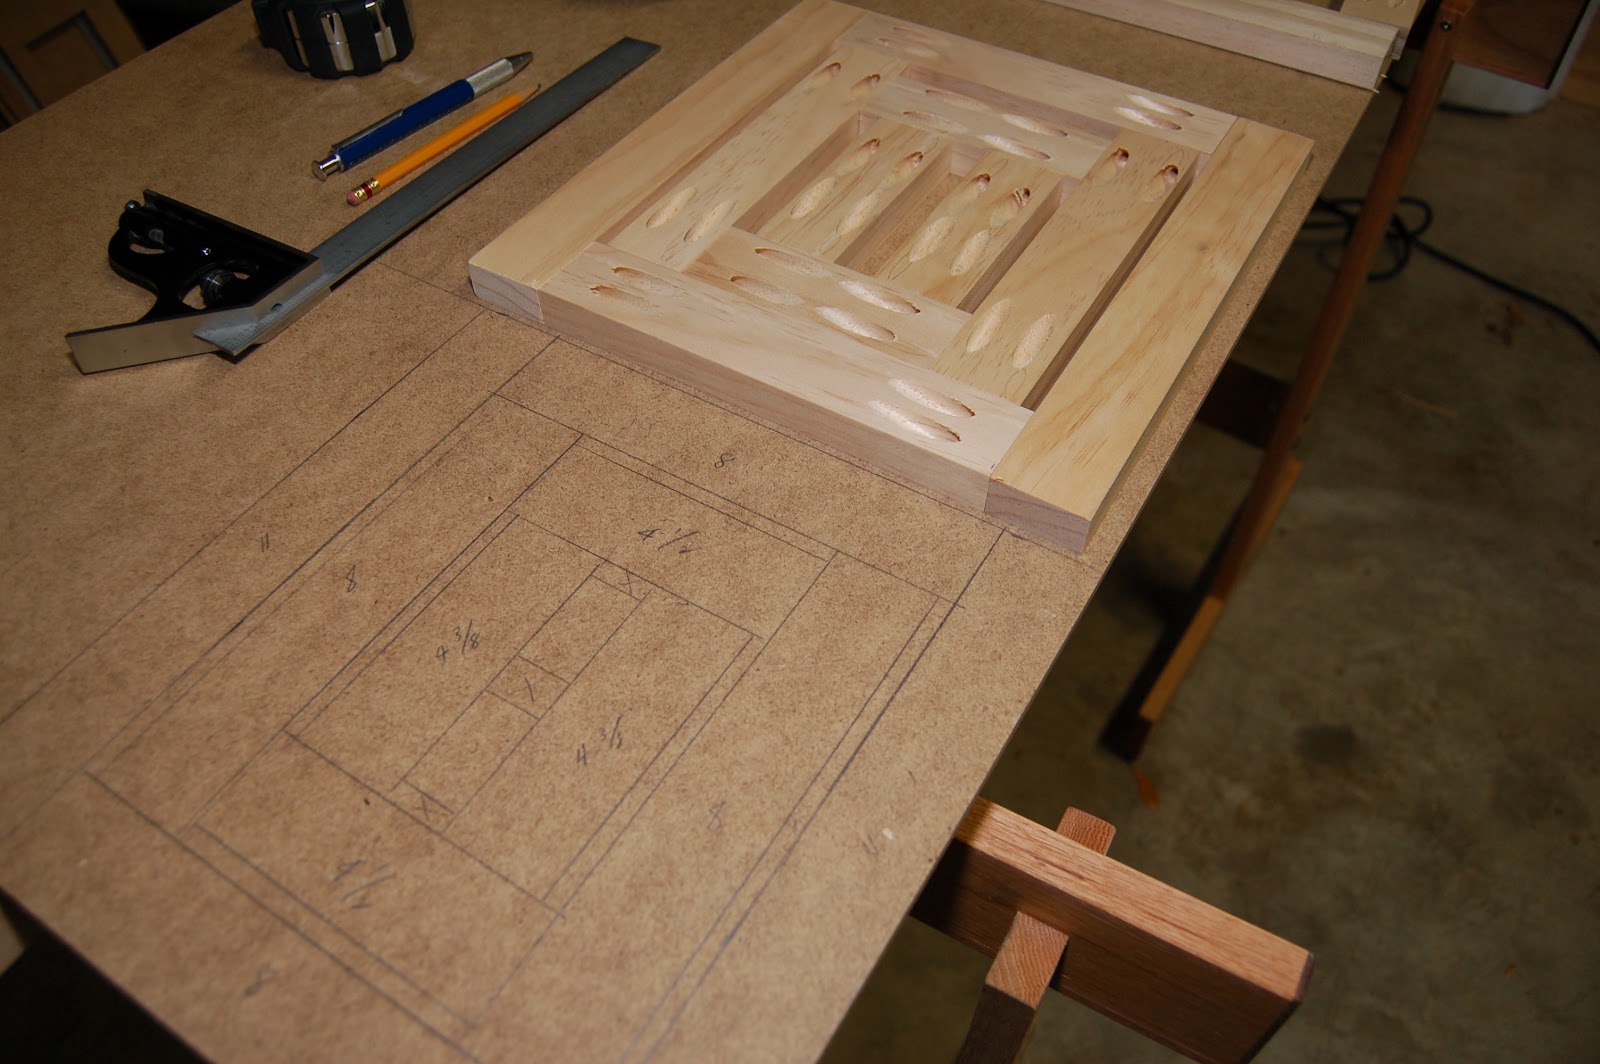
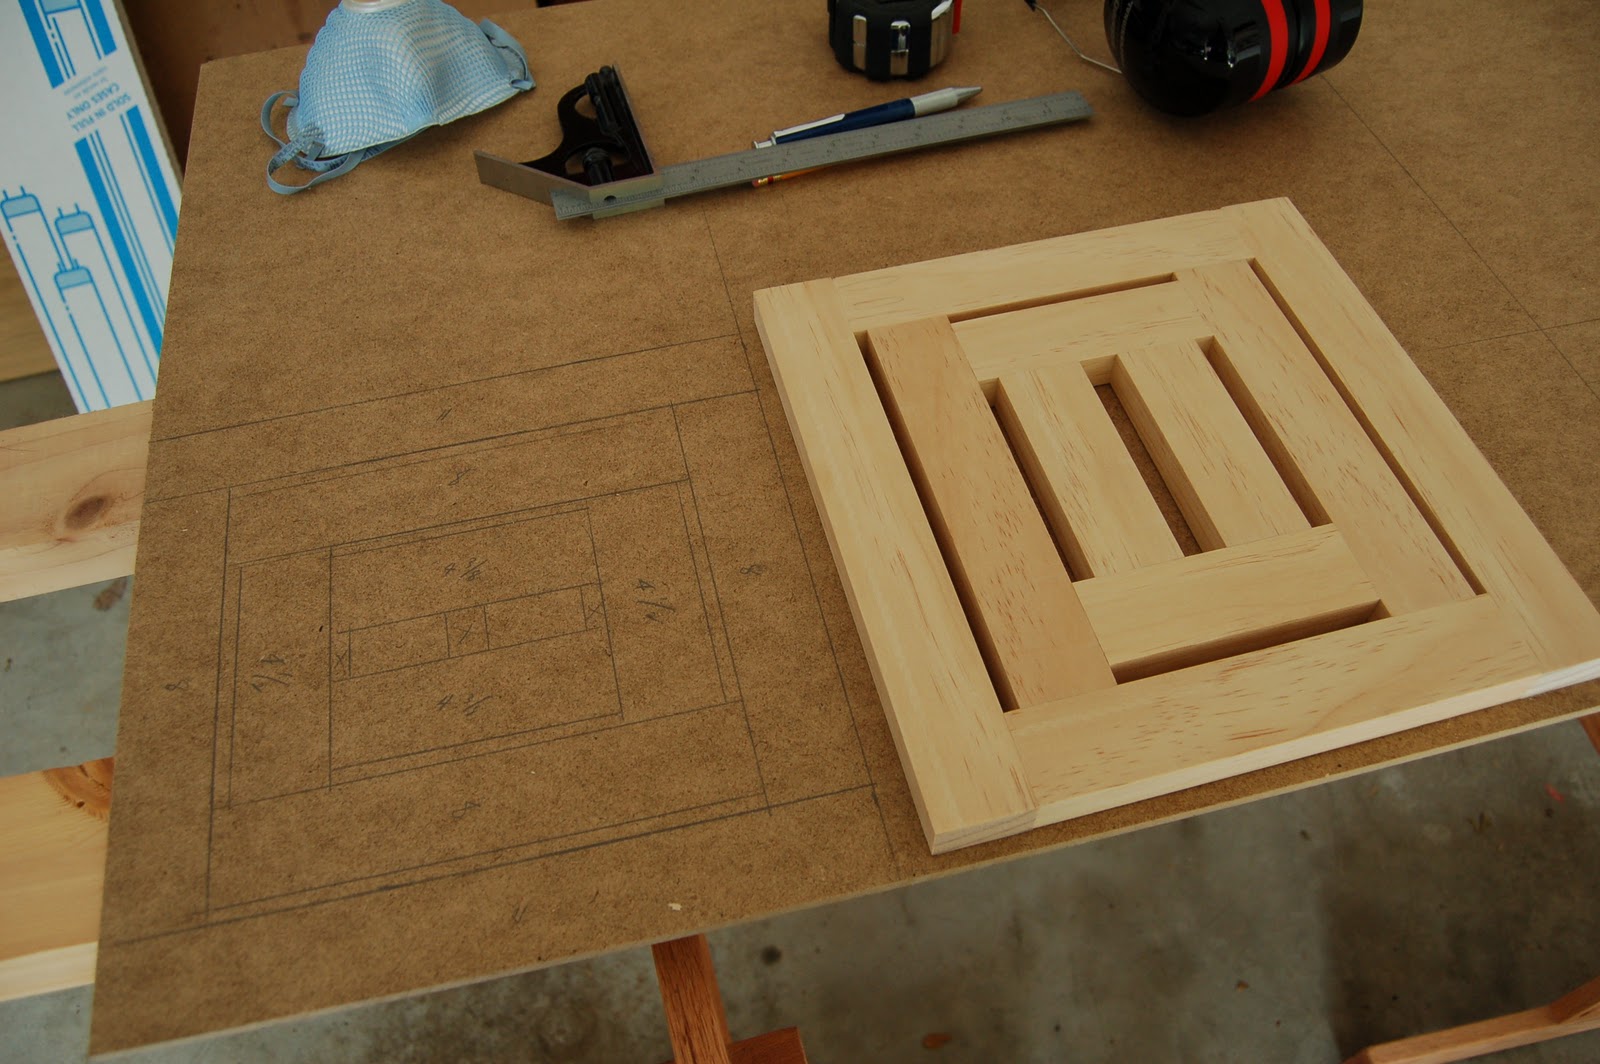
There are five parts to this project: four parts that make up the stand and one top. The top has many pieces joined together by pocket holes. It seems like a lot of pocket holes to do but by doing so you can achieve the pattern that it has without resorting to other more sophisticated joinery, yet this is stronger and easier than by any other method. And, more importantly, you will have a flat top with all the joints flushed with each other and all the screws are hidden underneath. Note the full scale drawings. They will help a lot when laying out the pieces and the parts.
From the top rail of the stand, fasten the top with regular screws (drill pilot hole and counter sink to avoid splitting the rail)
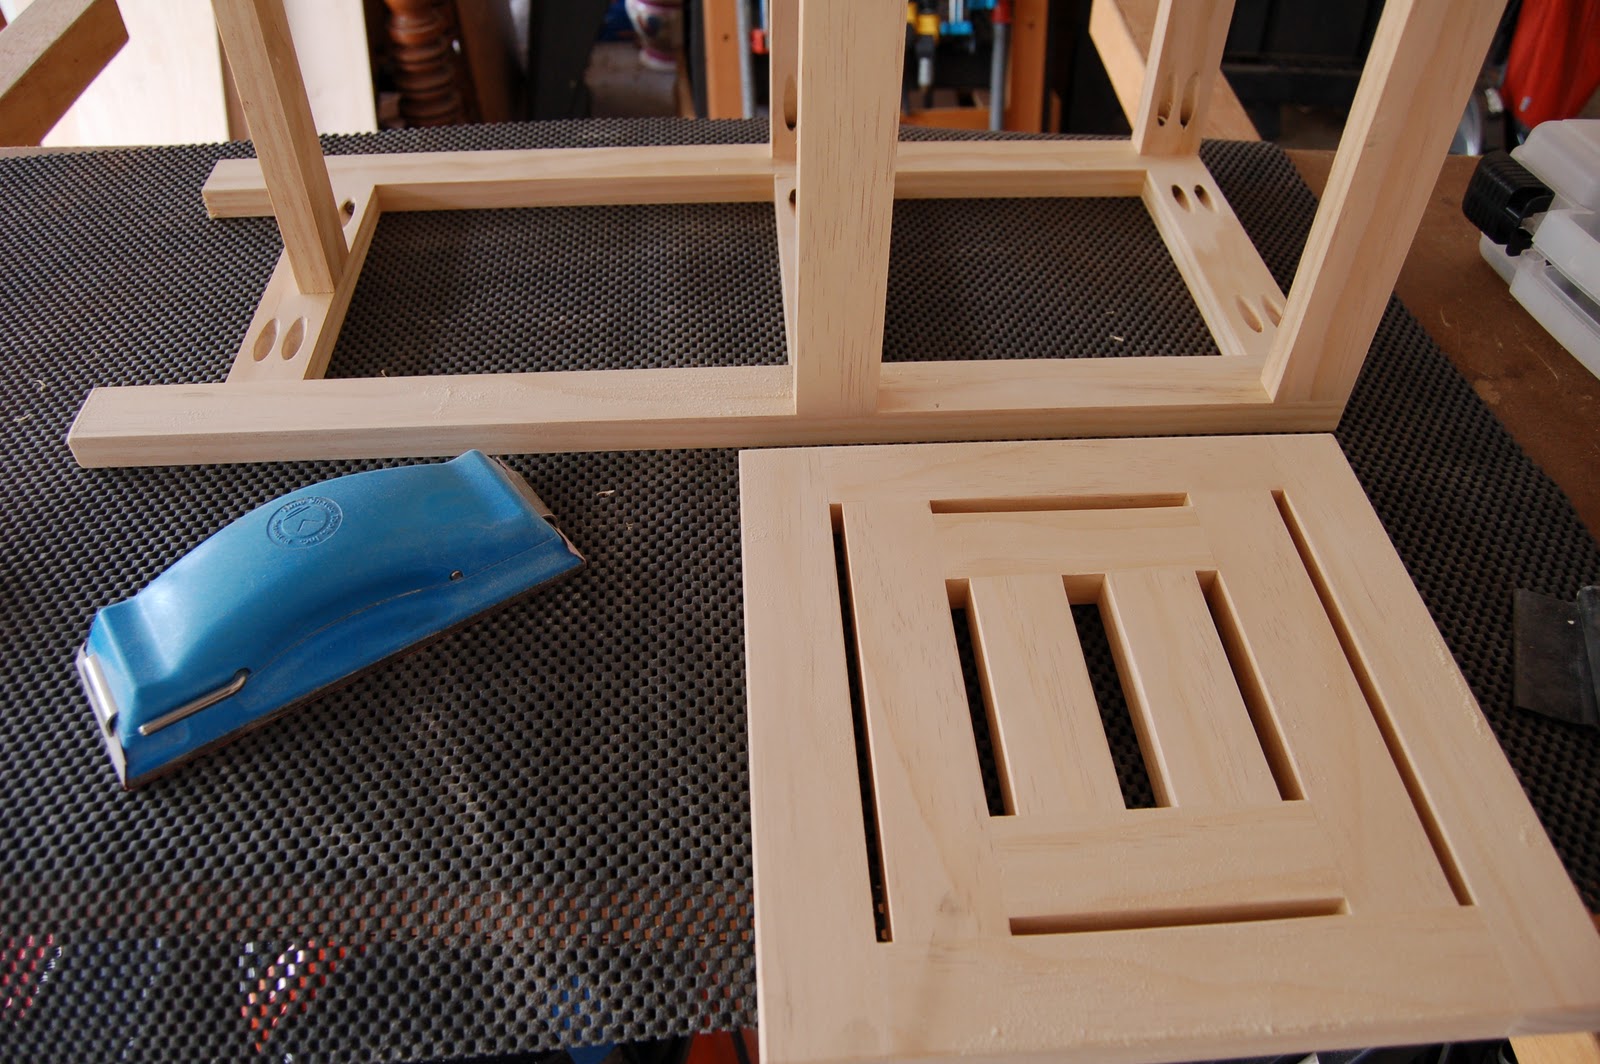
This project, even using soft wood like pine, is still strong enough to be used as a stool. However, you can actually make a more durable bar stool, for example, using oak or other hardwood with the basic principle and form of joinery.
With just a little practice and imagination, future projects are going to get easier and your skills will take you to higher levels of workmanship.

Page updated
Google Sites
Report abuse