Embedded Files
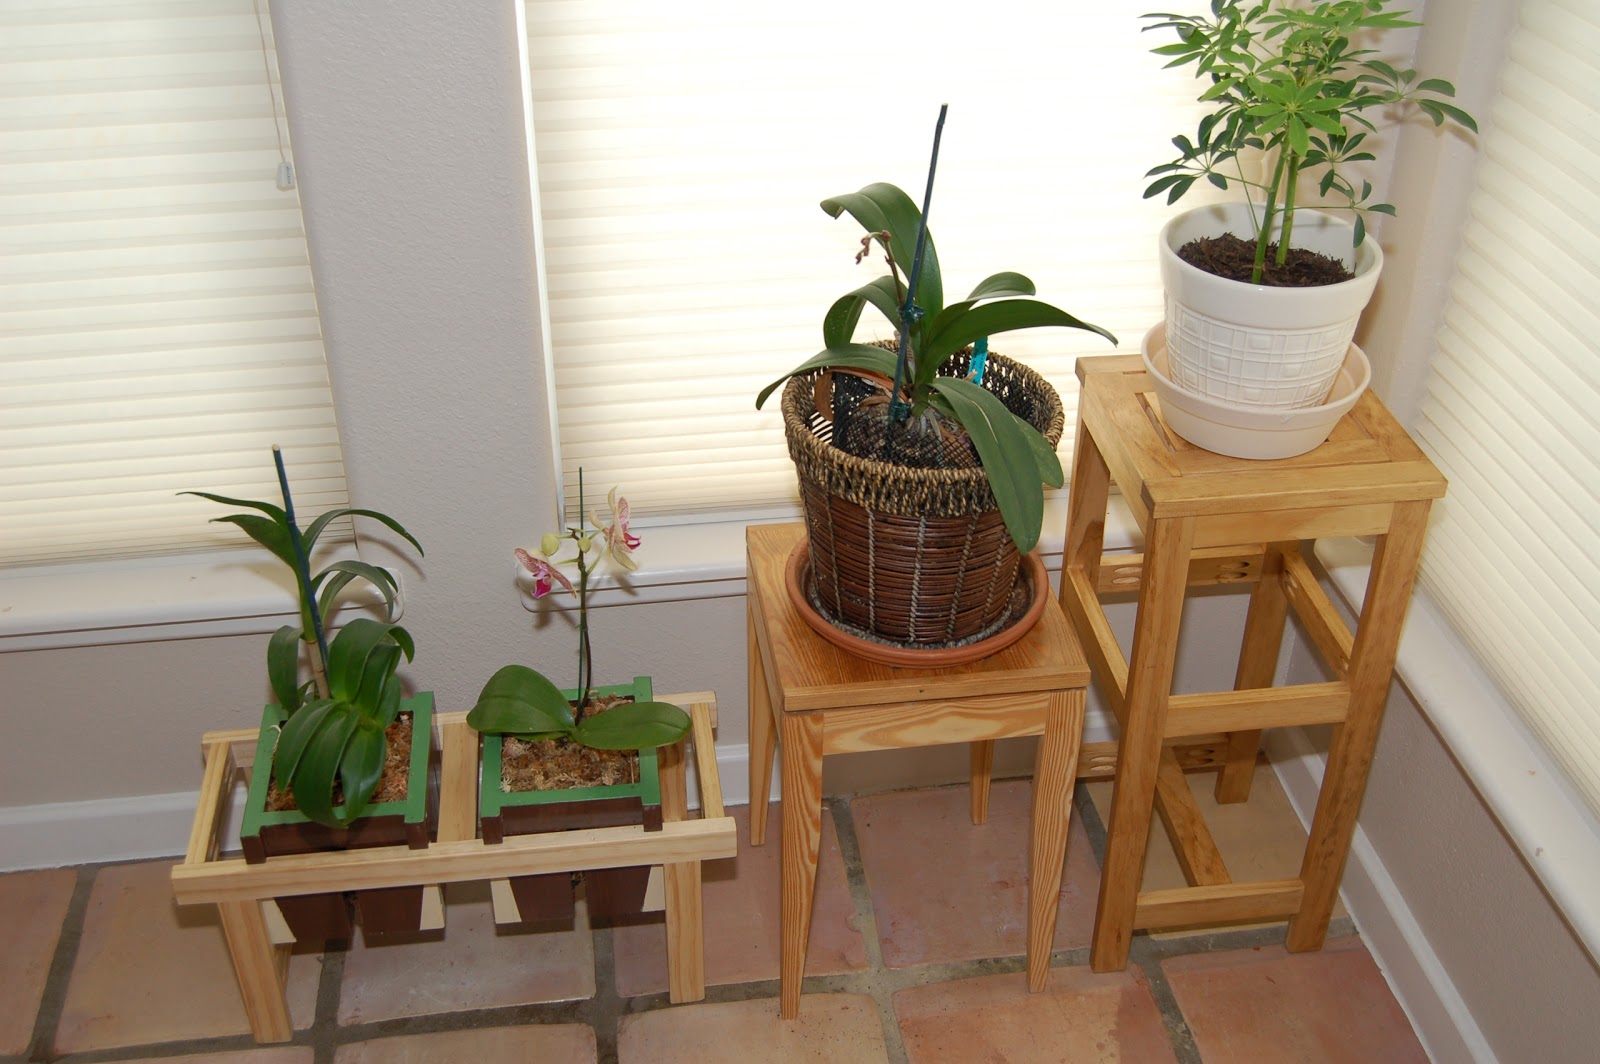
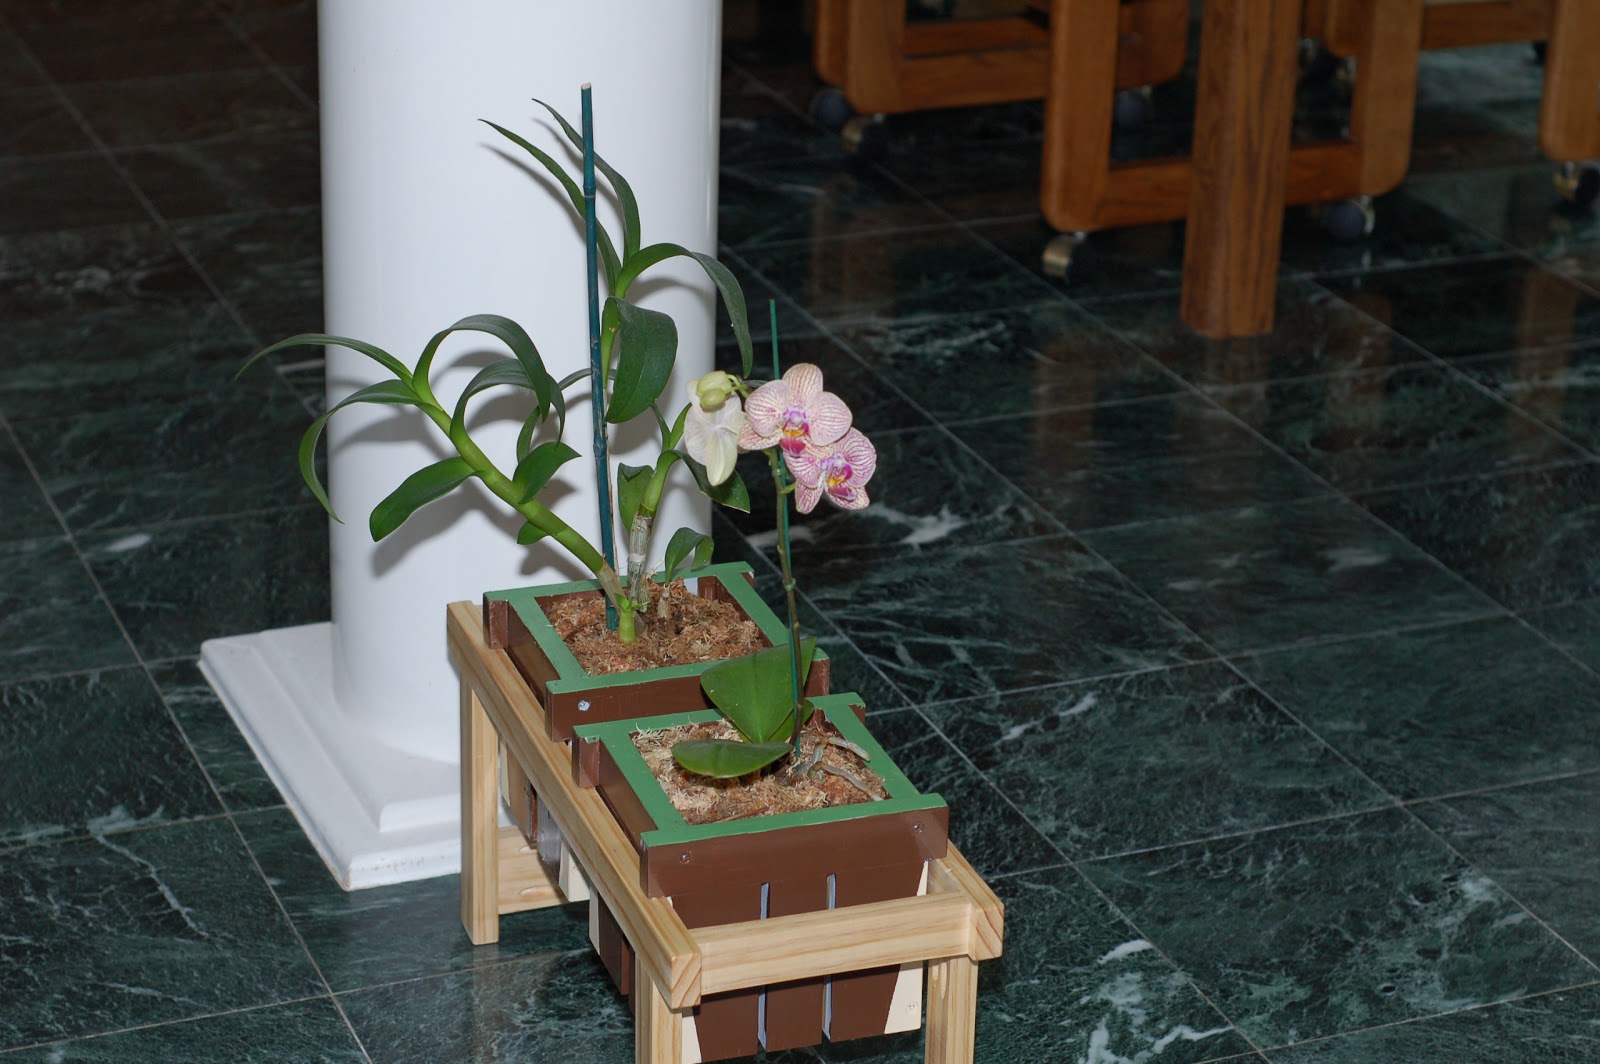
First, something about orchids. You may have all noticed that of late orchids have become one of the more popular gift plants at the price level of about $20-30 but it is also likely to be least understood and end up being thrown away after the first bloom is gone or the plant fails to propagate or bloom again. Actually, the new varieties are quite resilient but there are a few things to be mindful of. They need air circulation more than water. The roots do need to come out exposed to air like they do in the wild. Their "soil" requirement is different. This project is fun to do. Click pictures to enlarge.

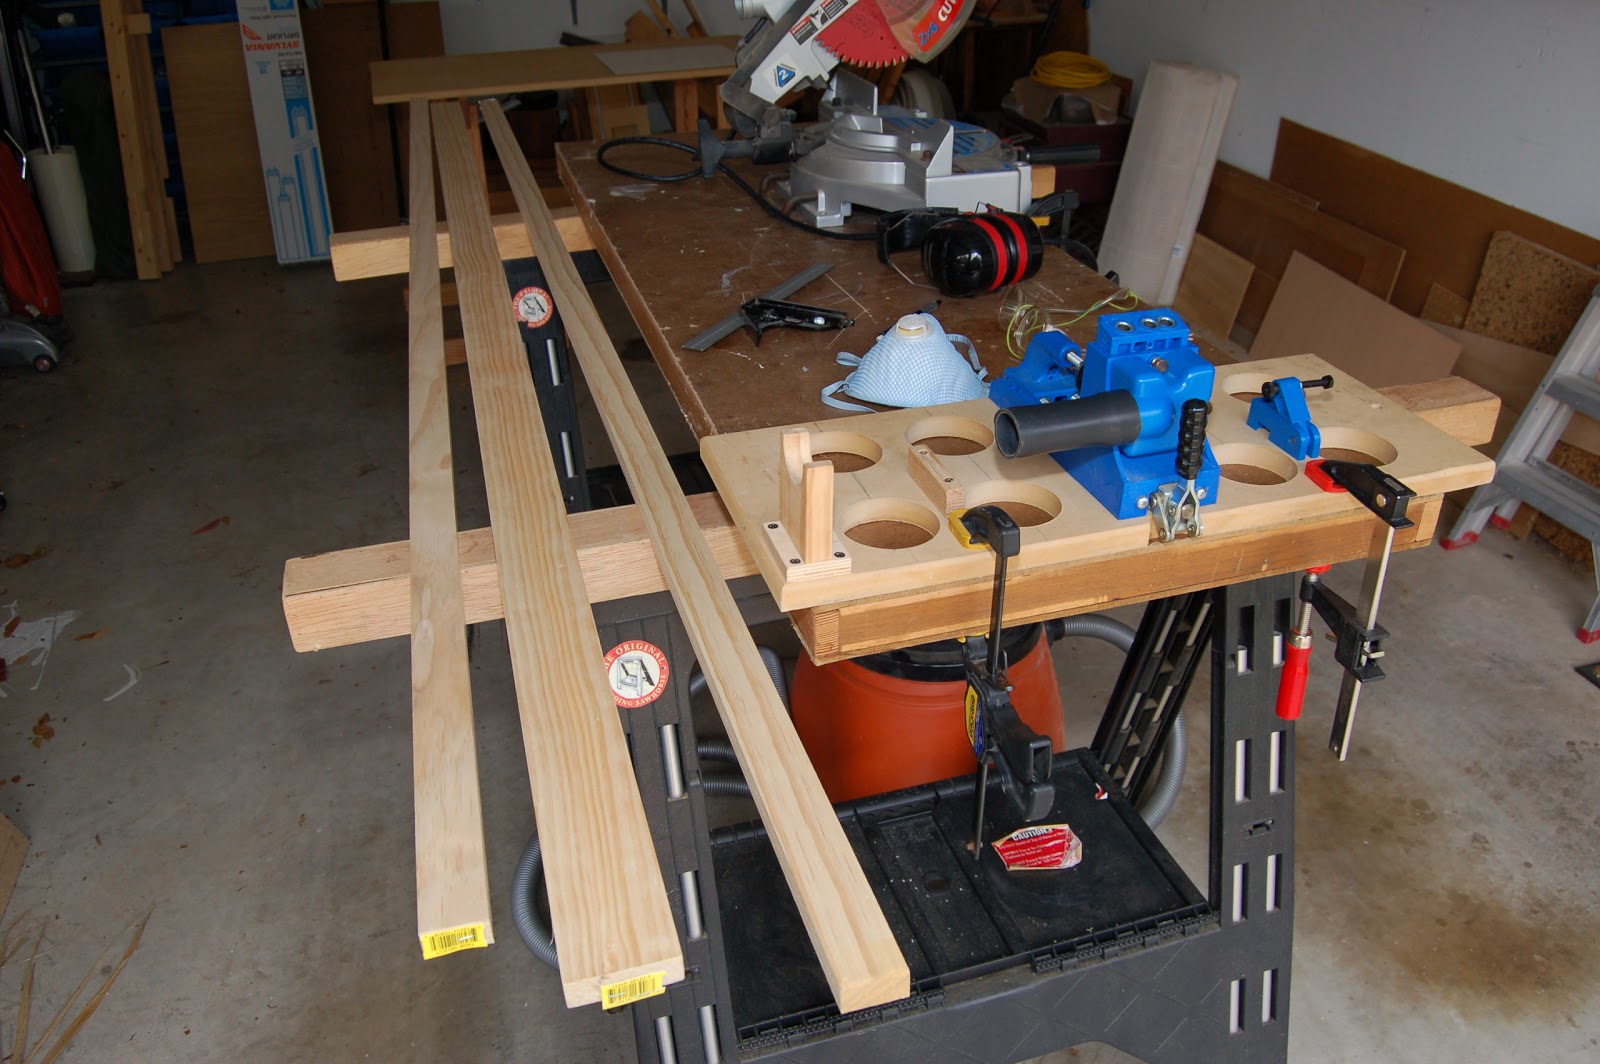
This project was all put together by pocket hole joinery and regular screws and all the work pieces were cut straight across - cross cut as it's commonly known. The wood material was purchased at the nearest home center for about $10 total. Two pieces of 1X2X8 premium pine and one piece of 1X3X8. The width and thickness are actually the original dimension of the lumber before they were rip-cut and planed to thickness. The effective dimension is actually 3/4 X 1 1/2 inches for the 1X2s and 3/4 by 2 1/2 for the 1X3s. But, as you know, part of the woodworking was already done for you by the lumber mill where the original rough lumber was cut and planed to consistent thickness and made smooth on all four sides. So now, all you need to do is cross cut the pieces to your desired dimensions.
It is always desirable to draw a very simple plan at full scale (actual size) on any flat board of wood, card board or 1/4 plywood.
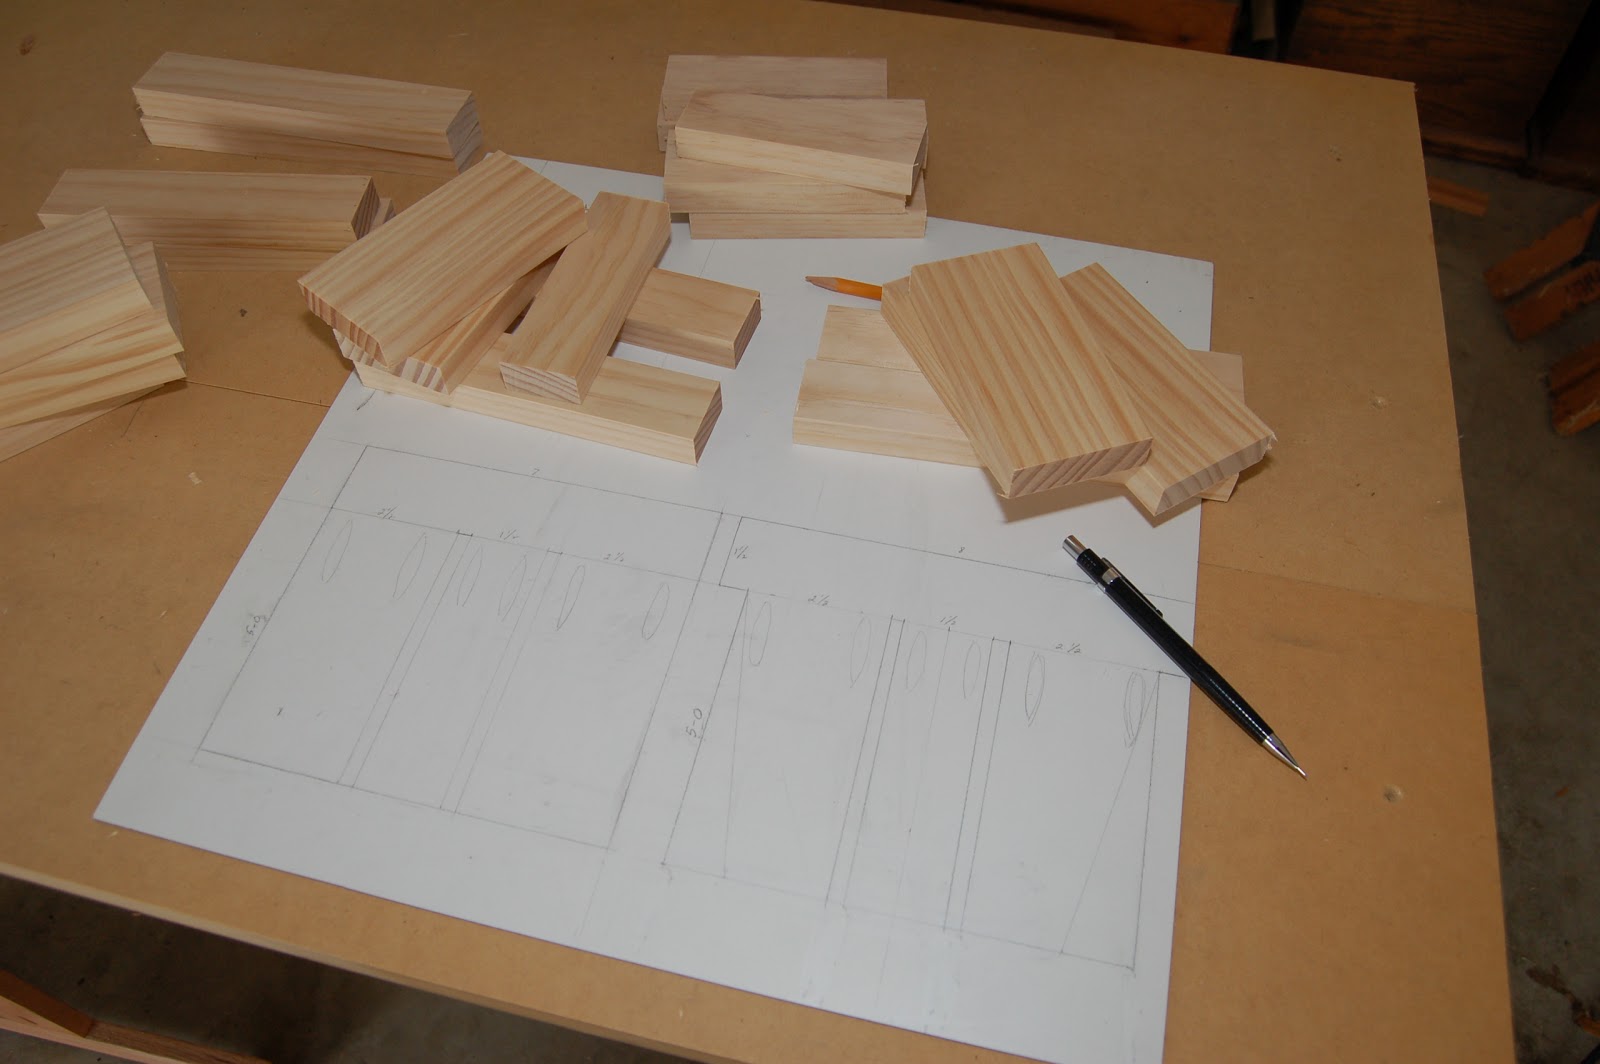
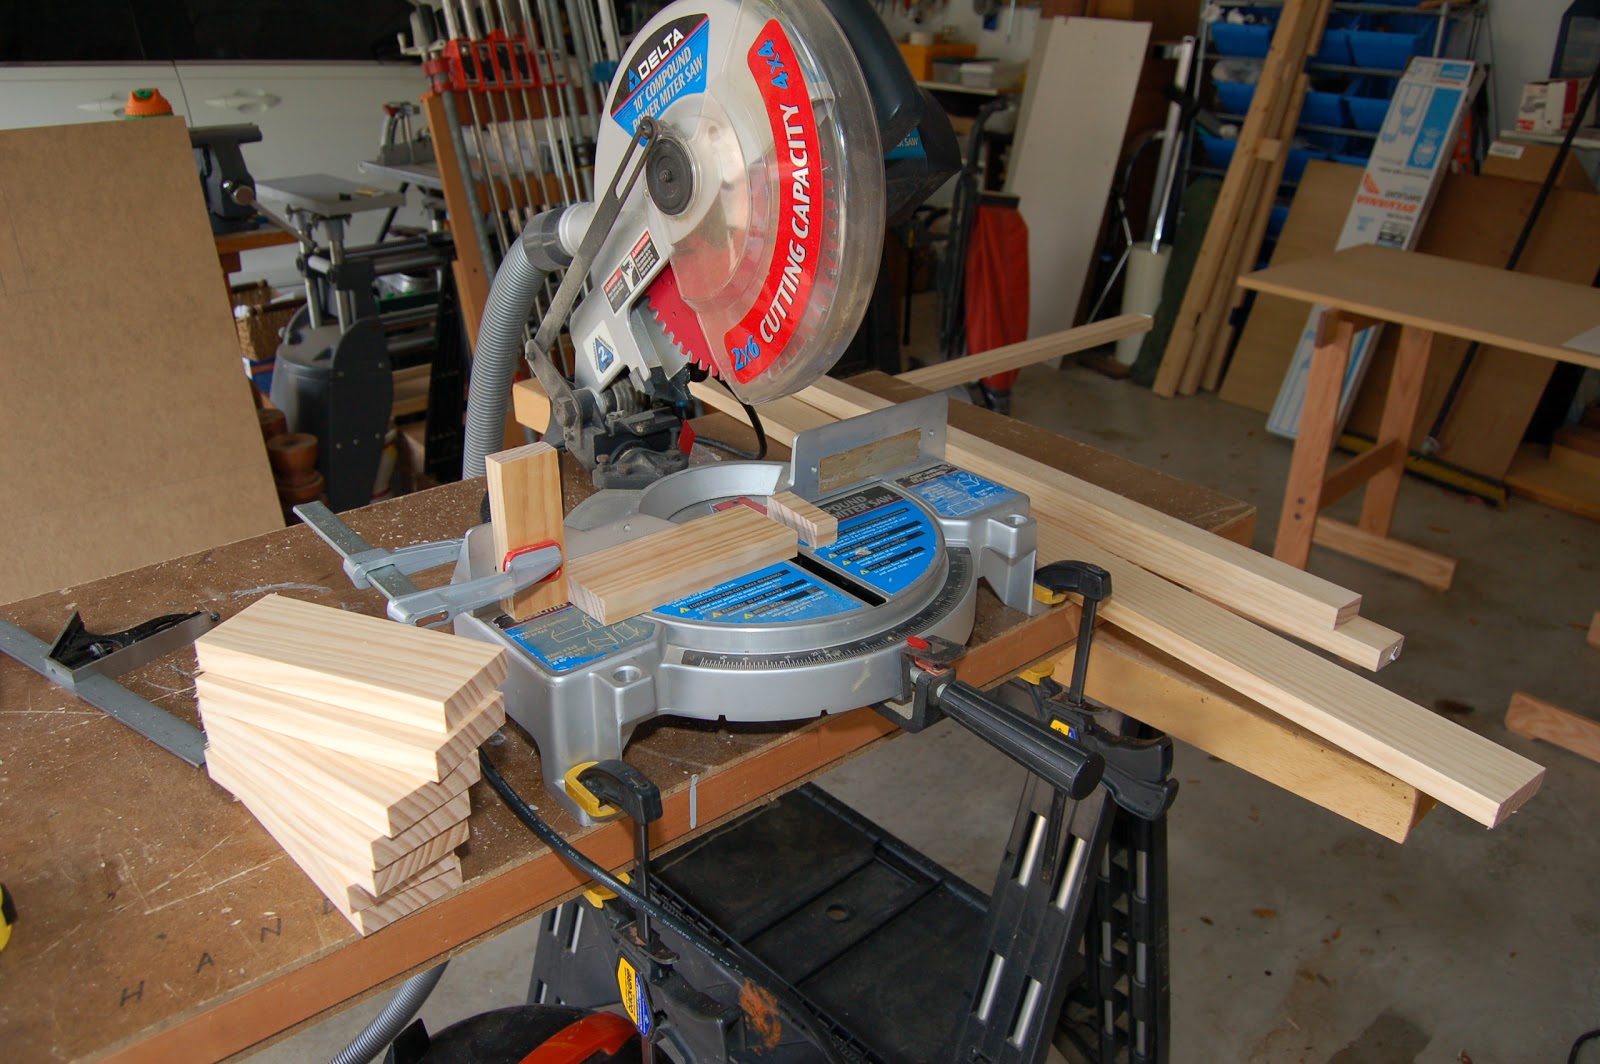
Make your measurements and adjust according to your liking. You will be drawing nothing but straight lines and there is no need to make it sophisticated. However, these laid out lines are important in checking your work pieces as you begin to assemble the project. It actually helps you to keep track of how many pieces you have already cut and how much more you need to do. This way you will always have the exact number of pieces and no wasted material or effort. Tip: Use stop blocks to ensure consistent cuts for all the pieces of similar lengths. This is also a safe way to secure the work piece. Pull down on the miter saw in a moderate but deliberate pace.
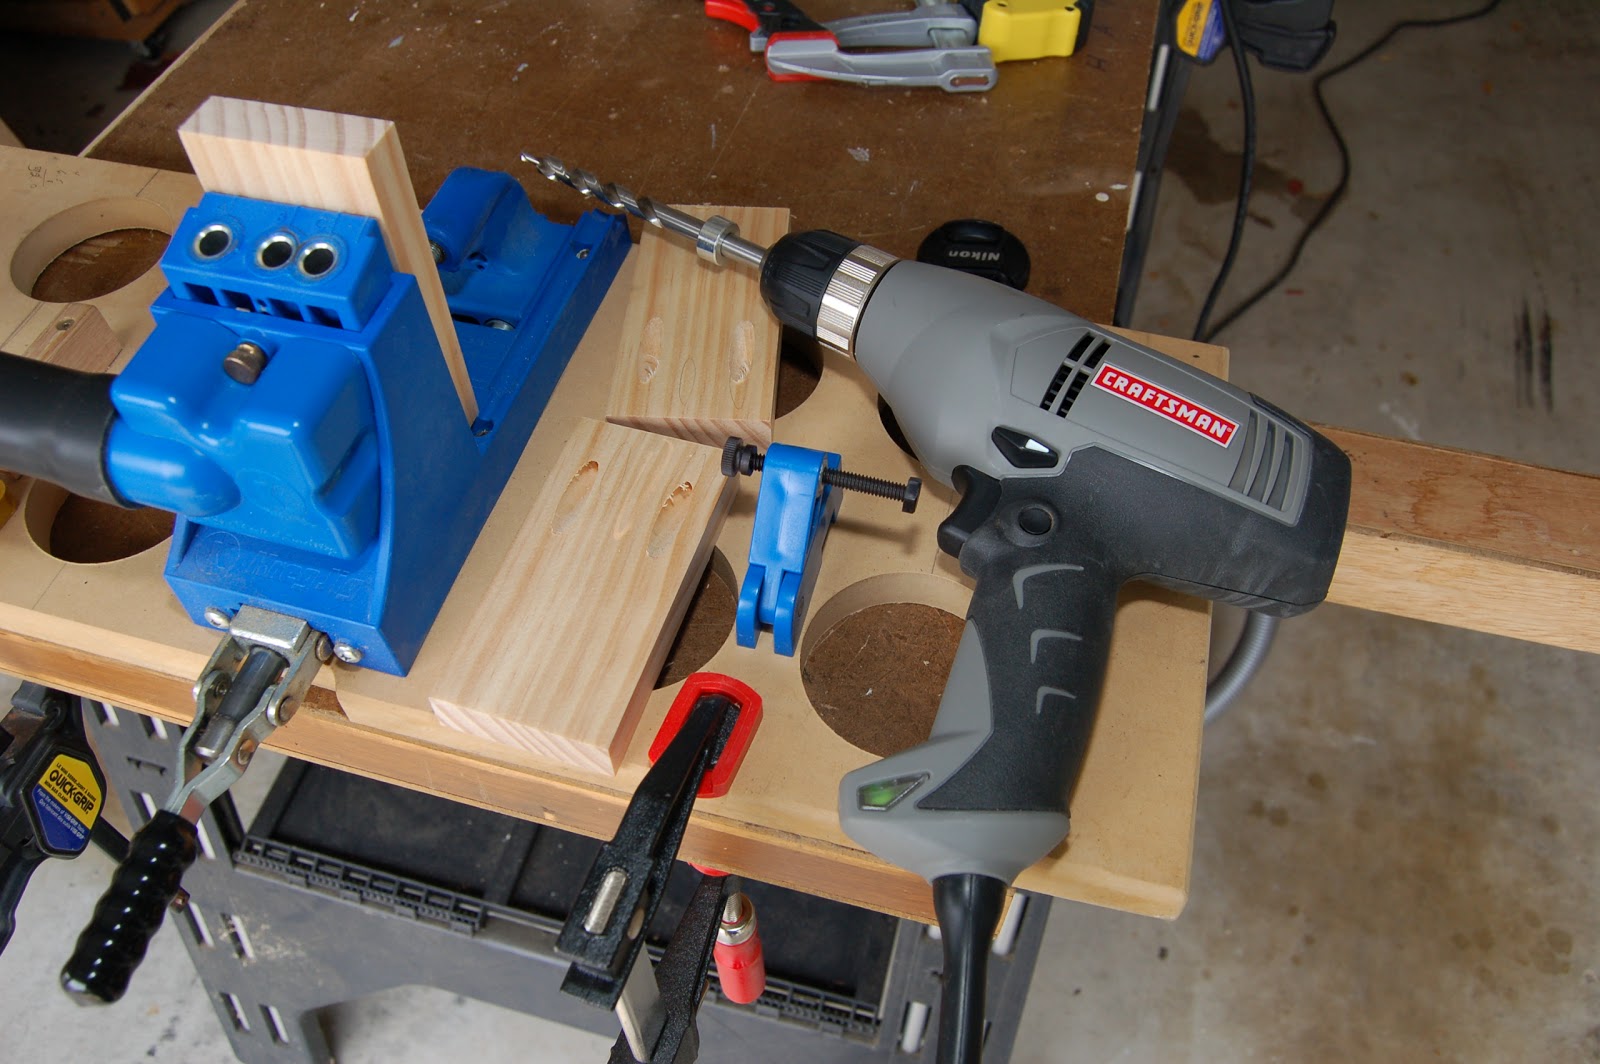
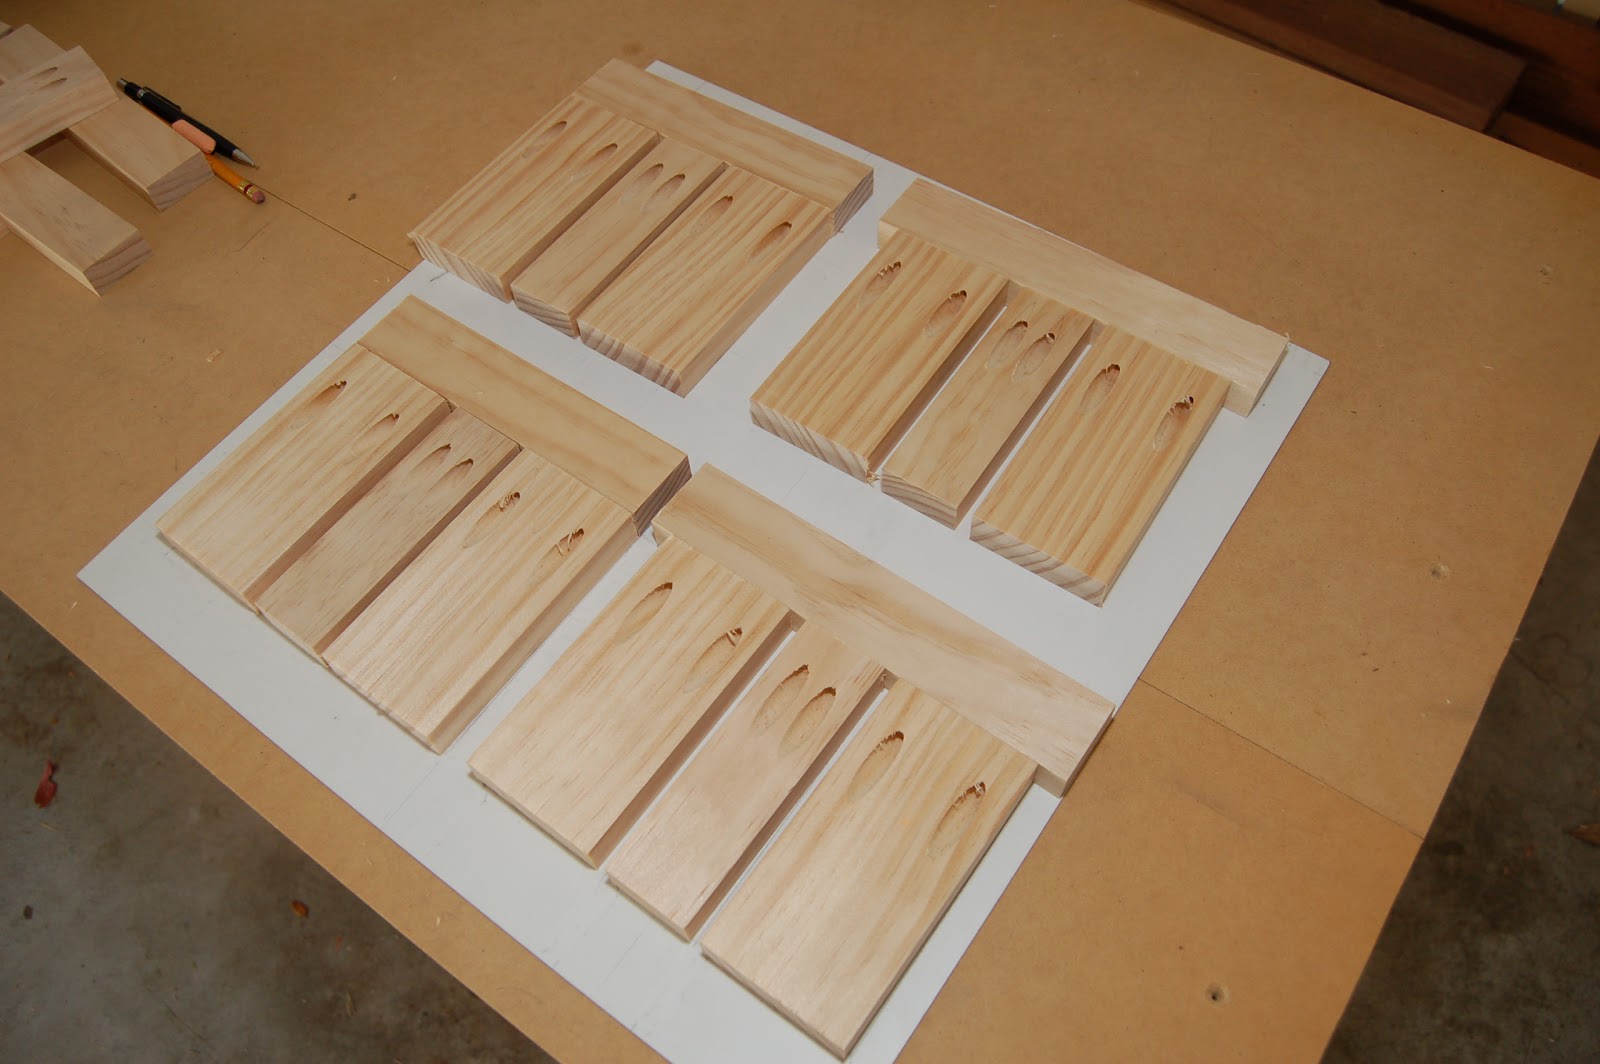
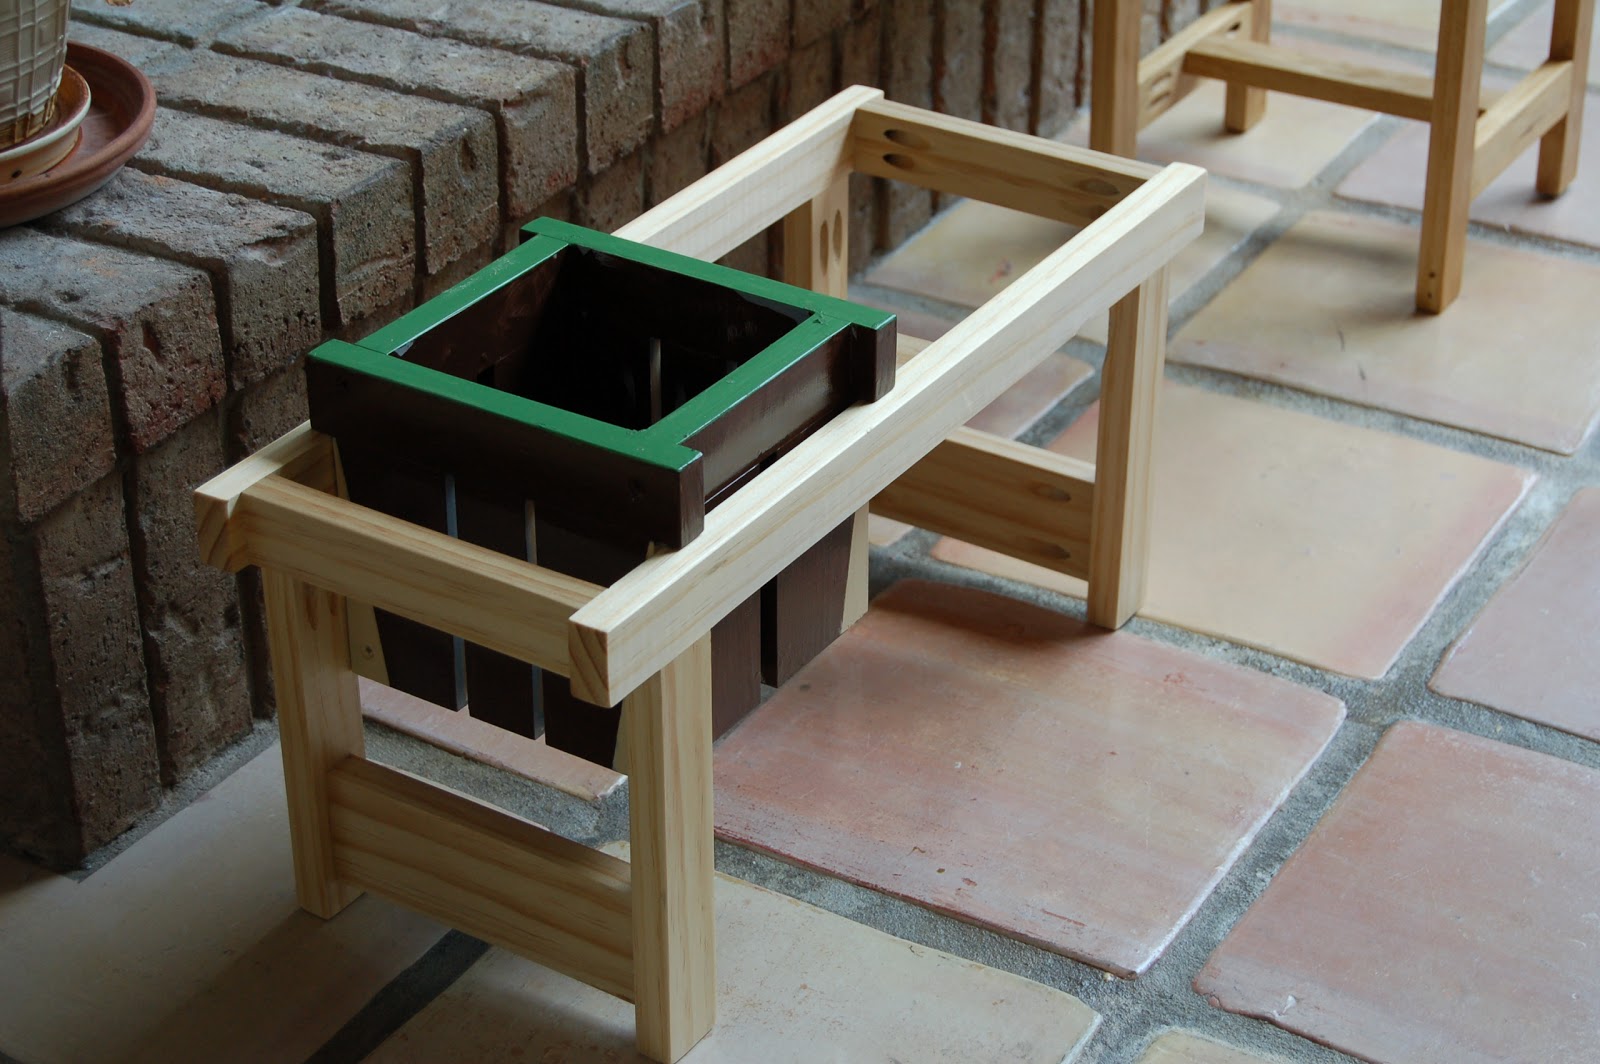
With all the cut pieces laid out you will begin to drill the pocket holes but before that you must decide which work piece to drill the holes at and be consistent for all the similar pieces. In this case most of the holes are such that the screw heads are pointing downward so that water and moisture will be prevented from accumulating over the pocket holes.
You can see that from the photos. Holes drilled sideways are good too for the same reason. Drill all the holes.
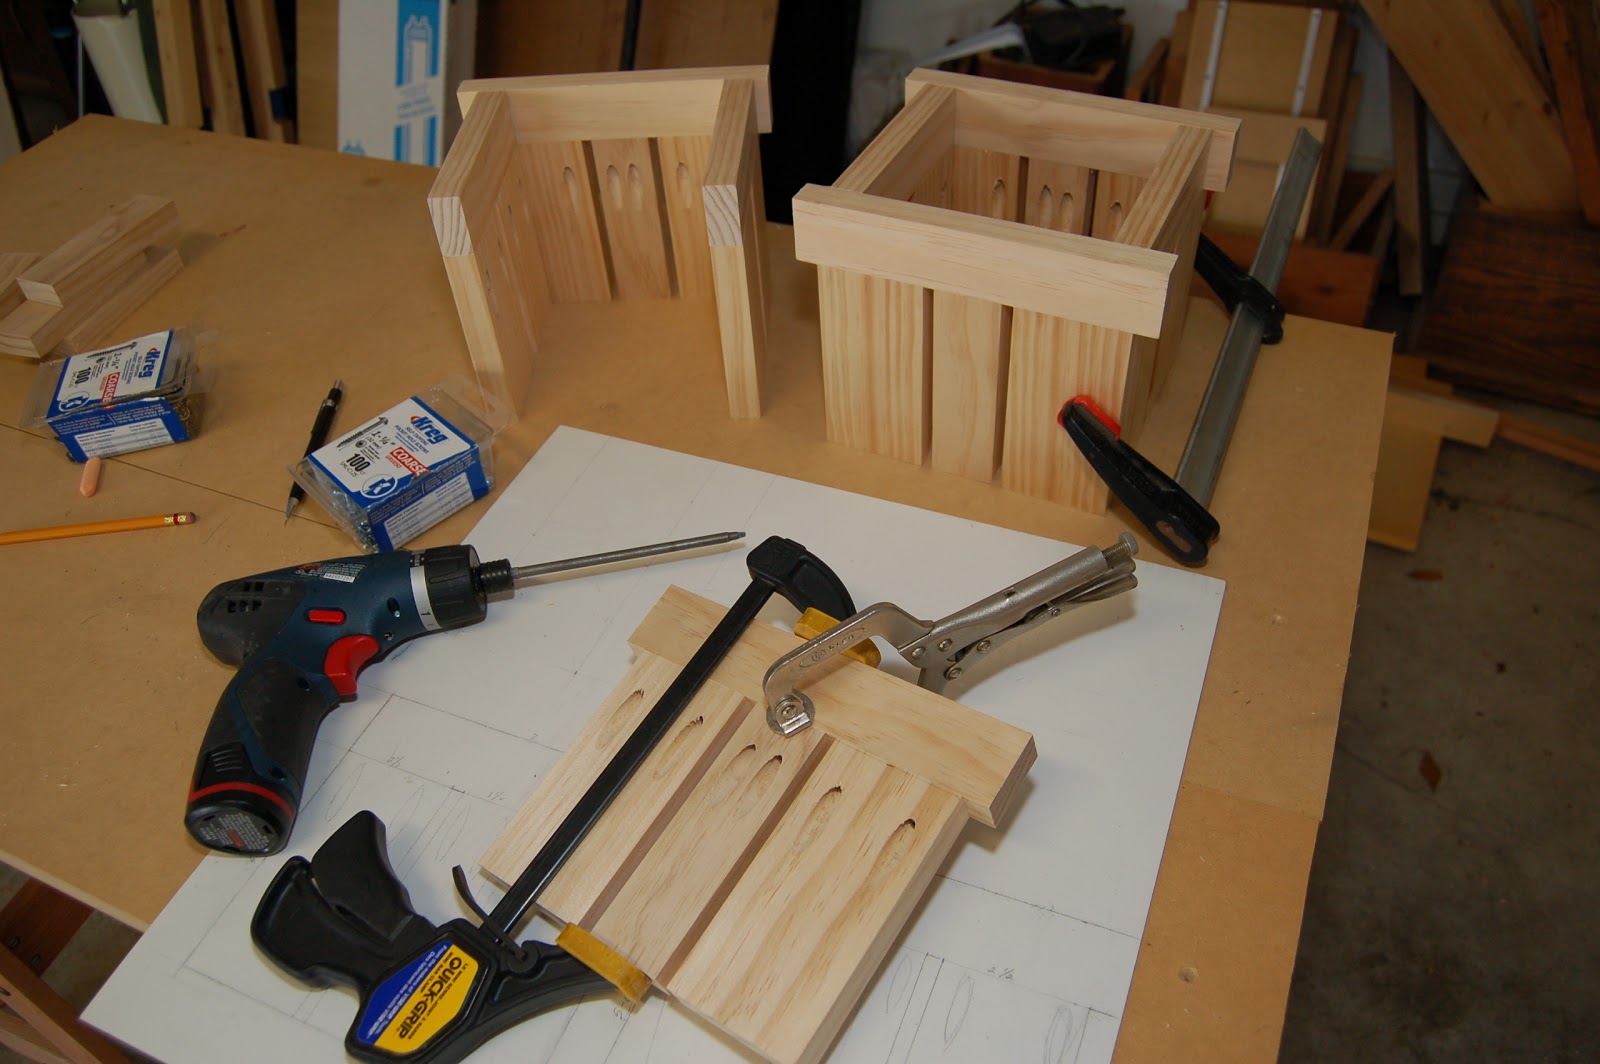
Again, before assembly, lay out the pieces over the drawing to re-check your work and make sure all the parts are there. Follow the instruction that came with the pocket hole kit in making the joints. Where possible use clamps to secure the parts at right angles (90 deg.) to each other and then, without fail, use the clamp that came with the jig to flush the "good" sides together. The good side is always the one opposite where the holes are drilled. Look at the photos to review.
In joining the individual parts to form the box, use regular screws. Always good practice to drill pilot holes to prevent the wood from splitting and it also ensures the screws to go down smoothly.
This project could very well have been left unfinished for a weathered look over time. Here I gave the base frame a natural finish and painted the actual "planter" for contrast.
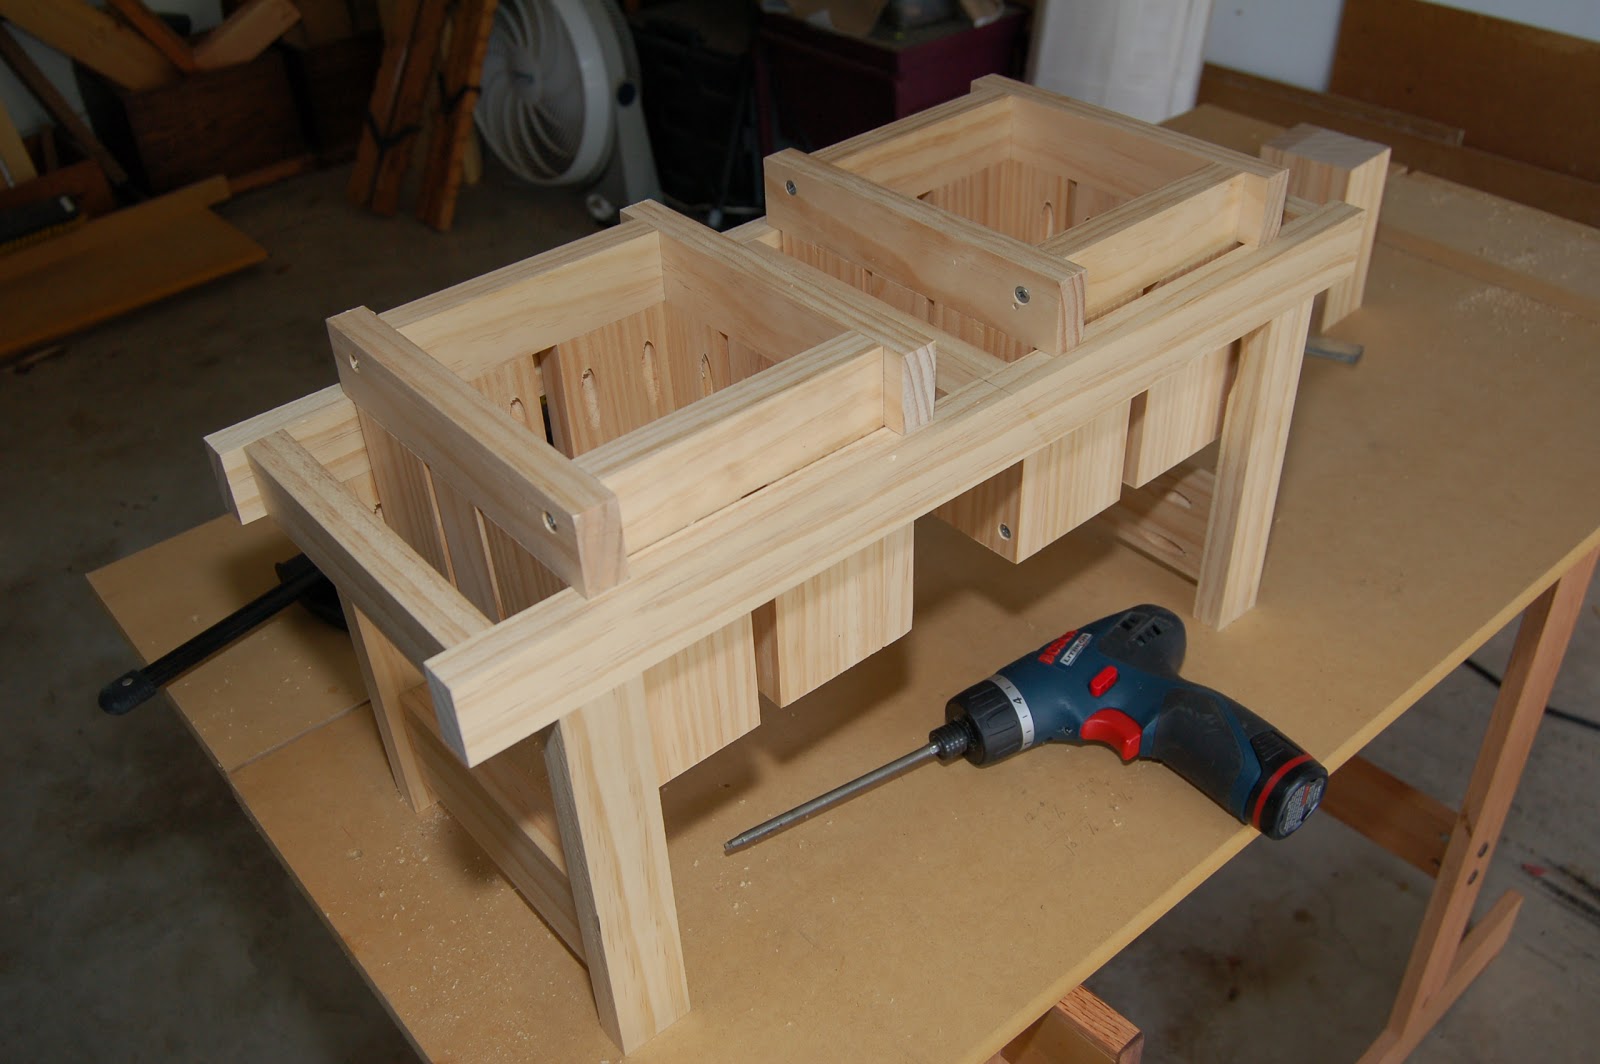
This is a great weekend project.
Now, when you get comfortable with the process you can construct one out of hardwoods like oak, which are also sold at the same dimensions, albeit more expensive.
click here for all photos only
Page updated
Google Sites
Report abuse