Embedded Files

Intro
Intro
xStreamed has the ability to display multiple views of the weather, from current image and temperature to more comprehensive view of weather conditions, imagery and forecasts. Weather can be displayed for multiple cities, and xStreamed can toggle through the different cities that the user has defined.
Installation/Setup
In order for weather to be displayed, xStreamed uses the xWeather plugin. Xoapweather is also an option but the user will have to re-define the fields in the skin in order to display the information from Xoap properly.
Weather can be configured by opening the Setup (F2 or via the Settings screen), and selecting the xweather plugin from the plugins list, then clicking on "Configure". The rest is pretty self-explanatory.
xStreamed does however utilizes nicer graphics, which are included with the install. The user is encouraged to copy these graphics over as they copy the plugins folder from the skin's directory to the xlobby/plugins directory.
Operation
The user is first exposed to the weather once the skin has loaded, and the main menu is on display. The upper right corner shows the current weather conditions and temperature.

The user gets a more detailed weather update when the user has scrolled the main menu to select the weather option
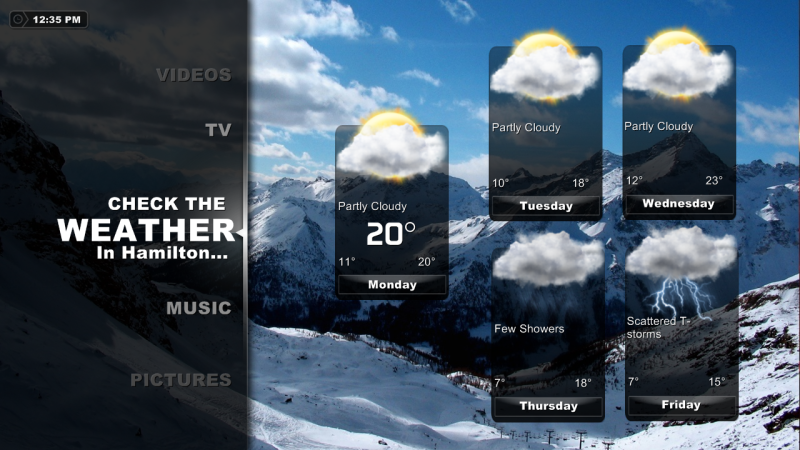
This view displays a quick 5-day forecast summary, for the particular city highlighted.
If the user selects the weather option, they are then taken to the weather screen.

This view show a more complete current weather update that includes the current temperature, dew point, humidity, etc. It also give a 5-day forecast down the right side of the screen. The user also has three buttons to choose from, being: Refresh, Images and City.
Refresh - will update/refresh the weather. By default it is usually set to refresh every 2 hours, but this will force a refresh state
Images - will take the user to a different screen that shows weather images based on what is defined in the weatherimages database (see more details below).
City - if more than one city has been configured, pressing this button will toggle through the cities.
Pressing the "Esc" key or pressing the remote button defined to goto the main menu (on the tested Panasonic TV Remote, this is the "Menu" button).
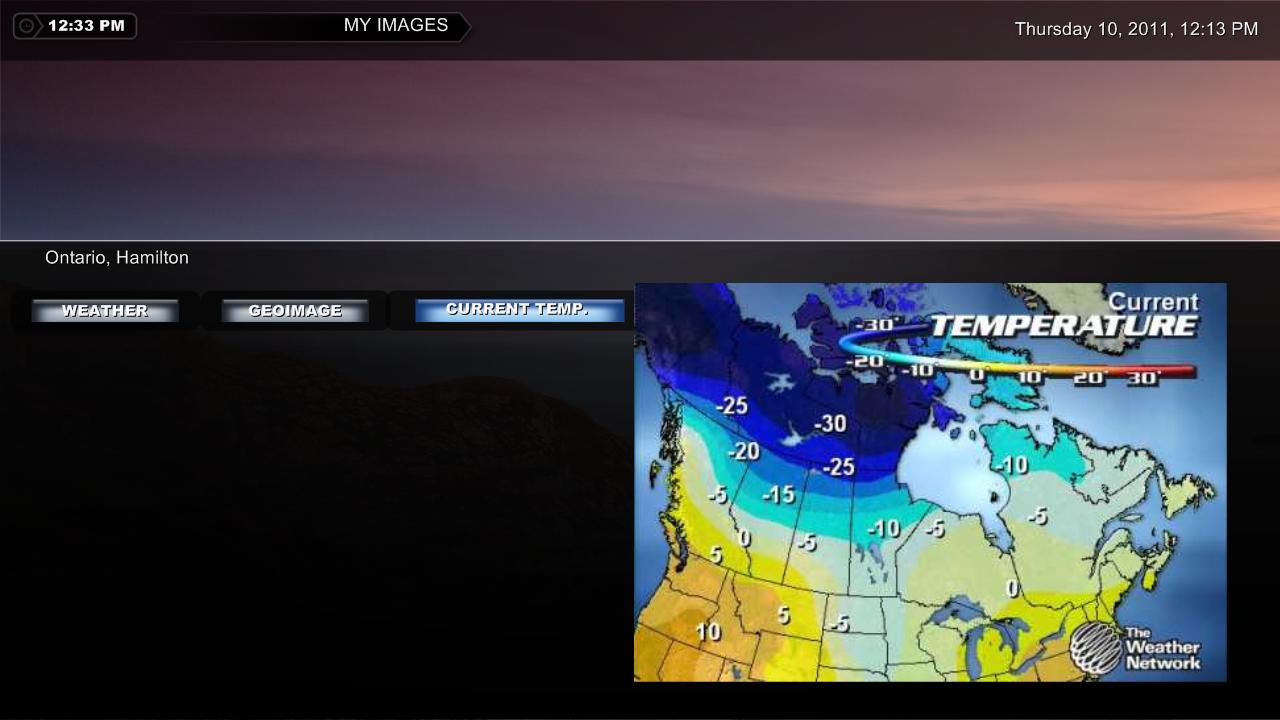
If the Images button is pressed, the user will be taken to the next screen. Again the user has 3 buttons that can be pressed being: Weather, Geoimage, Weather Images. Where:
Weather - will send the user back to the prior weather screen
Geoimage - will display an image of the earth rotation, and where in the world it is currently day/night time (really irrelevant to anything but just kinda cool)
Weather Images - will toggle through the images defined in the weatherimages database. The name will display what the current image is.
Weather images can be changed by first finding web sites the will display the images within the users location. The skin is setup using images from www.weathernetwork.com. To change this is opening Setup, then going to the Databases selection, scroll down the list to find the weatherimages, then click on the "Edit" button. The change is to the "Coverart" parameter as shown.
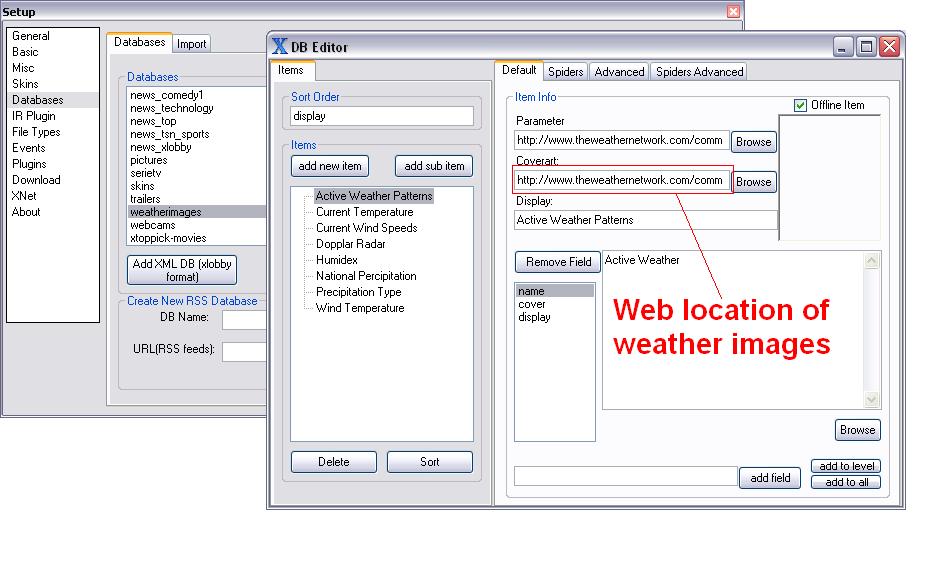
Once completed, close these windows, and restart Xlobby. The user should now have images from their location.
Page updated
Google Sites
Report abuse