Embedded Files

The white corners go into the cellar (D layer)
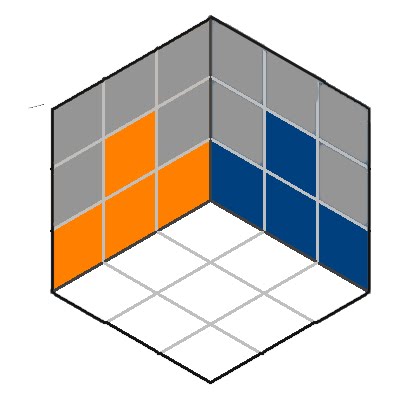
Our goal in this step
Step 2: Finish the white layer by pushing the white corners down to the cellar (D layer).
Obviously, a white sticker is on each white corner. In our example we see two white corners in the roof (U layer) and two in the cellar.
We choose white/green/orange corner at ULB (the notation for corner locations just uses the three faces that join at the corner)We place the first corner above the gap it has to go to, by U2


The target gap for this corner is at the cellar place FRD. We analyse the new situation and see that the white sticker is in the F wall and the orange sticker is in the orange wall. We turn the corner with a turn U out of the orange wall. (U’ would be wrong because the corner would remain in the orange wall.) Now we turn the target gap with R to the roof
U, R

U' sends the corner to the target gap
and R' sends it down to the correct place in the cellar.


The first corner is at the correct place and correctly orientated.
We note as a first rule for the white corners: Bring the target corner to the place in the roof that is above the gap in the cellar. If the white sticker is in a side wall – as in our first example case -, we turn the U face so that the corner travels away from the non-white wall, turn the gap up to the roof, put the corner into the gap and restore the wall.
By accident the corner white/red /green sits in the roof above the correct gap.
In this case the white sticker is on the roof face and not in a side wall as in the first case.
With L', U, L we keep it in the roof, but now the white sticker is on the R wall.
With U2 the corner goes back to the place above its target gap.


Now we can follow the first rule. With U it leaves the wall F (with the matching non-white sticker in.)
F brings the target gap to the roof.
U', F' place the second white corner correctly.


We have now a second rule for the white corners: If the white sticker of the target corner is on the roof, we turn a wall where the corner sits in and make a U turn to move the corner away from that wall. We restore the wall and move the target corner above the target gap again. Now we have the white sticker on a wall and apply the first rule above.
The next white corner white/blue/red in the roof has to go to the gap LBD. We turn the whole cube that the blue wall becomes F.
We turn the white/blue/red corner by U2 to the F wall.
R, U', R',


We see that the white sticker is on the roof and follow the second rule.
The white sticker is in the L side wall. U2,
U',
F', U, F


The third white corner is placed correctly. The forth is currently at LFD at the right place but orientated incorrectly. The white sticker is in the orange L wall, the orange sticker is on the blue (F) wall.
L', U', L, U sends the corner to the roof above the gap.
We follow rule number 1 and do:

U, F, U', F'
turn the corner away from the blue wall, turn the blue wall so that the target gap is on the roof, put the corner into the gap and restore the blue (F) wall.


Page updated
Google Sites
Report abuse