Embedded Files

Page last updated: September 2010 by Kiran Nevaskar
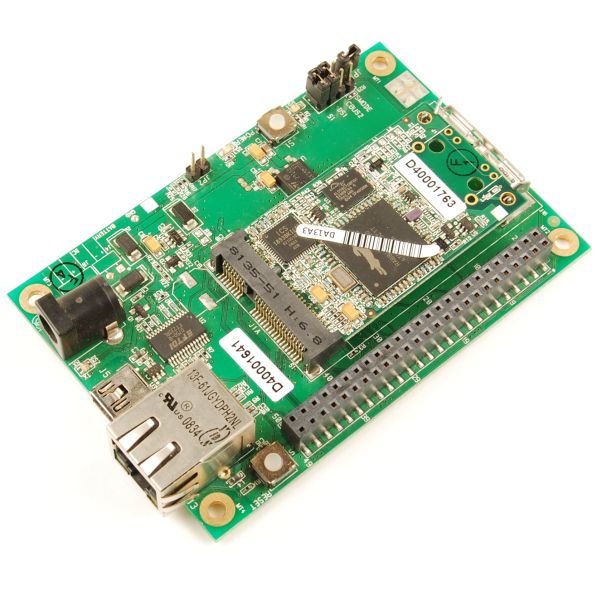
Kit Details
Software Development Tools
We have used:
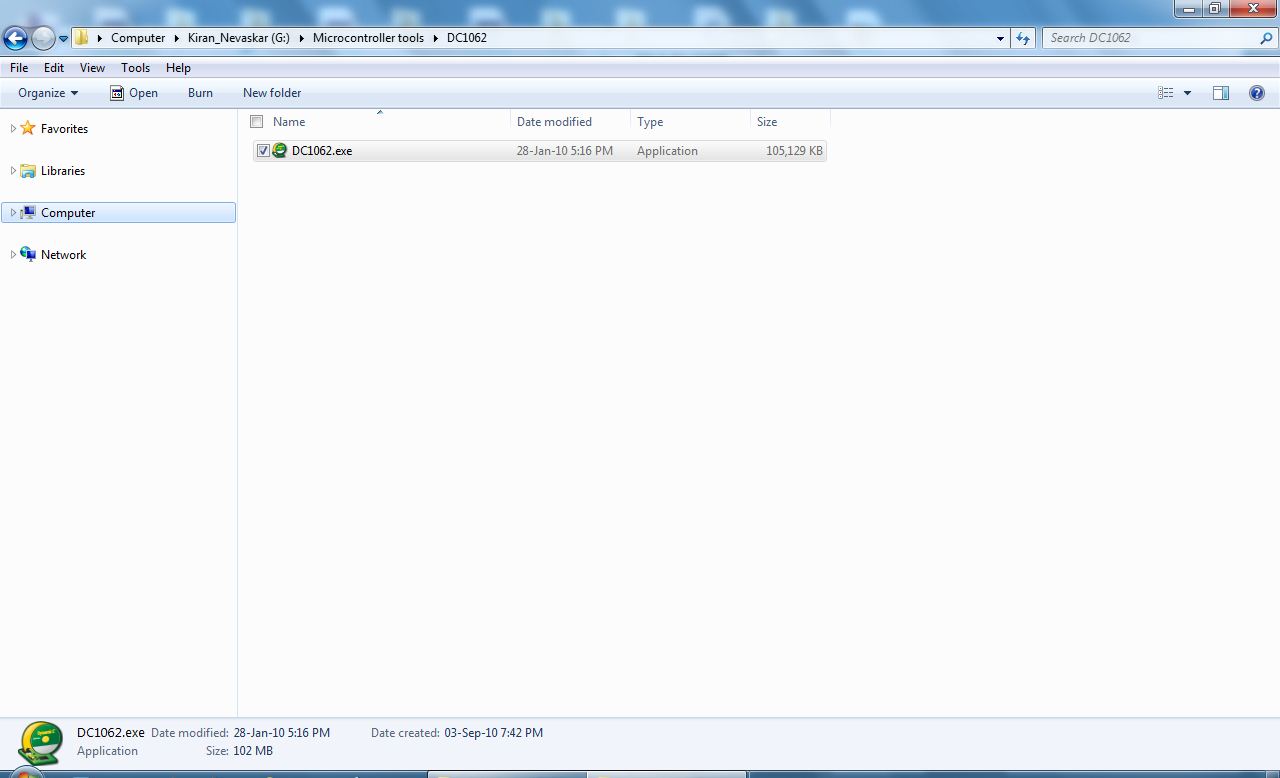
C Compiler: Dynamic C Download
Assembler: built into Dynamic C
IDE: built into Dynamic C
Programmer/Debugger: built into Dynamic C
Operating System: Microsoft Windows 7 32-bit
Step 01 - Install Dynamic C
Download Dynamic C and start the install process:
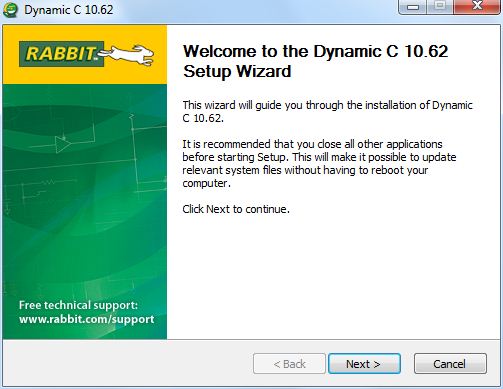
Setup is started click on Next to proceed further:
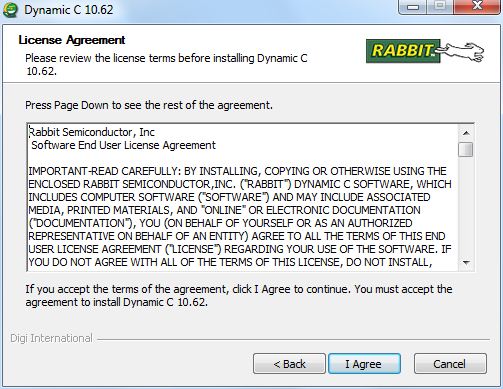
Read the license and click on I agree:
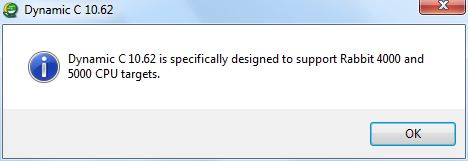
Dynamic C is having two editions. We are using Rabbit 5000. So software is informing us about the edition which we are using.
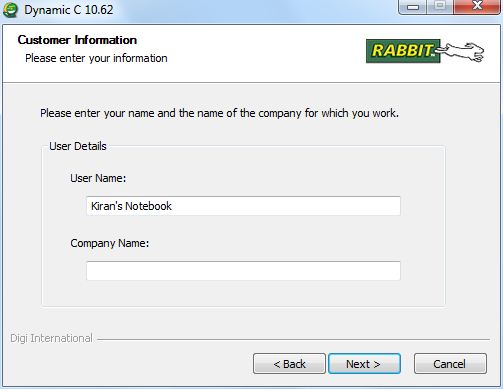
Provide information about the user:
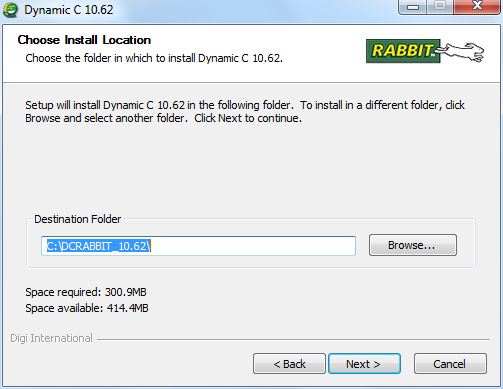
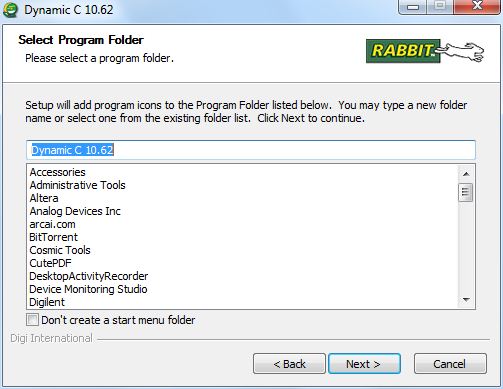
Select location for installation:
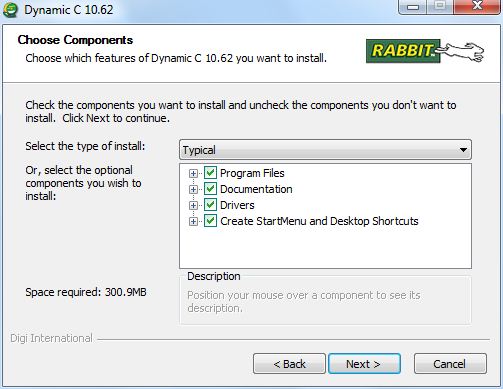
Click on Next as we want typical setup:
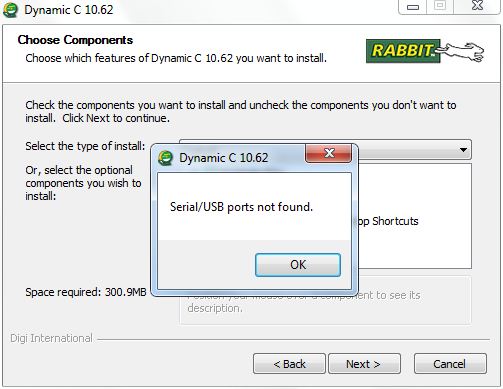
If you are using the computer which does not have Serial port(i.e Laptop) then such dialog box will be visible. Don't worry RCM5700 is having on board USB to Serial Converter. Click on Ok to proceed further:
Click on Next:
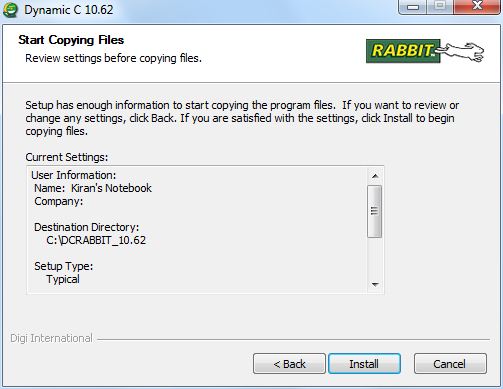
Software installation configuration is done. Now actual installation process is started. Click on Install to proceed further:
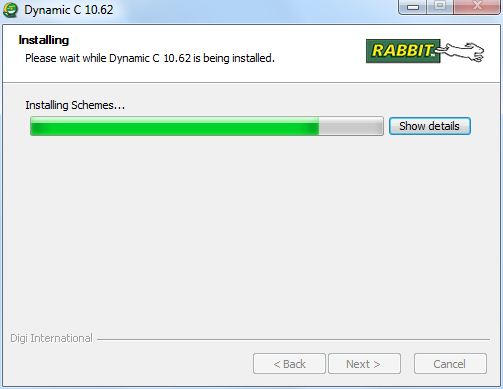
Installation is started:
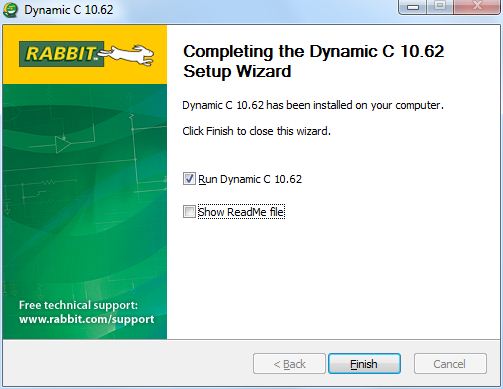
Installation is finished. Now tool is ready for development:
Step 02 - Create a New Project
Double click on Dynamic C icon created on desktop:
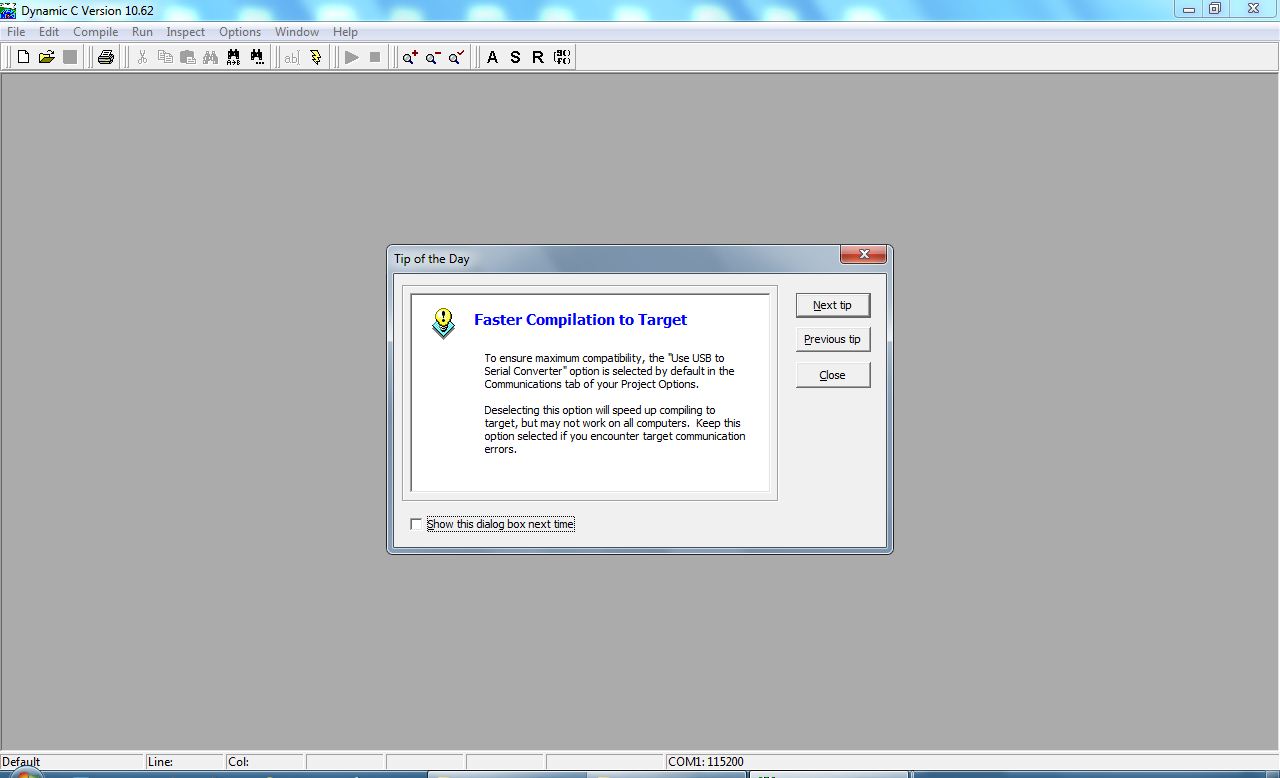
After starting Dynamic C software will show Tip of the day, Close it:
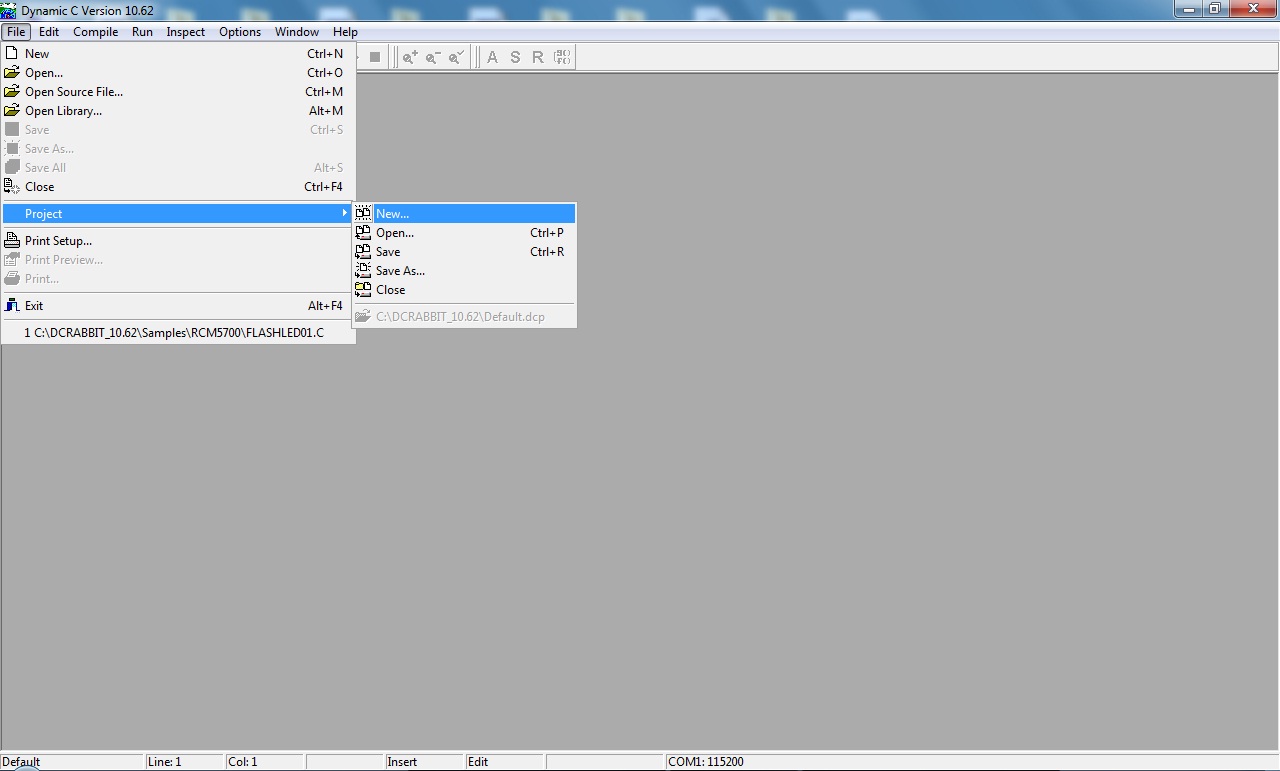
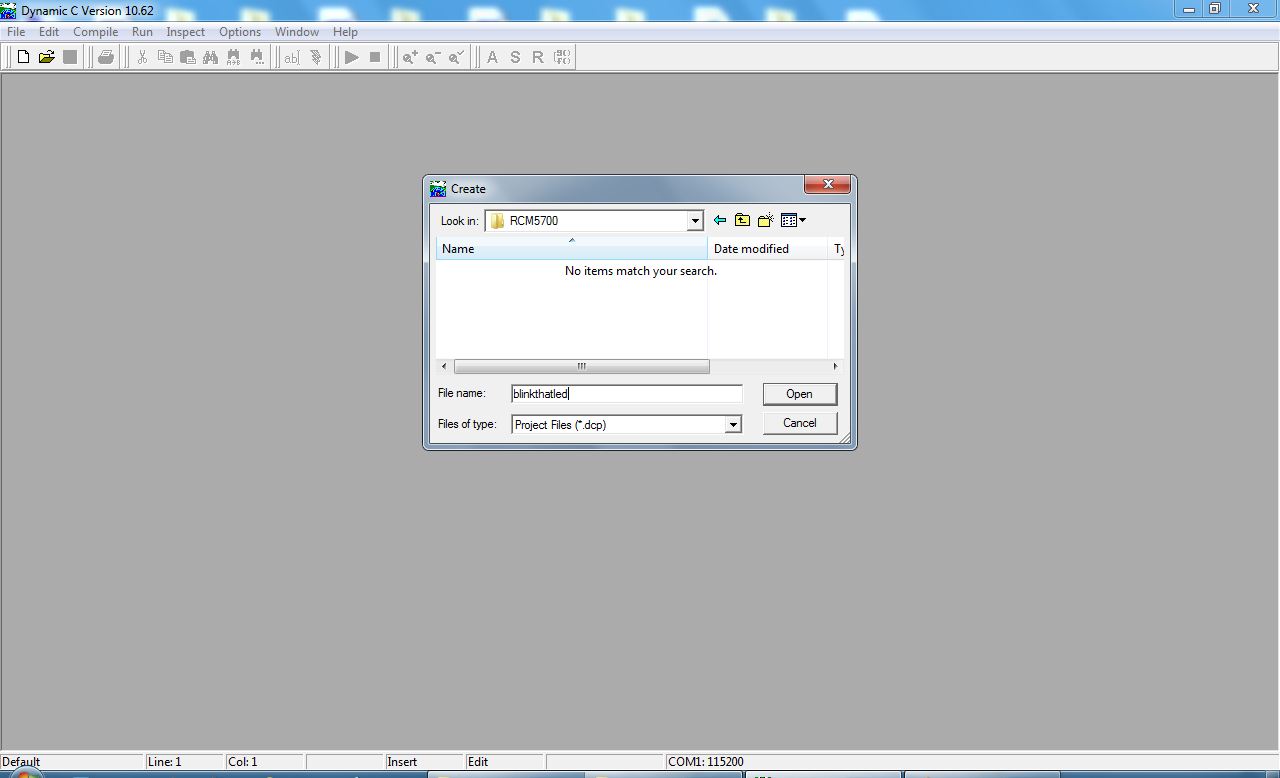
To create new project, click on File menu->Project->New:
Enter project name without any space in the name:
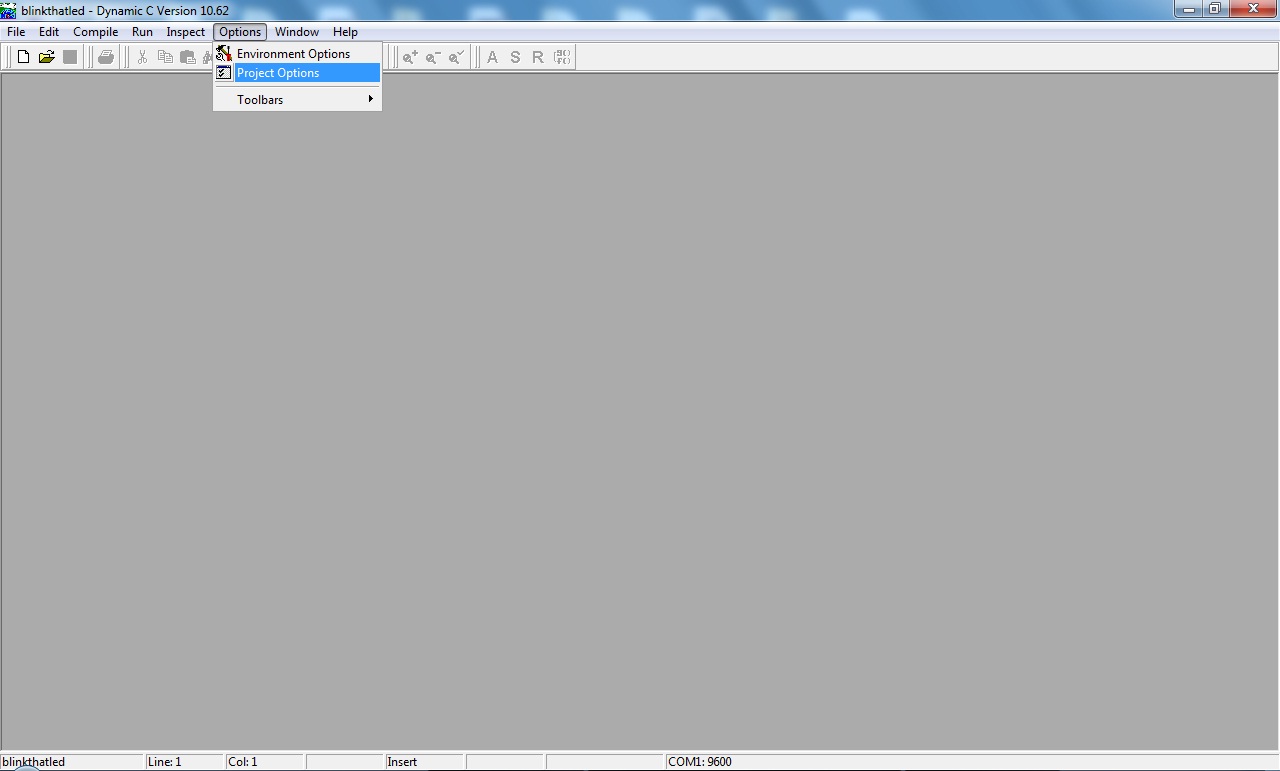
Now we need to do some settings for Project for that click on Option->Project Options:
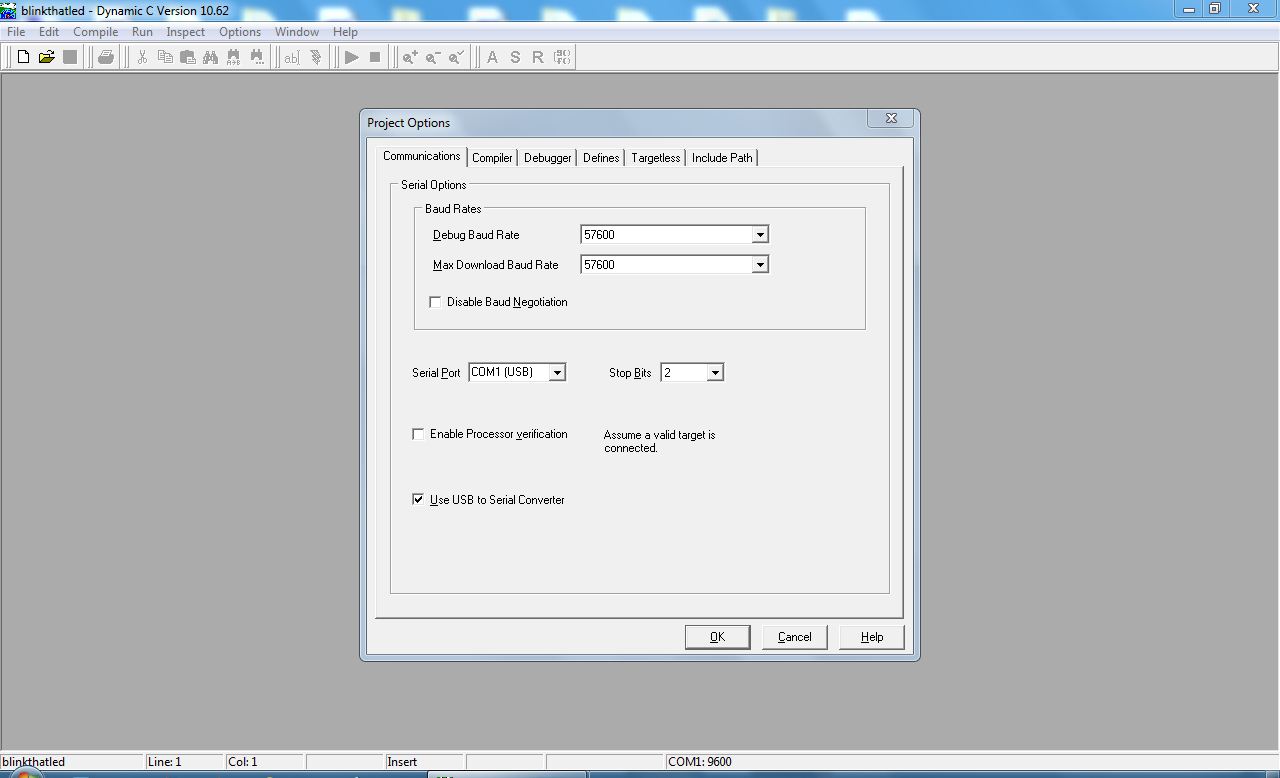
Click on Communications for setting options for Target programming:
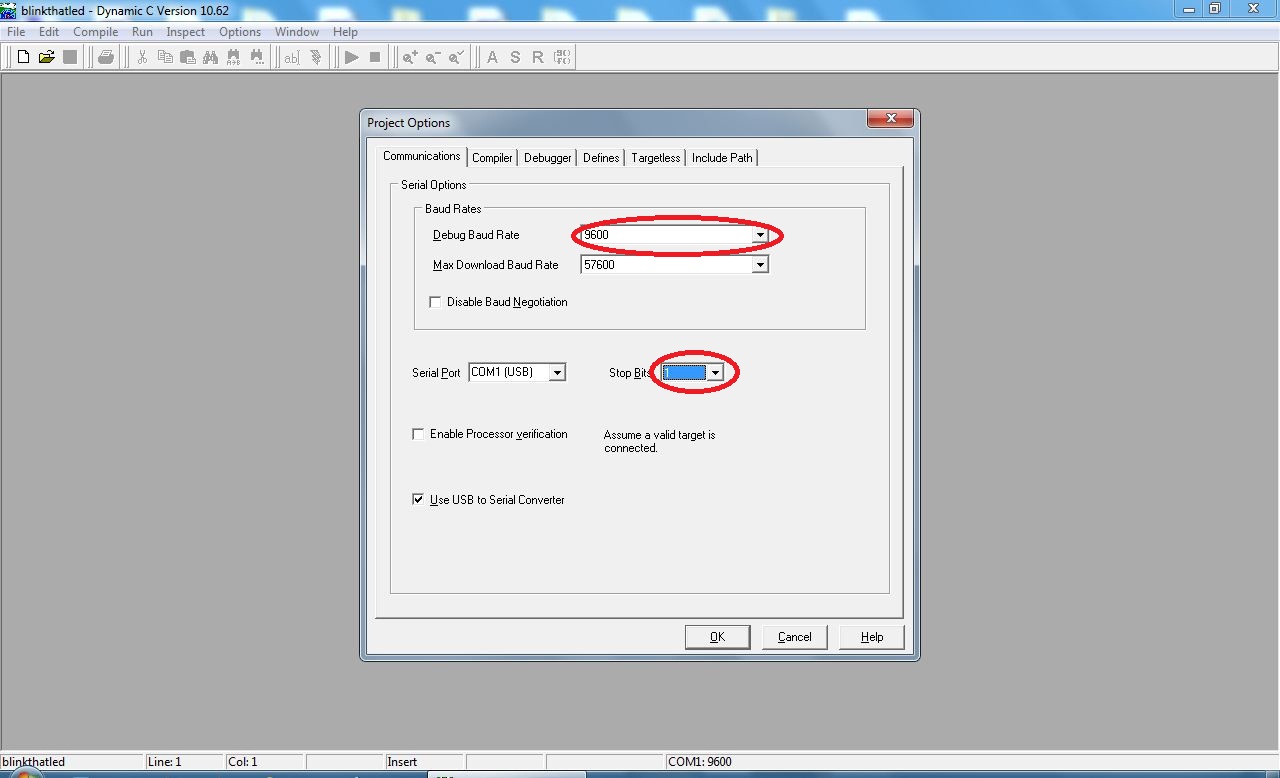
Change baud rate to 9600 & stop bits to 1:
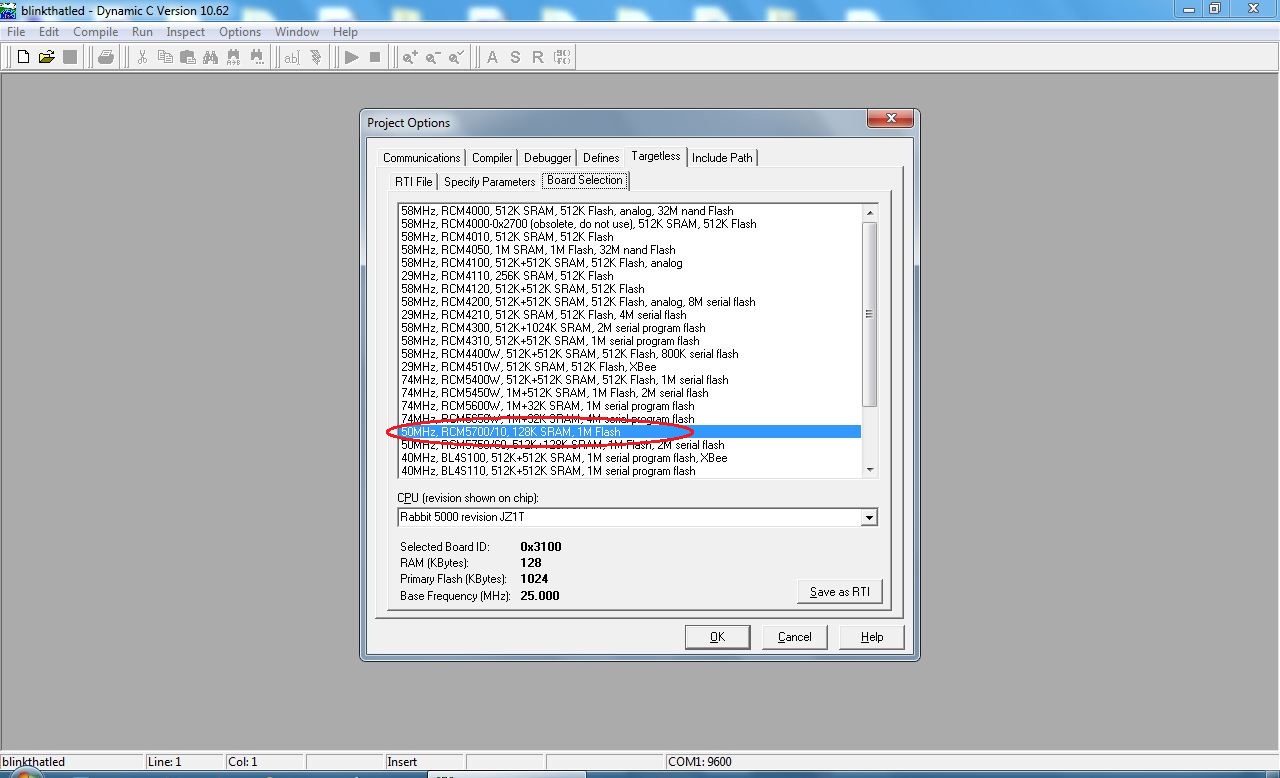
Then click on Targetless and select 50MHz, RCM5700/10,128K...:
Step 03 - Create new source file and Compile
Now create new file from File menu or from tool bar:
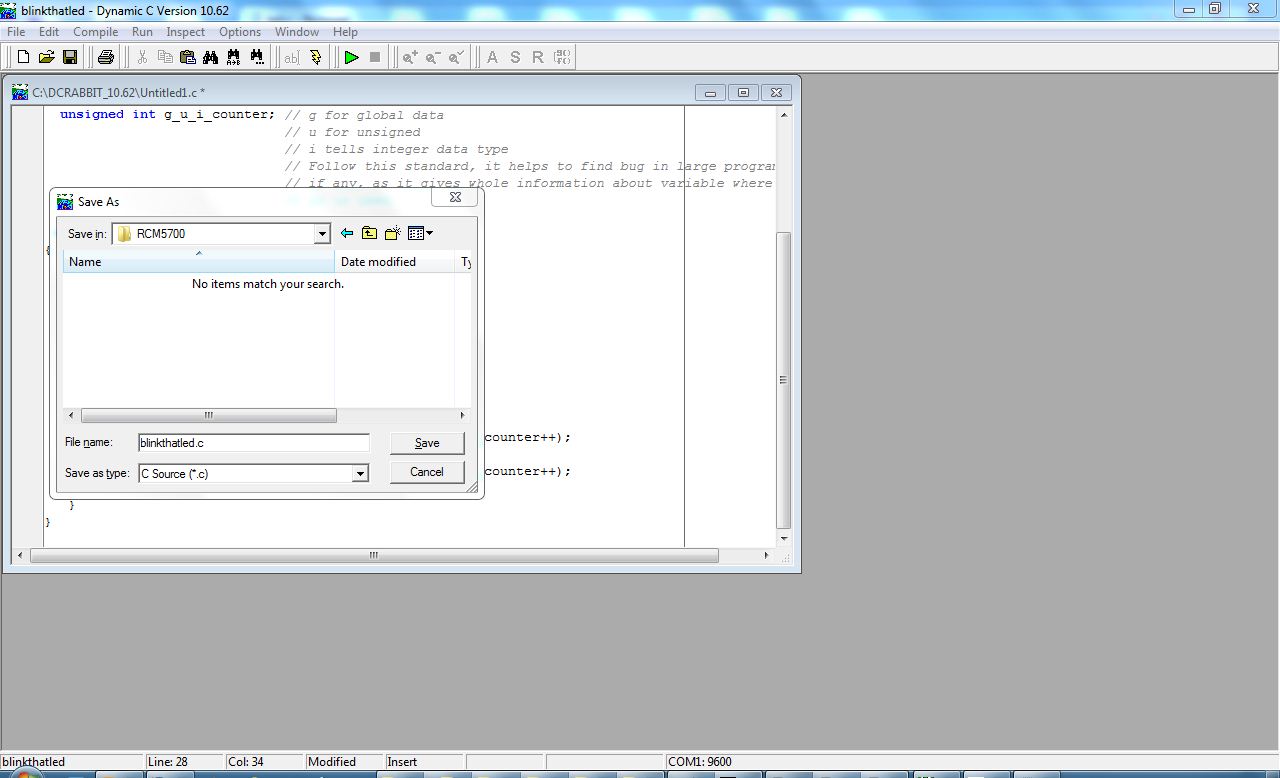
Write code and save the file with .c extension:
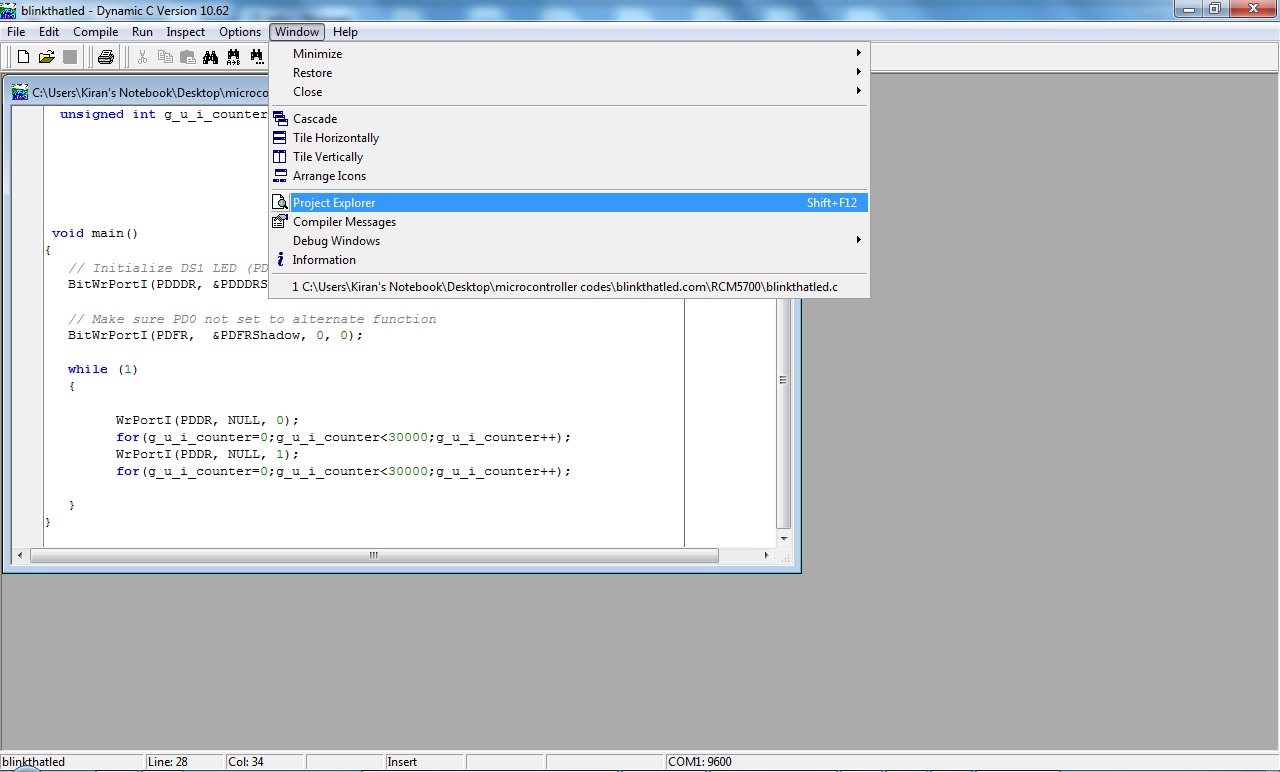
Now we are going to add source file to project. To add file in to project click on Window menu->Project Explorer:
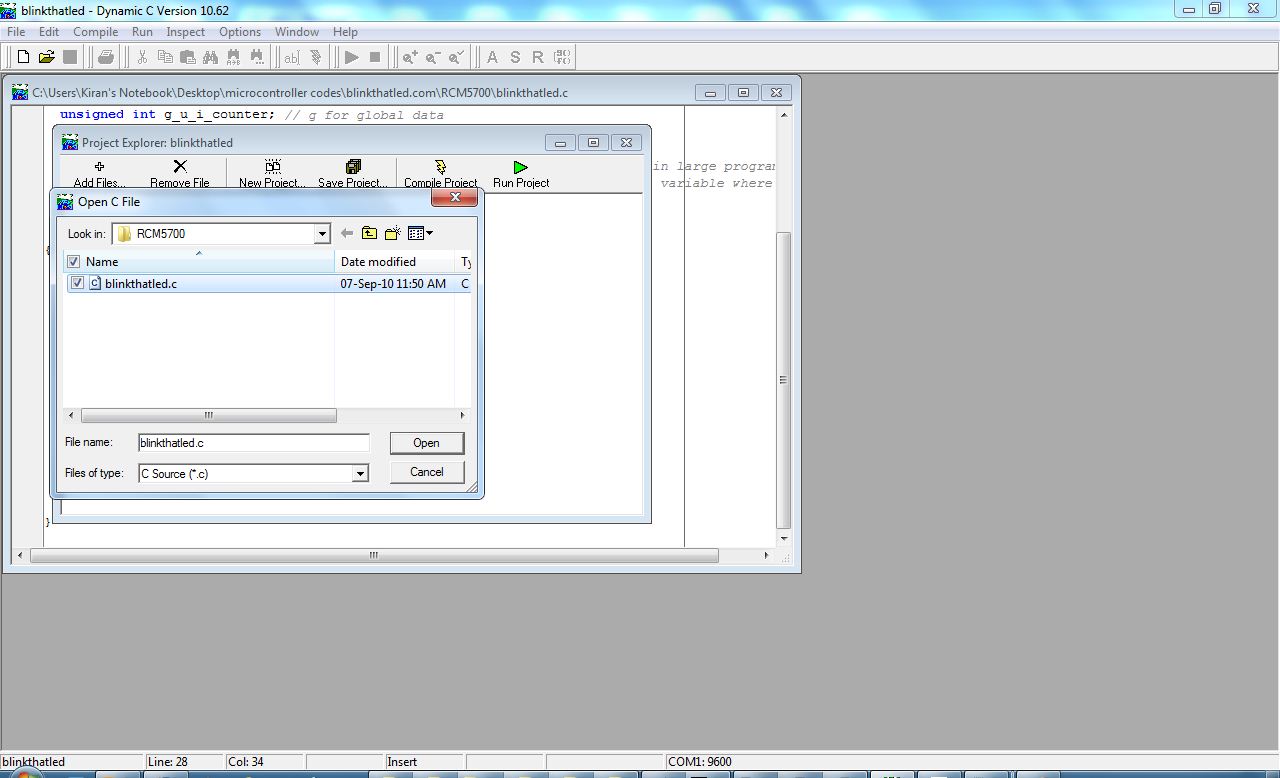
Click on Add File and select the source file:
Step 04 - Compile & Target Programming
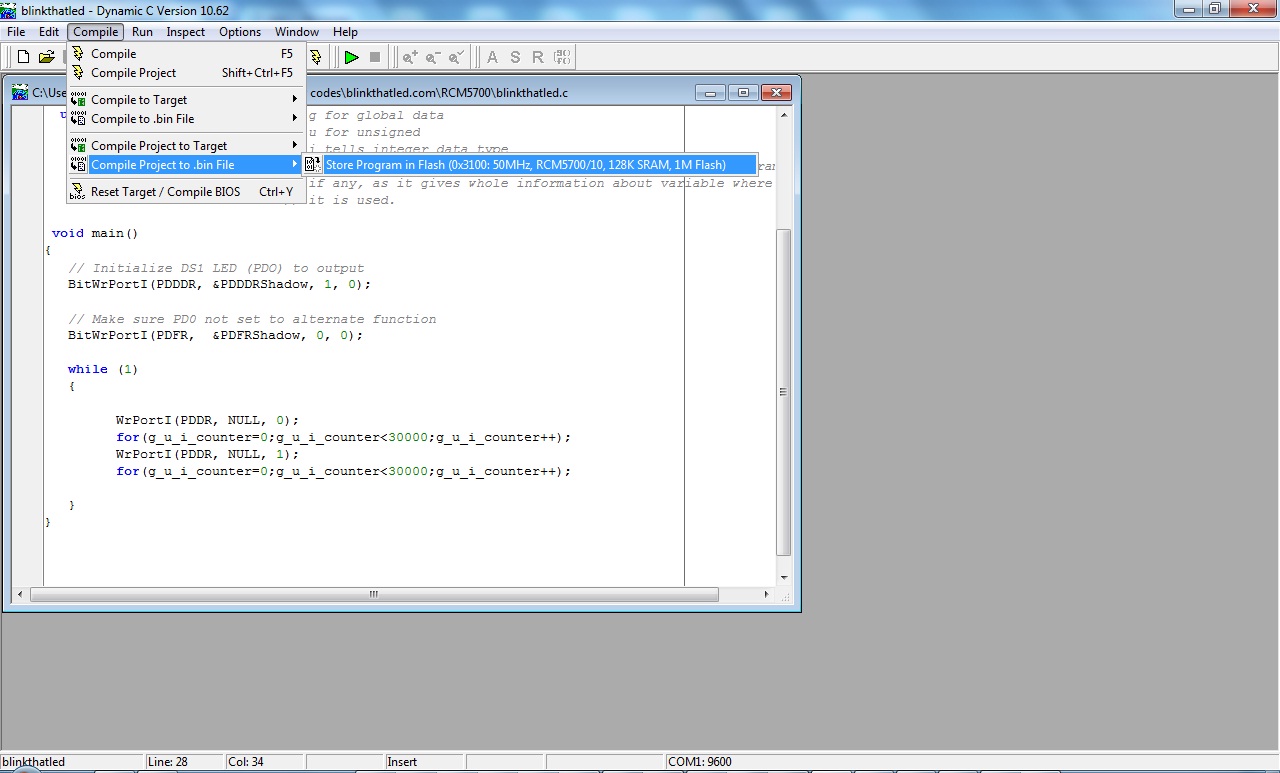
Now it time to compile the project. For compilation click on Compile menu and click on Compile Project to .Bin file->Store program in Flash:
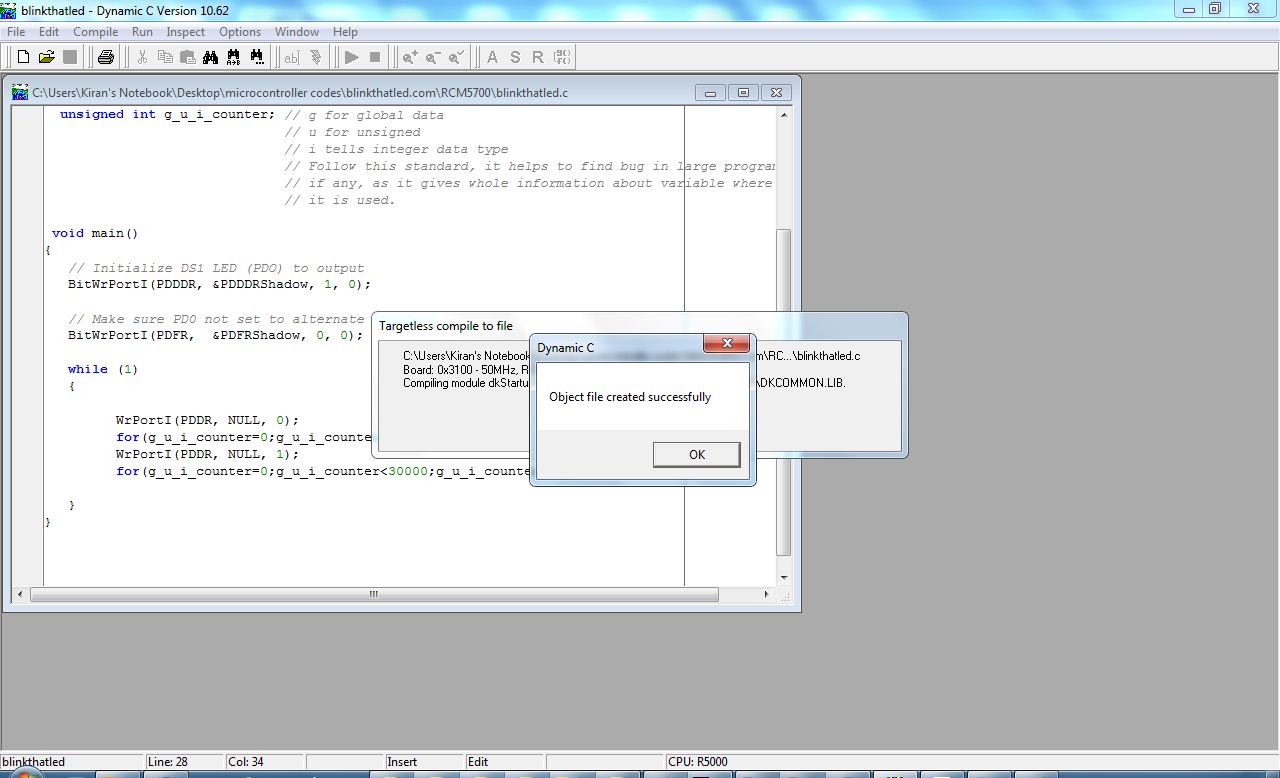
Compilation is Successful without any error:
To check the functionality of the program we need to run the code on the target board. Connect the target board to USB Port of PC. During the installation of Dynamic C drivers are installed. But if you find any difficulty about installation of drivers, they can be found in the directory of installation (for eg. "C:\DCRABBIT_10.62\Drivers\Rabbit USB Programming Cable\Windows").
It may happen that during installation of hardware windows may assign the COM Port number with higher number. In this case from Device Manager select COM Port and in Advanced Settings assign COM port number to 1.
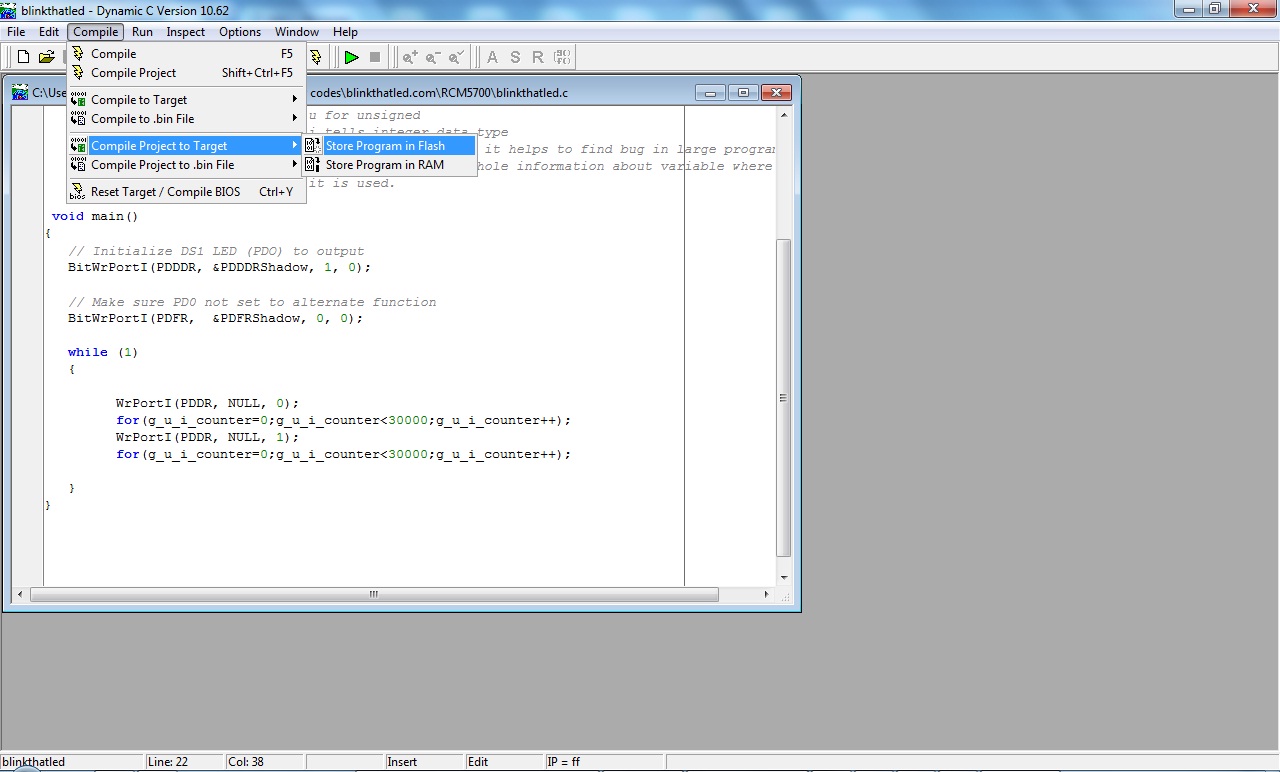
To program Click on Compile Menu->Compile project to Target->Store Program in Flash.
Connect Jumper near to LED and Switch namely DS1 vertically and press reset switch. Led will start blinking:
Attachments:
Page updated
Google Sites
Report abuse