Embedded Files
1. Have good reason.
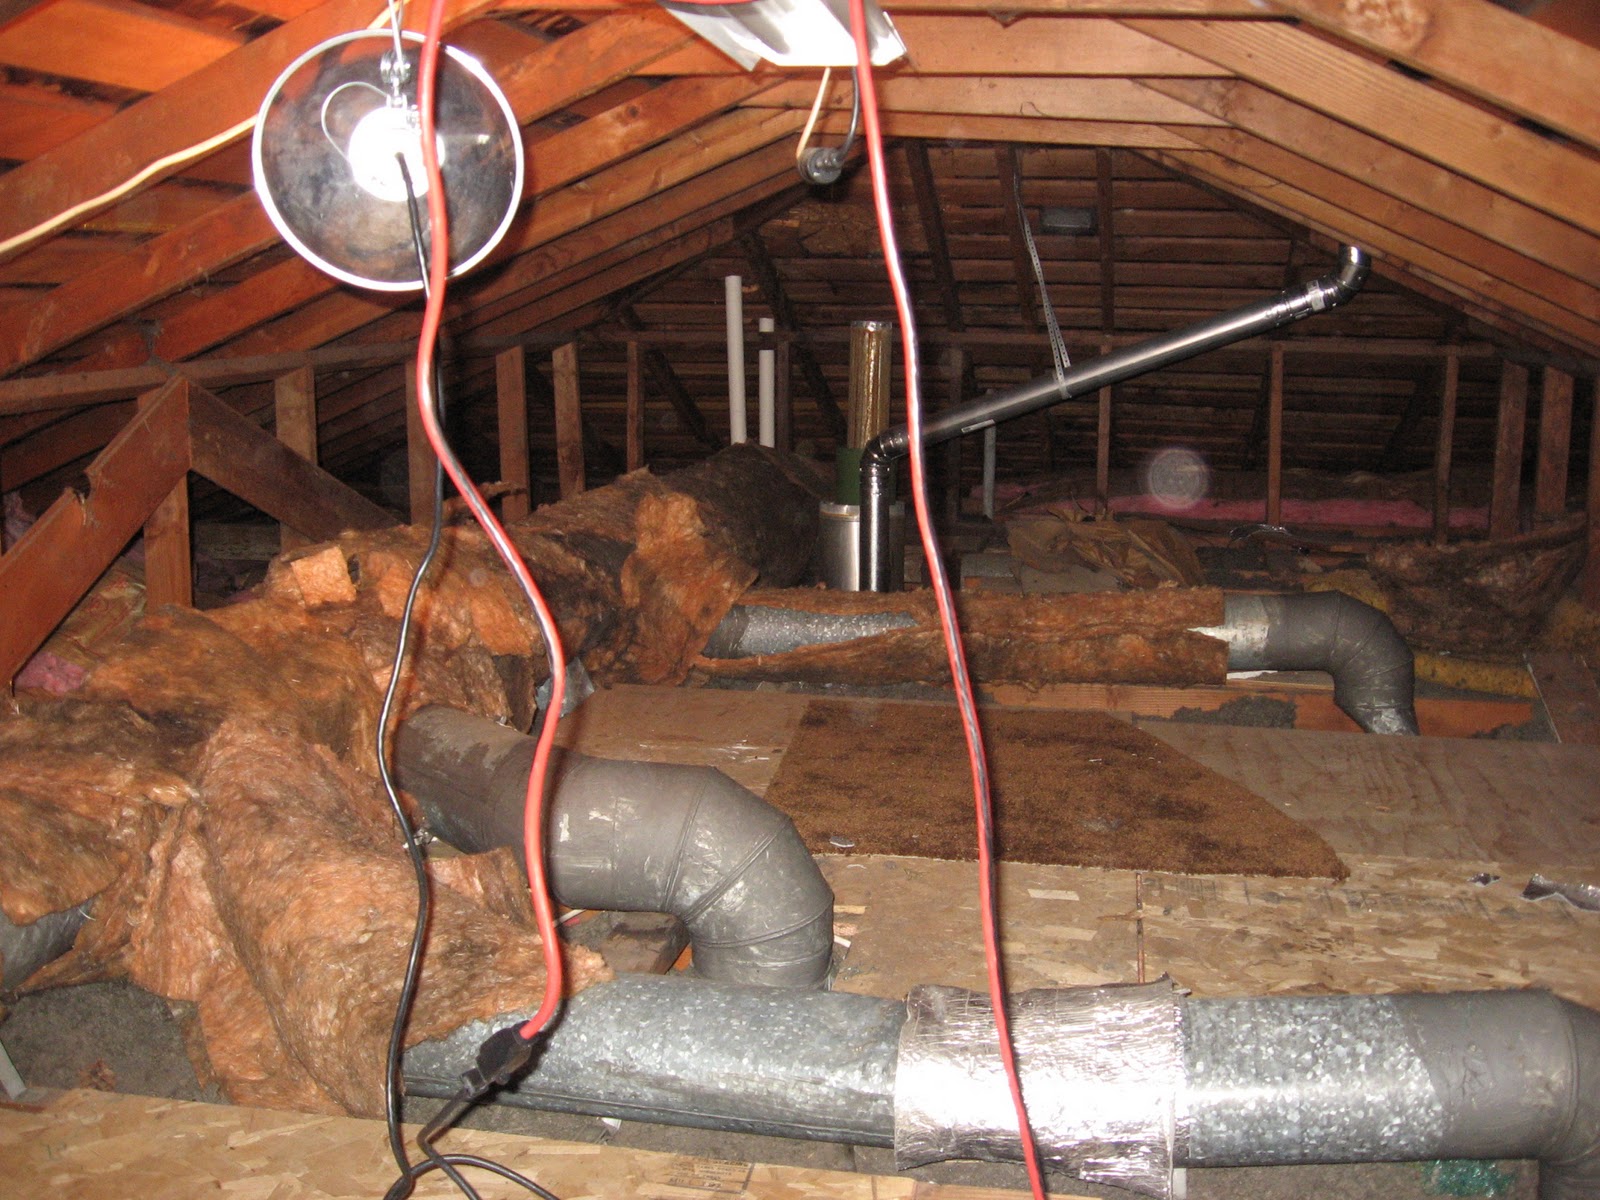
There was a lot of work ahead in this attic. I needed to safely climb into the attic many times. Not on the broken, crummy, "American" ladder, oriented in the wrong direction. A bad ladder can be worse than none.
When done, I had greatly increased the value of a home.
2. Plan on a modern floor 9 1/4" thick, attaining R38 all-around, even under decking. The ladder rough opening will be determined by constraints of found lumber. Here all-new 2x10 works.
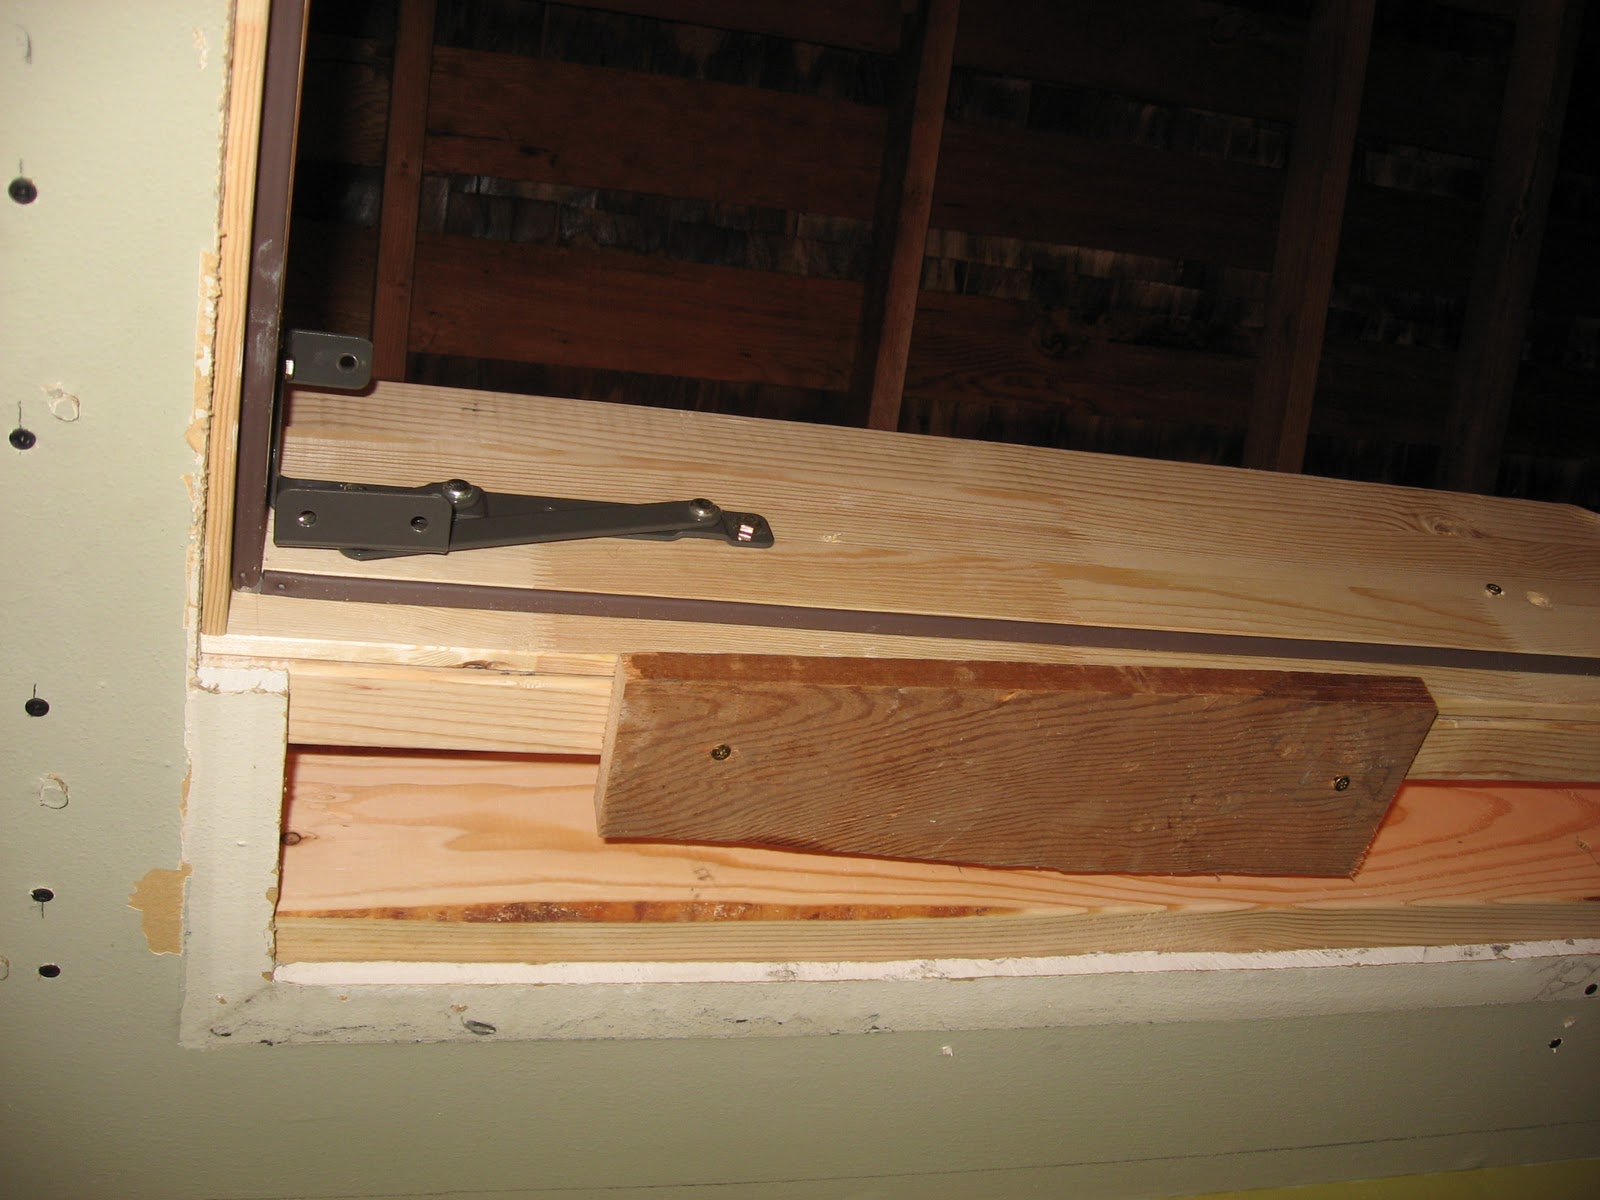
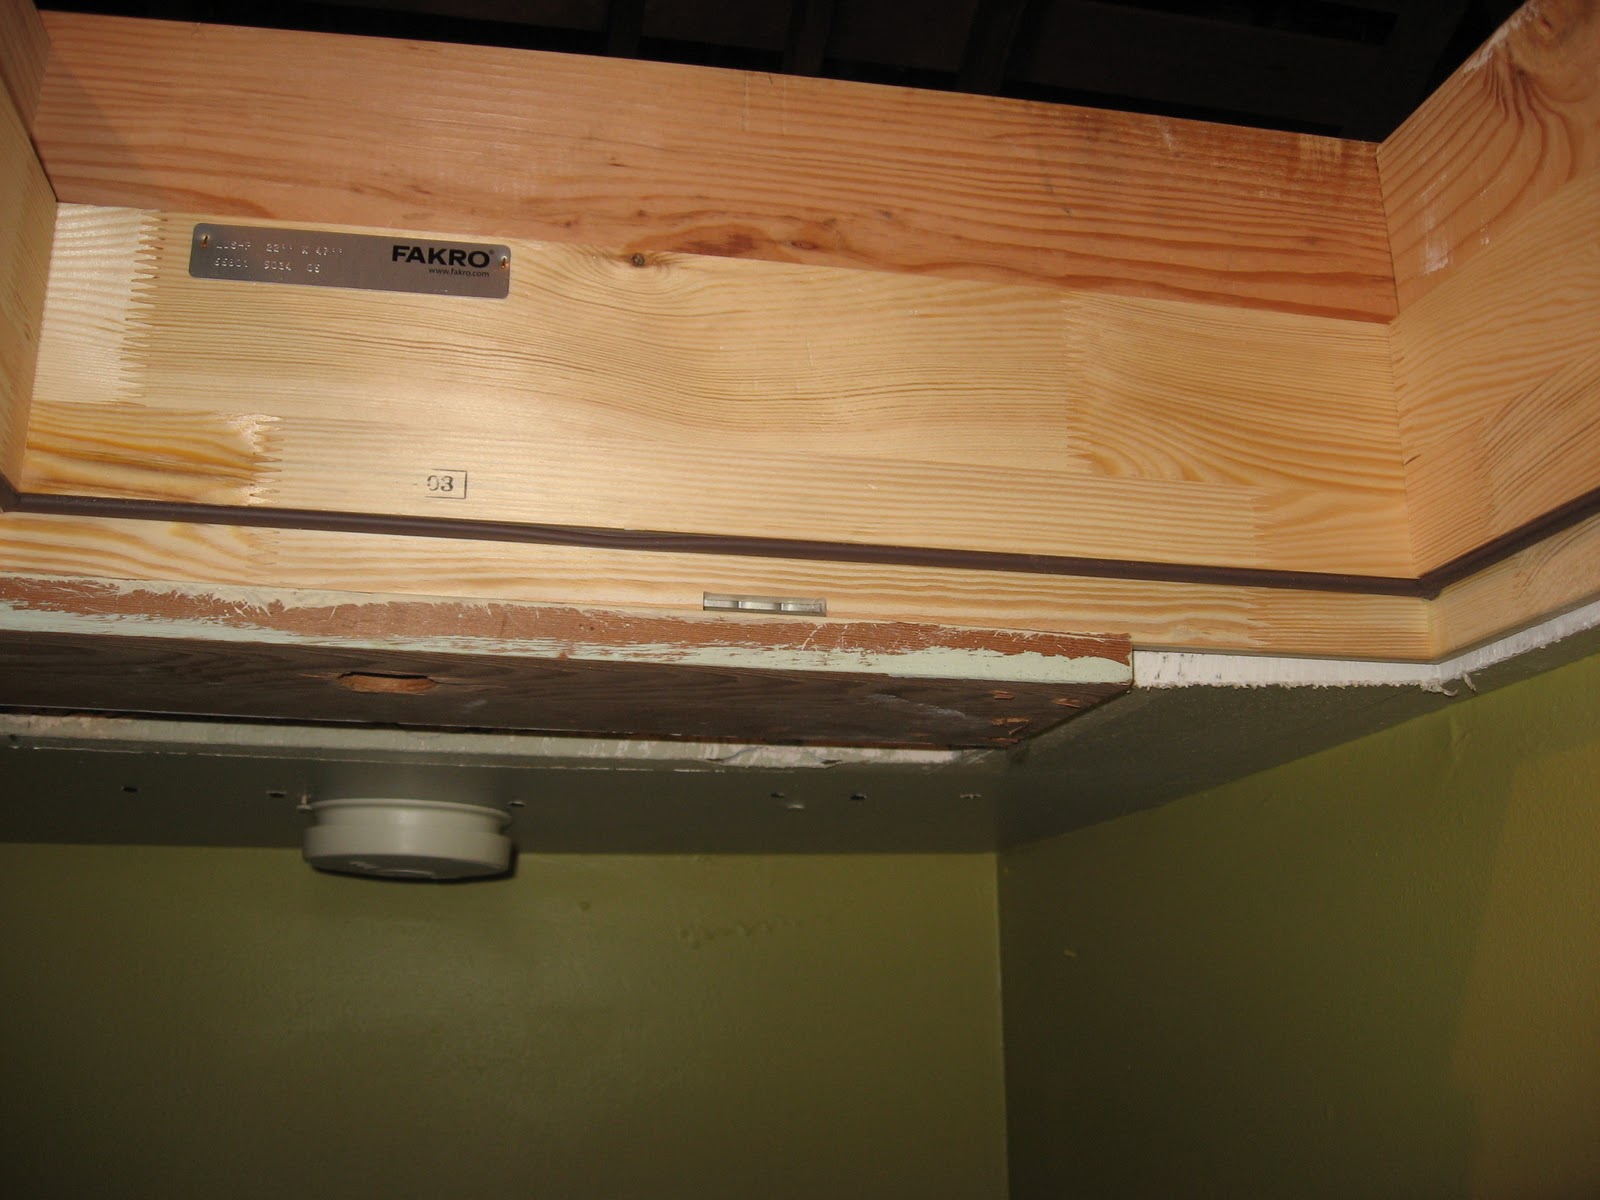
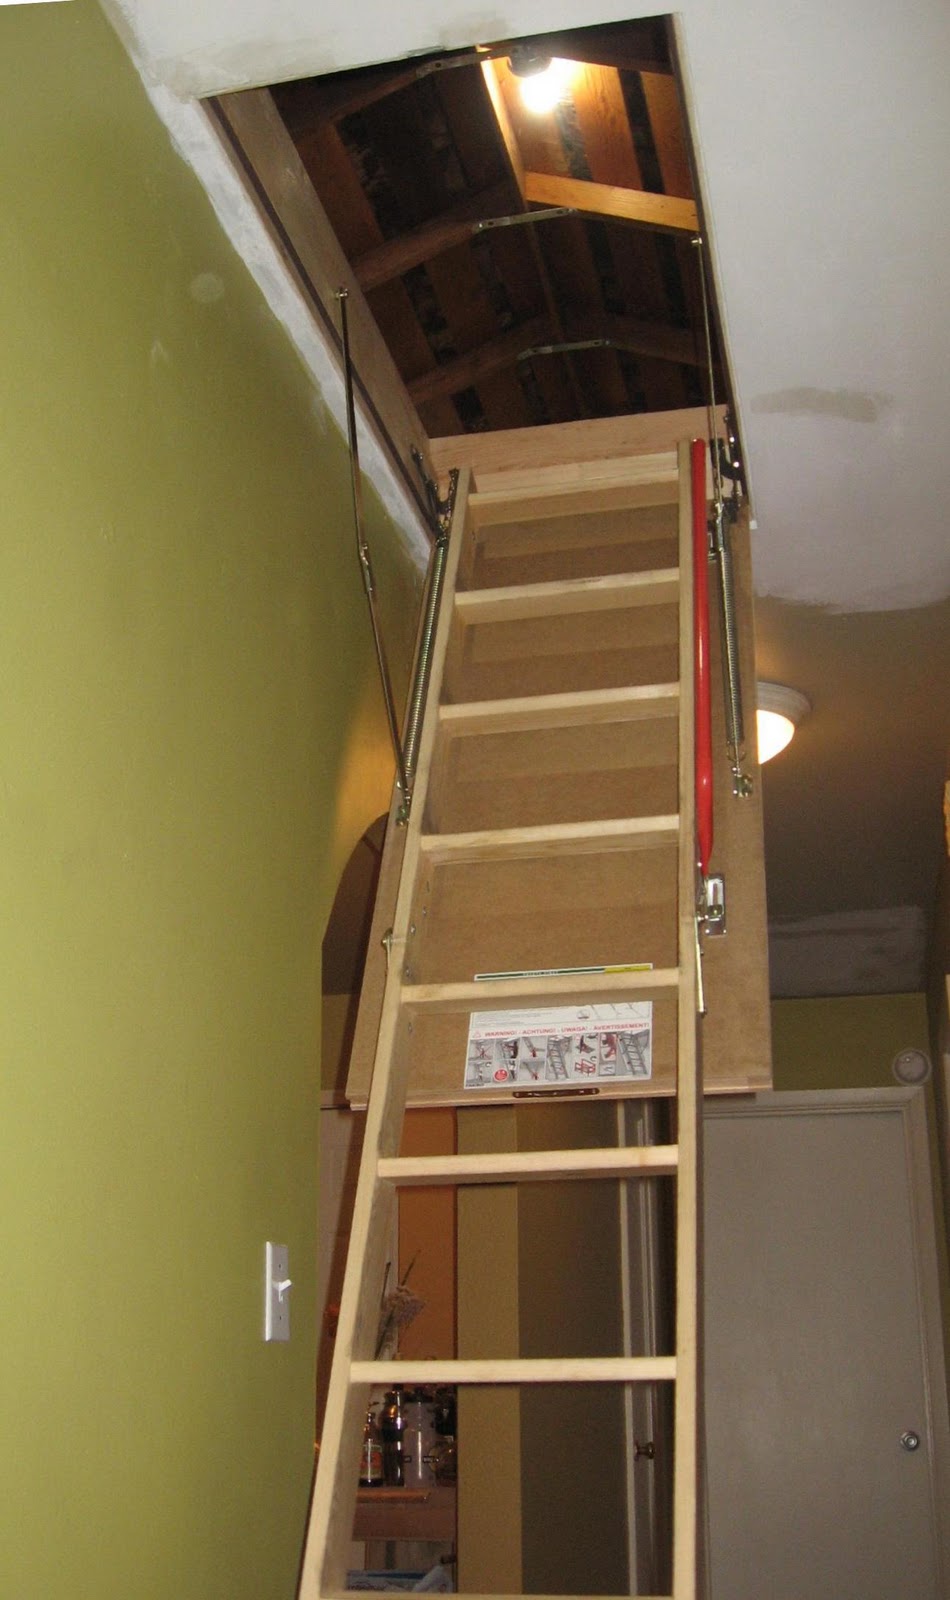
3. Install an intelligent European ladder. Maybe American ladder-sellers will improve products someday. For now they just dangerously mislead with products found readily in stores. This Fakro LWS-P 22/47 ladder is readily made safe for handling by the one person affordably employed at this stage.It is easy to first remove the ladder elements, then detach the door. The frame remains rigid for alignment in the rough opening, but I reserve freedom to adjust further when the door is in place.
The safety and efficiency in this process are defied in "American" ladders, where the door is not separable from the frame. There is no virtue in the old piano-hinge construction. Such hinges are leaky, and are flimsy, like all cheap-ladder hardware.
This ladder was customized before delivery to the job. One step, 25 cm, was taken out as half-steps above and below the lower hinge This trim, rather than at the bottom, gives easier deployment. Customizing is an option only for a trained, experienced installer.
With this amount of hardware removal, the ladder frame and door are separable. I will trial-fit a ladder, and then take the door down again, to do plaster repairs and edge detailing with flexible grout.
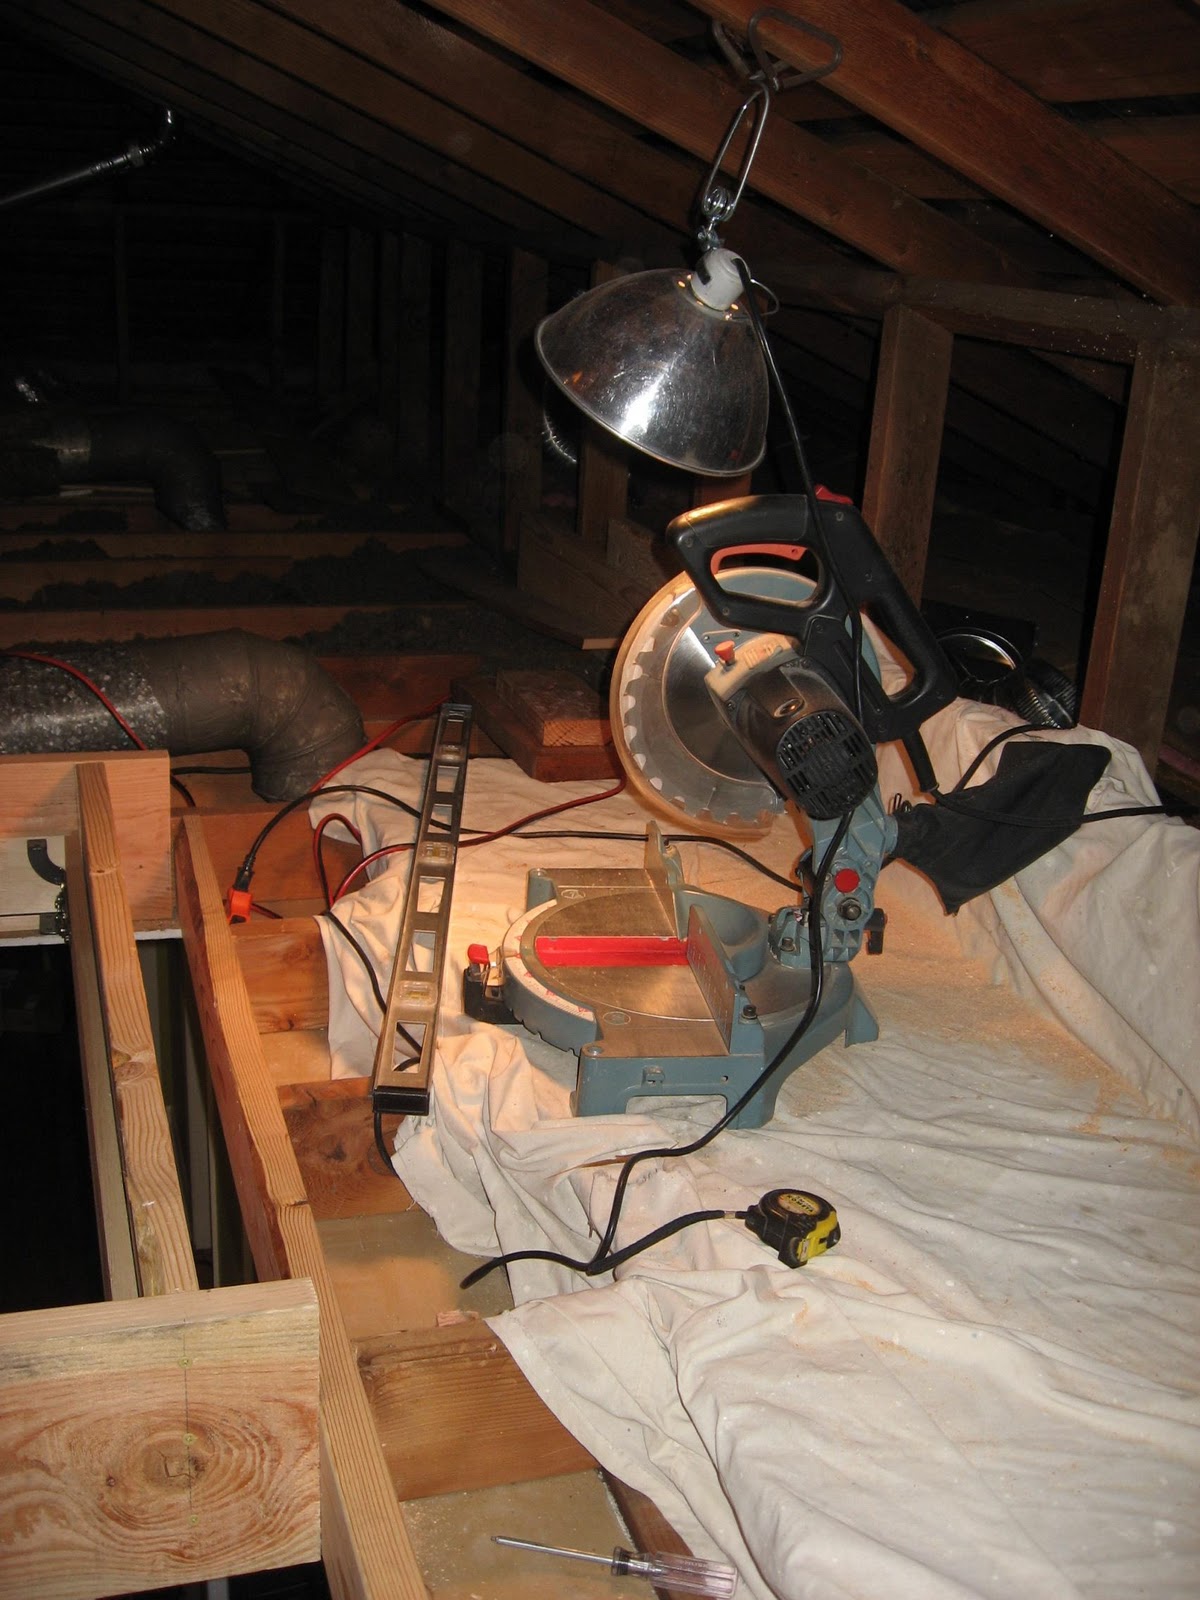
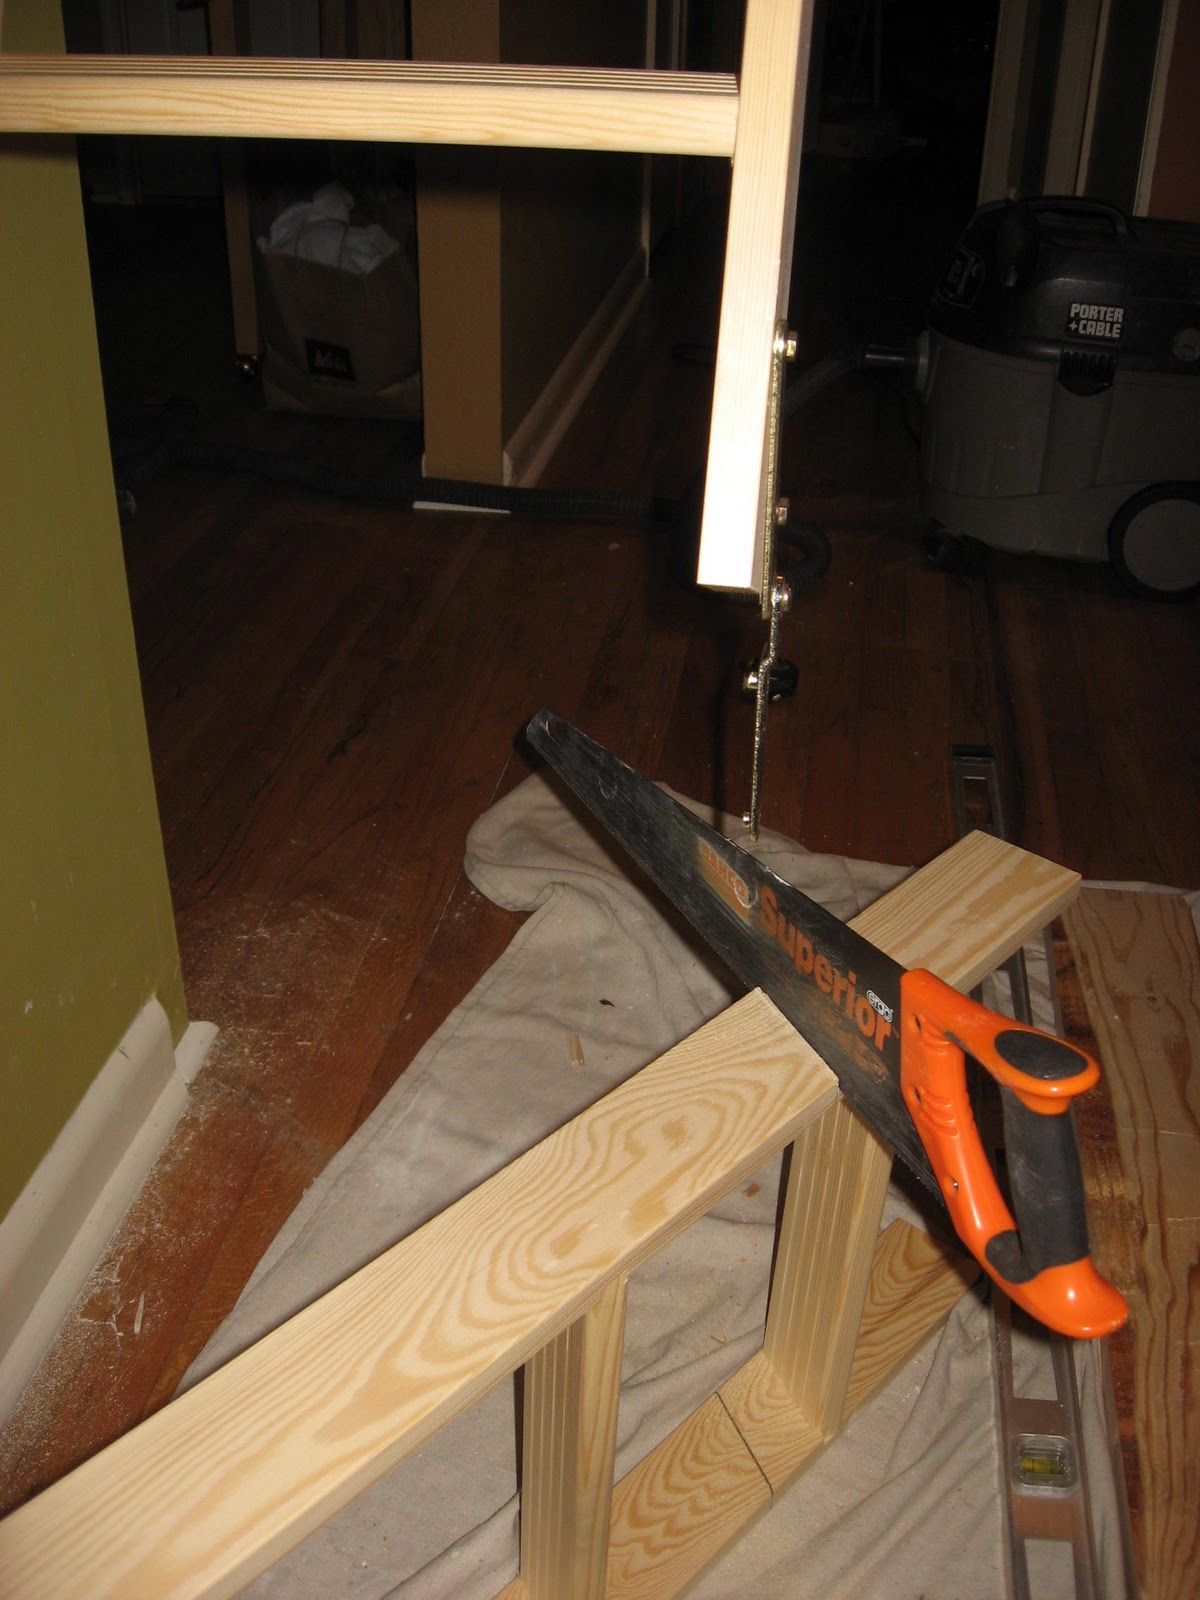
4. Do your cuts in the attic, if you can.
5. Make plaster or drywall cuts, guided by the refined rough-opening frame.
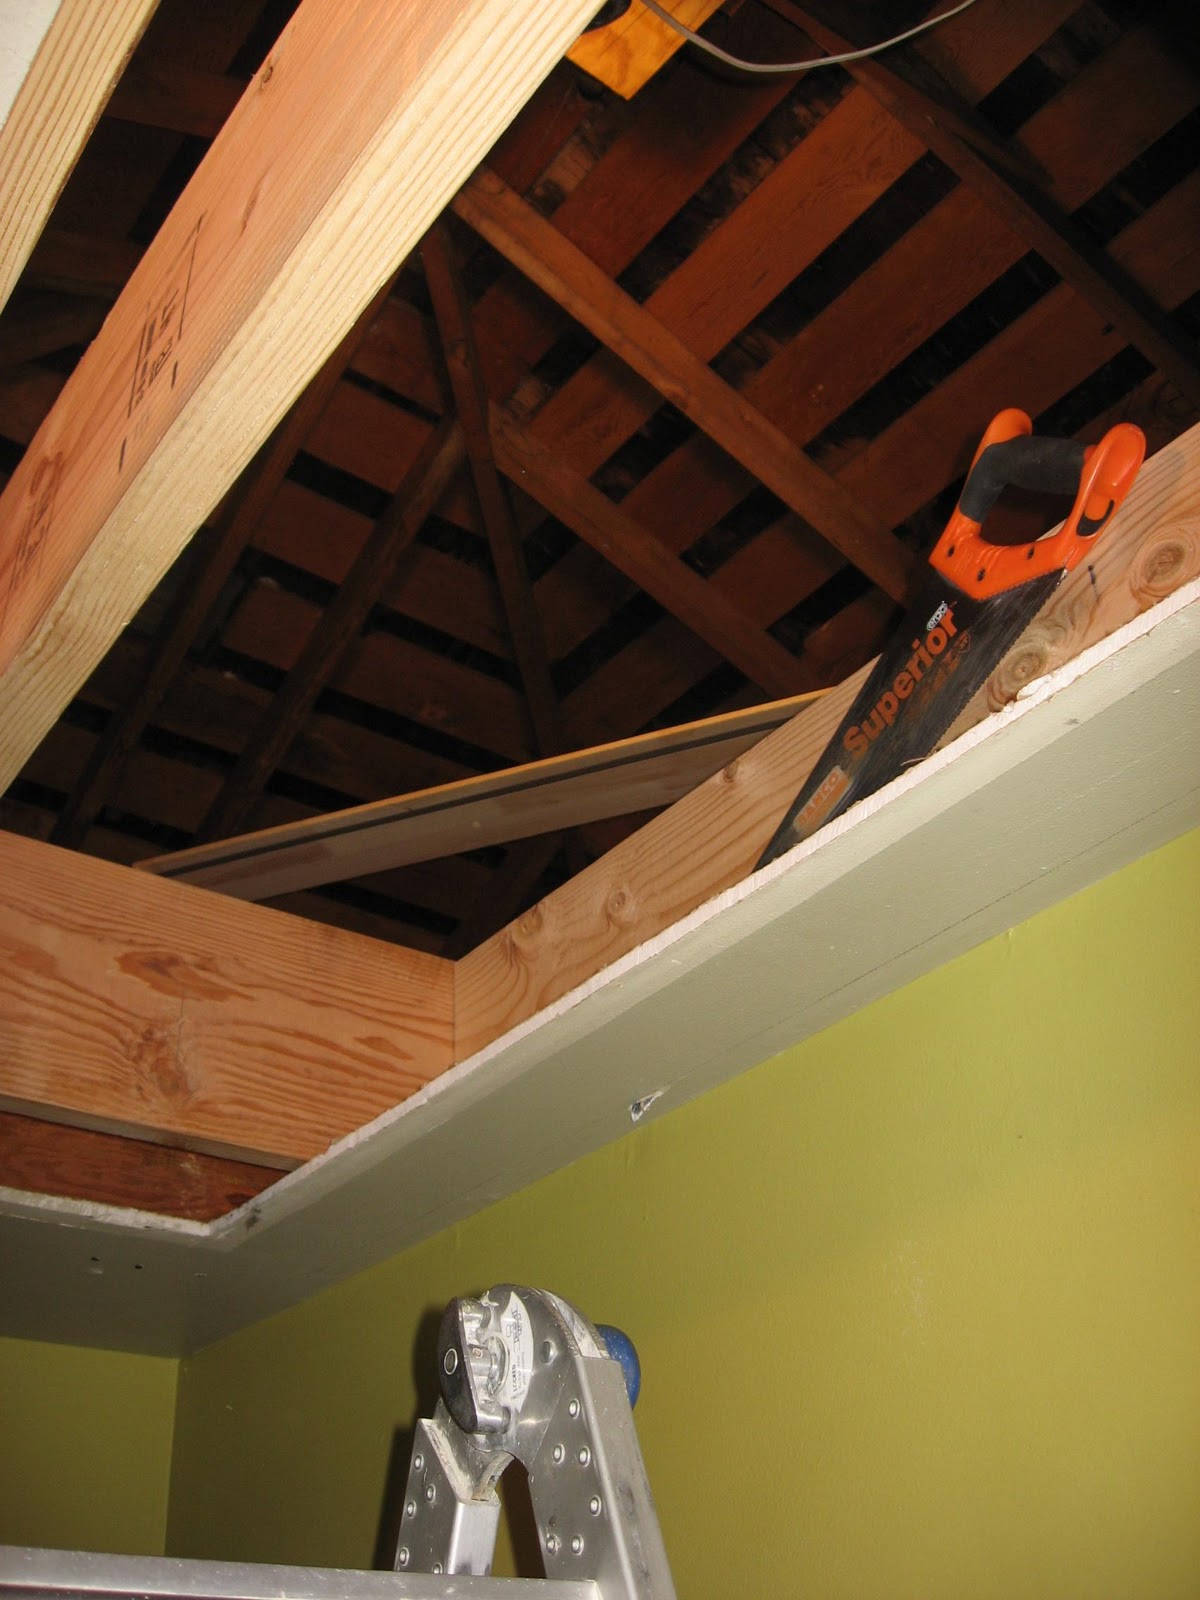
6. Set the ladder frame nominally in line with the top surface of drywall. For this Fakro ladder, the door face will then be about 1/8" recessed vs. ceiling. With a thicker, plaster ceiling, the ladder frame might be set below the joists underside.
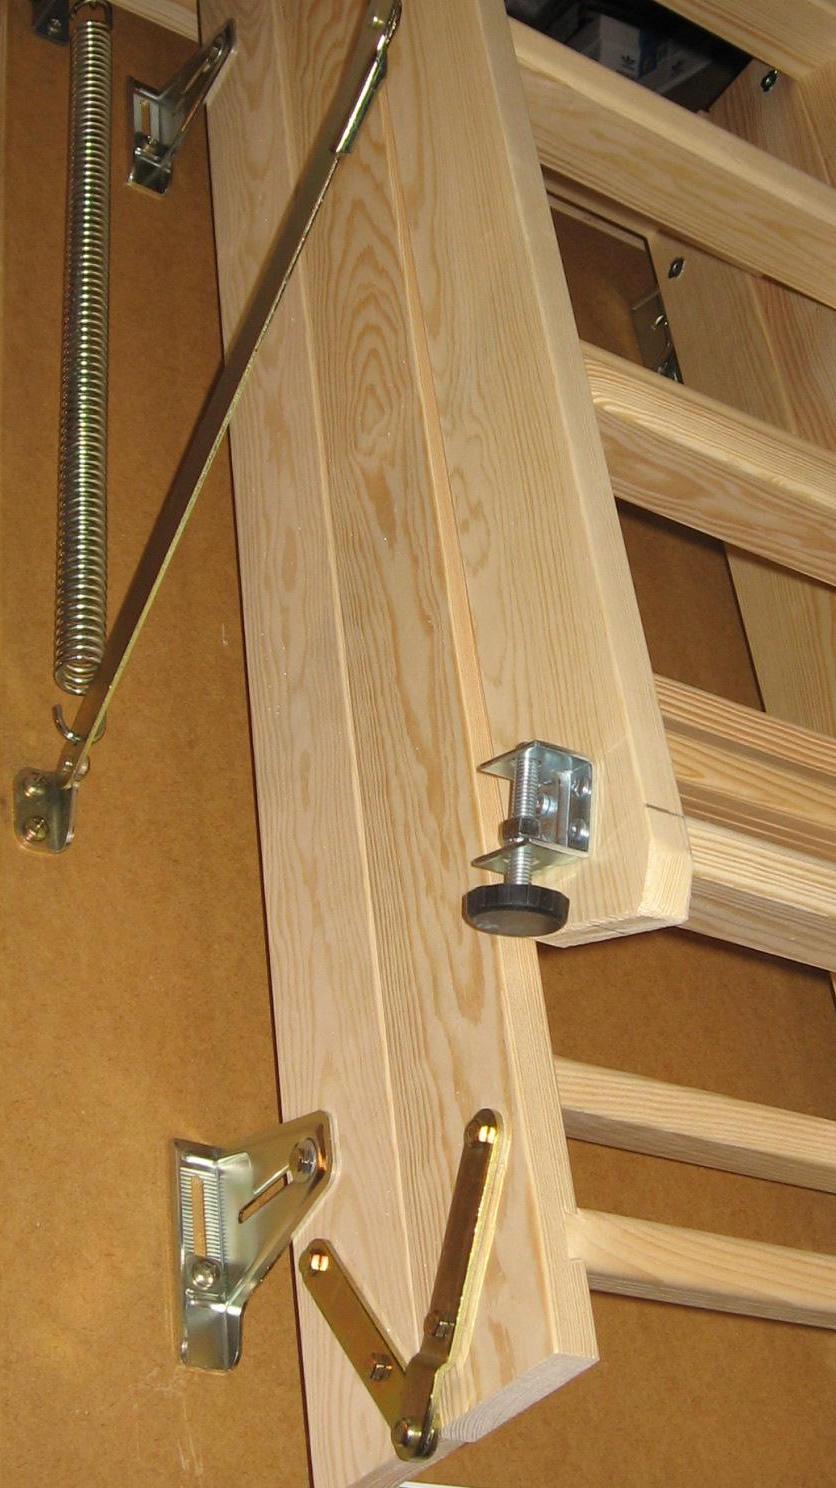
7. I'll explain the measurement and marking later. Here, let's get on with the cutting. I love the easy cutting with a Bahco 22" hand saw. Detach from hinges for an easier job, especially where one leg crowds a wall. Install leveler legs also, while the bottom section is detached. Leveler legs are necessary for protection of a wood floor, even where legs are accurately cut, and the bottom is smooth. Note here, unique useful features of Fakro ladders. The ladder assembly mounting brackets has a 1 3/4" adjustment range, which may be enough to compensate for unlucky proximity of the bottom step, to the floor. As shown, mount the ladder assembly as high as possible when trimming, to guard that range option. The mounting brackets are slotted perpendicular to the door face, to allow reduced shipping volume. Be sure to cut and install, with sections out from the door, for toe clearance that is very important to safety.
8. Working from the fully-assembled ladder, patch the surrounding ceiling. Note a typical adjustment here, retaining a 22" ladder frame width. I have moved the opening off-center, so you can get around the ladder. The ladder direction is rotated 180 degrees from the obvious bigger-hallway walk-up, so egress in the attic is to maximum headroom. The crummy old ladders always have 54" frame length. There is no sacrifice of carrying capacity in the opening, with shorter 47" frame length.
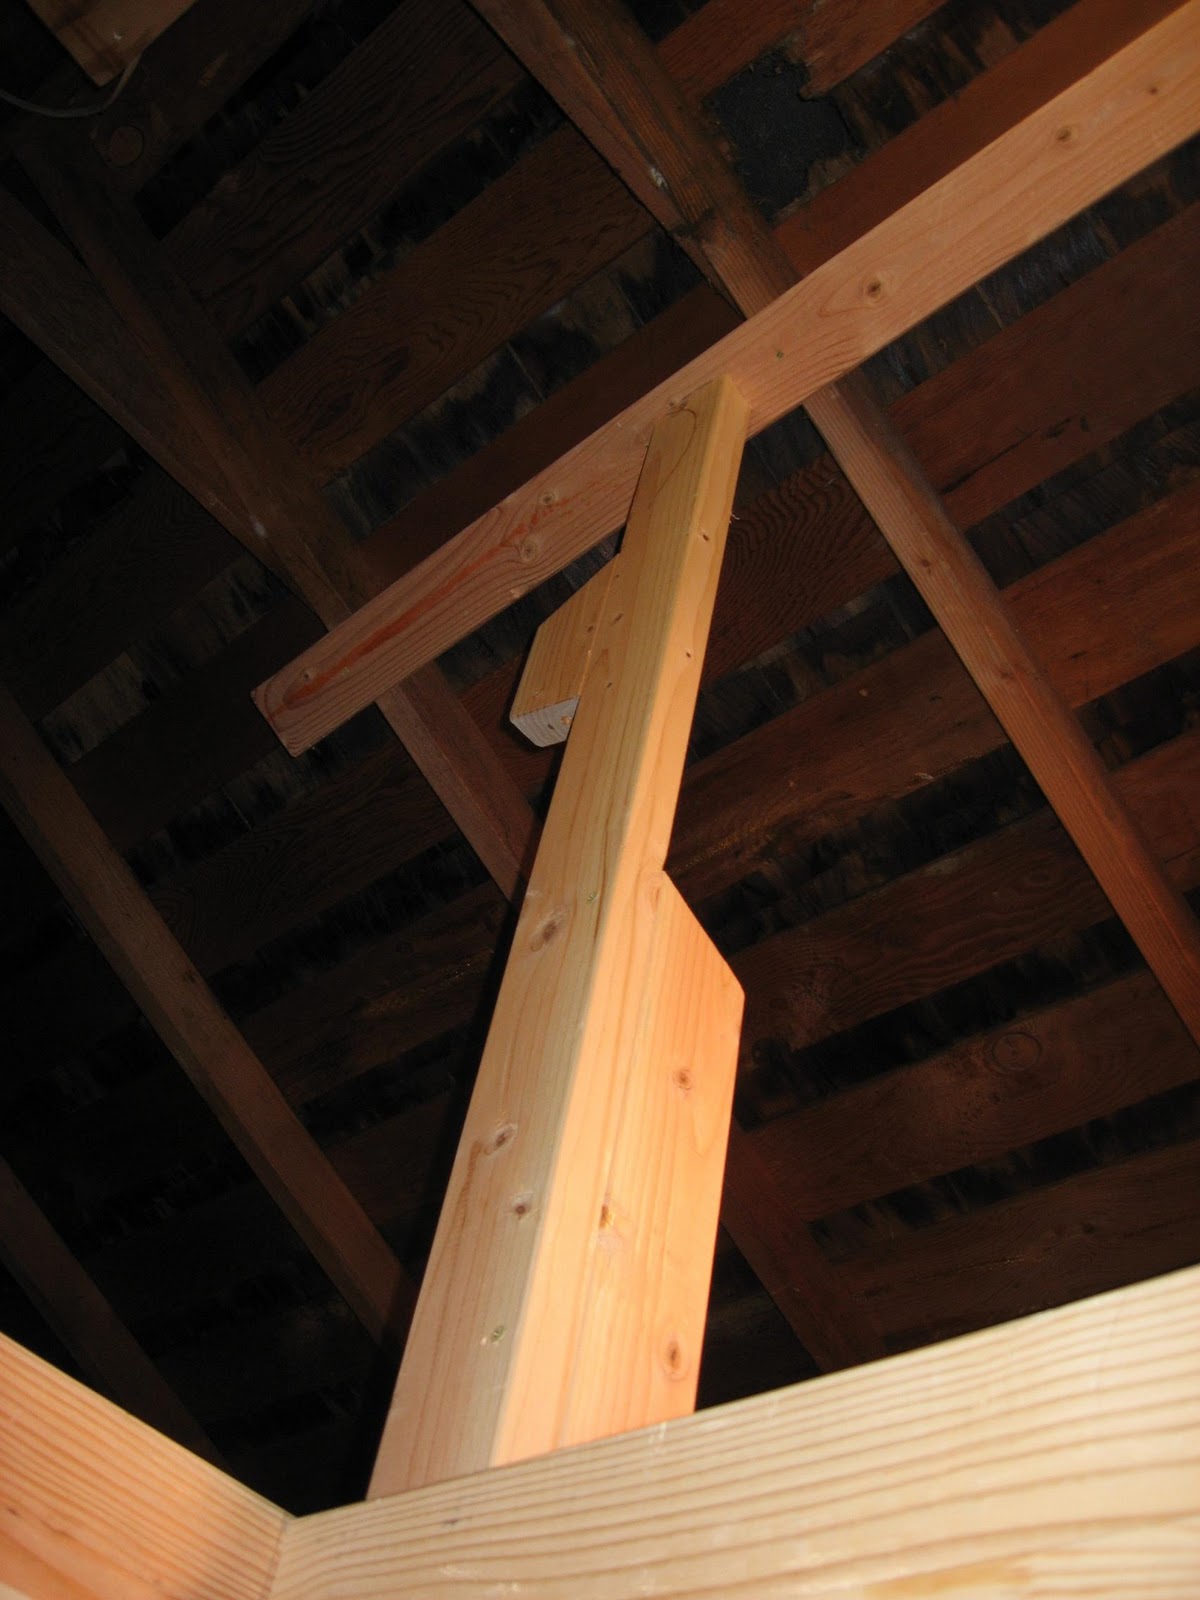
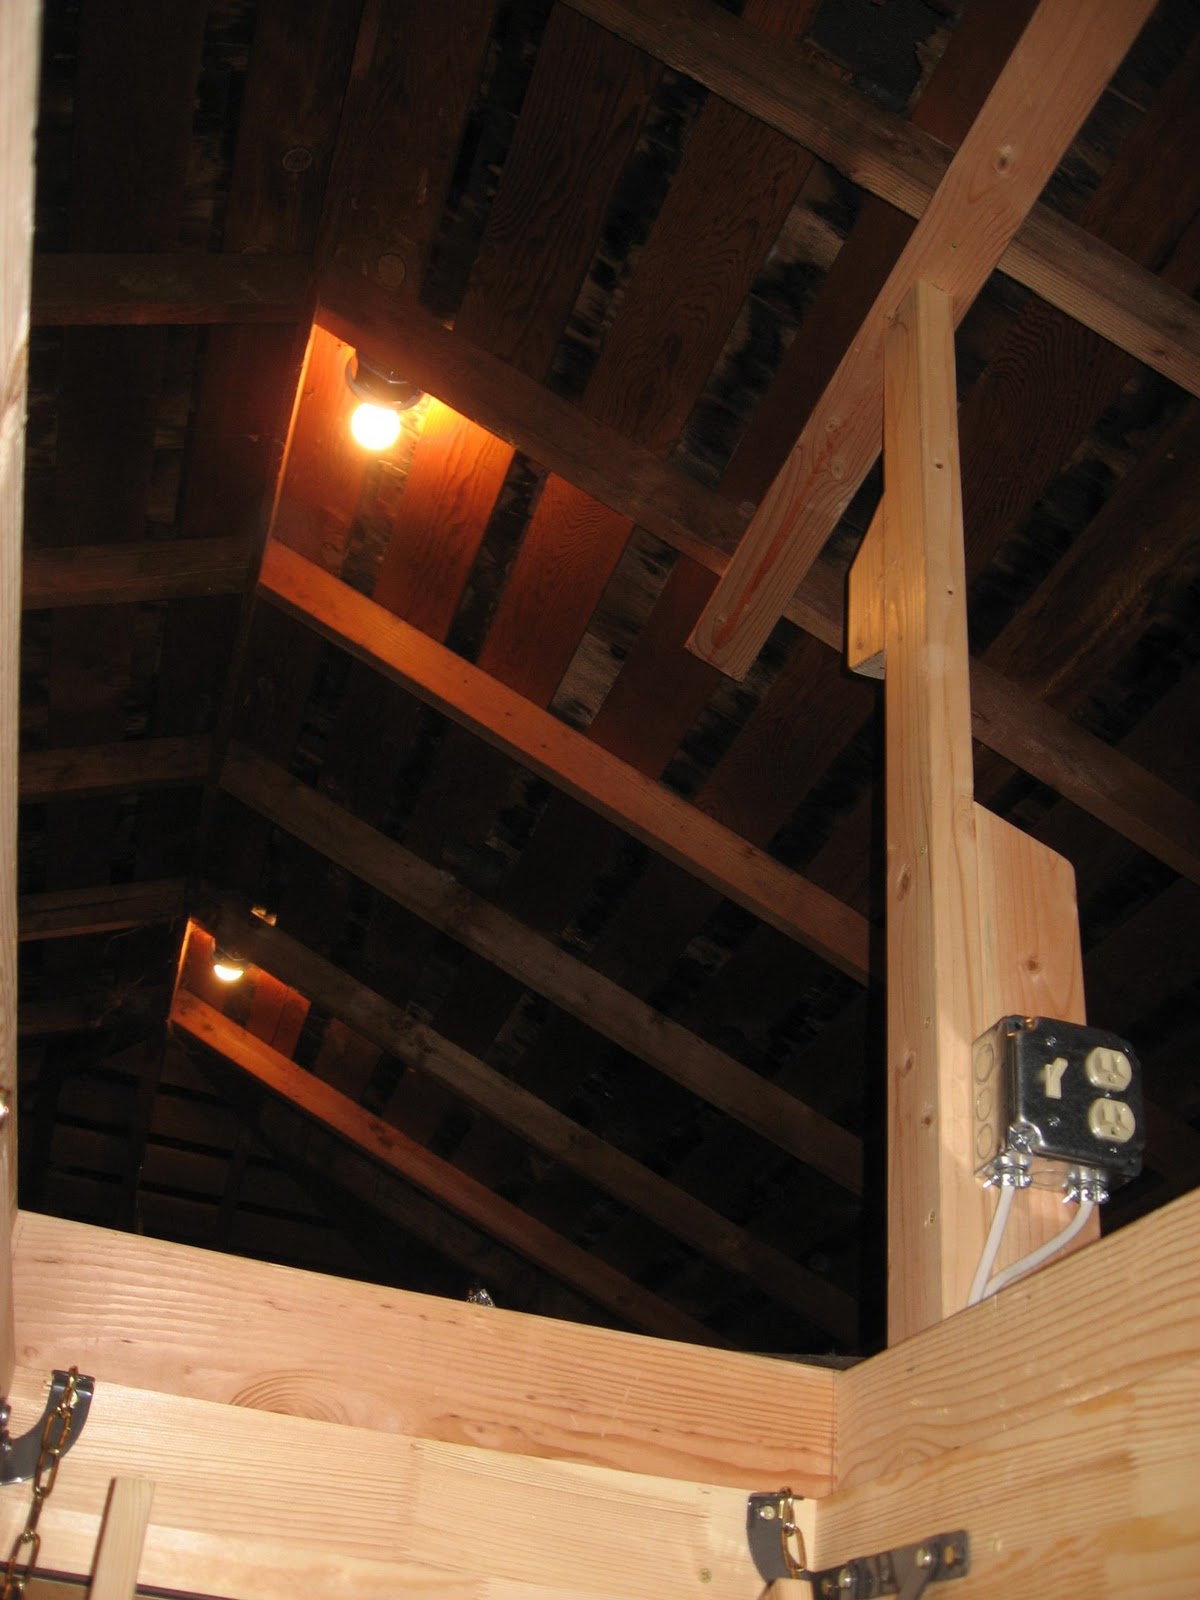
9. Install a bridge from floor to roof joists as a safety grab, and as a support for at-hand lighting control.
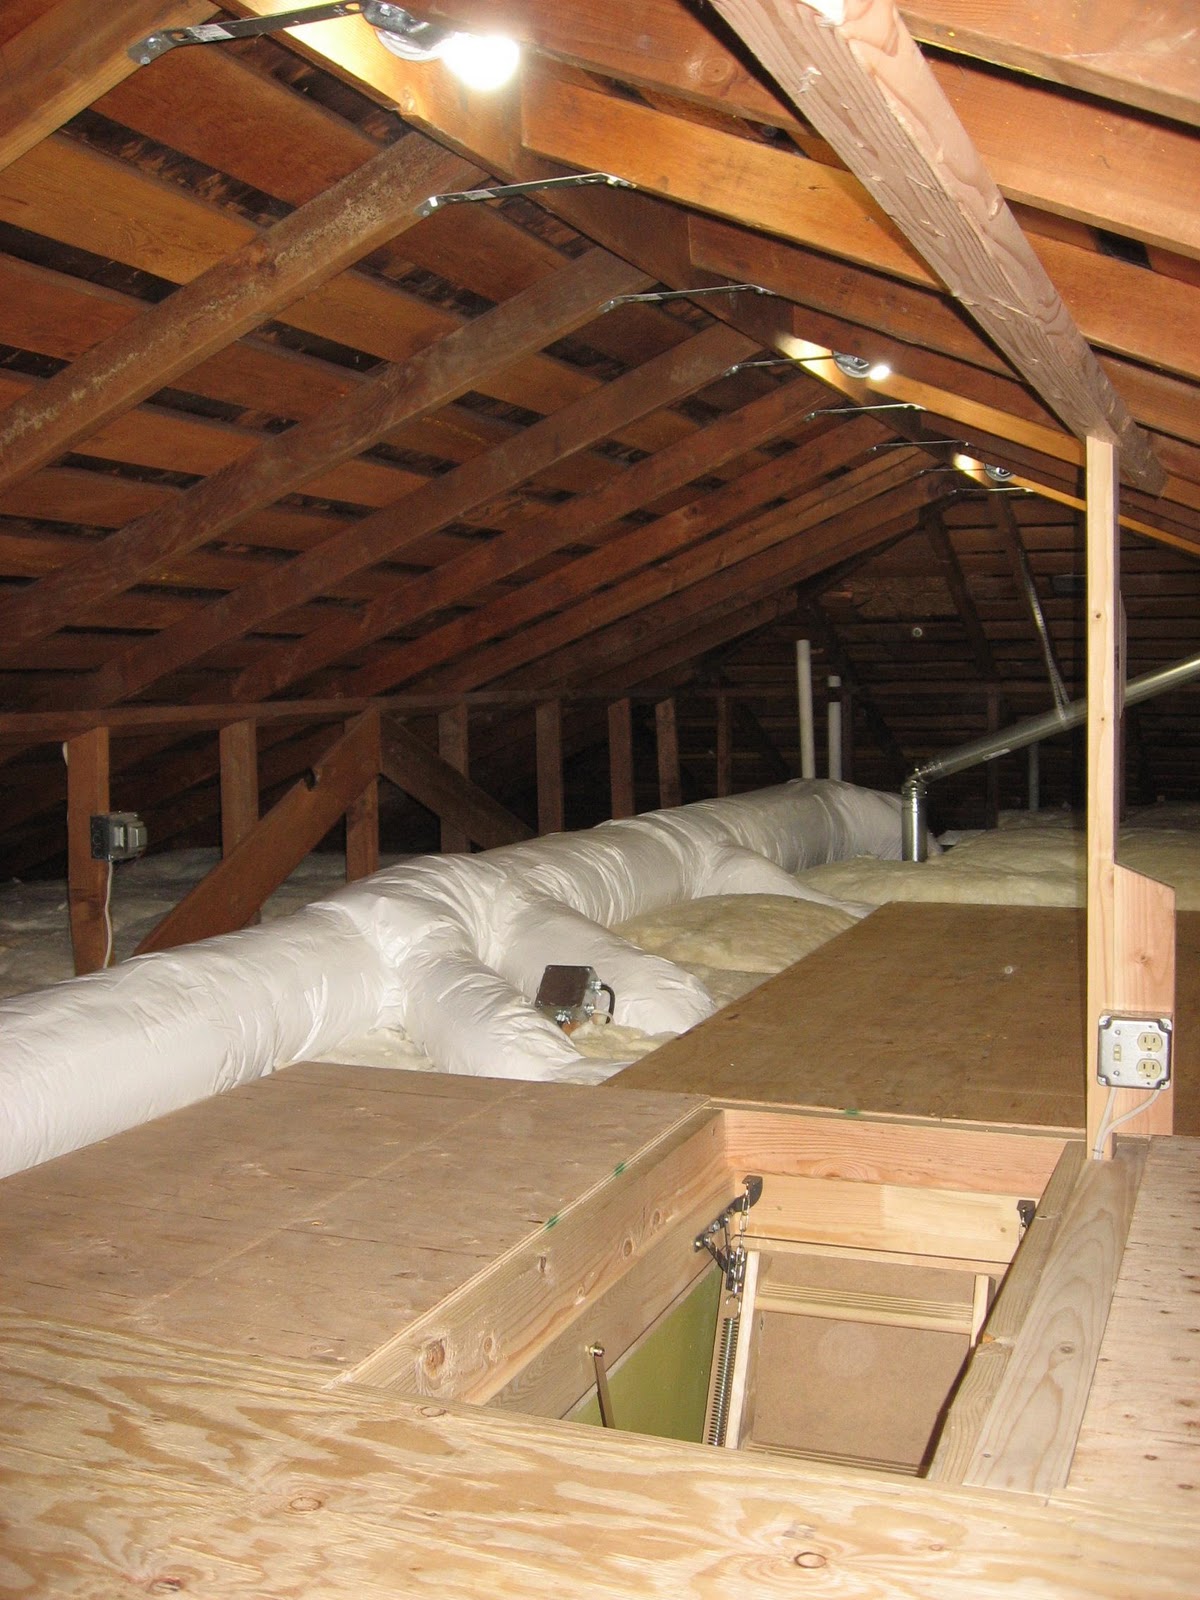
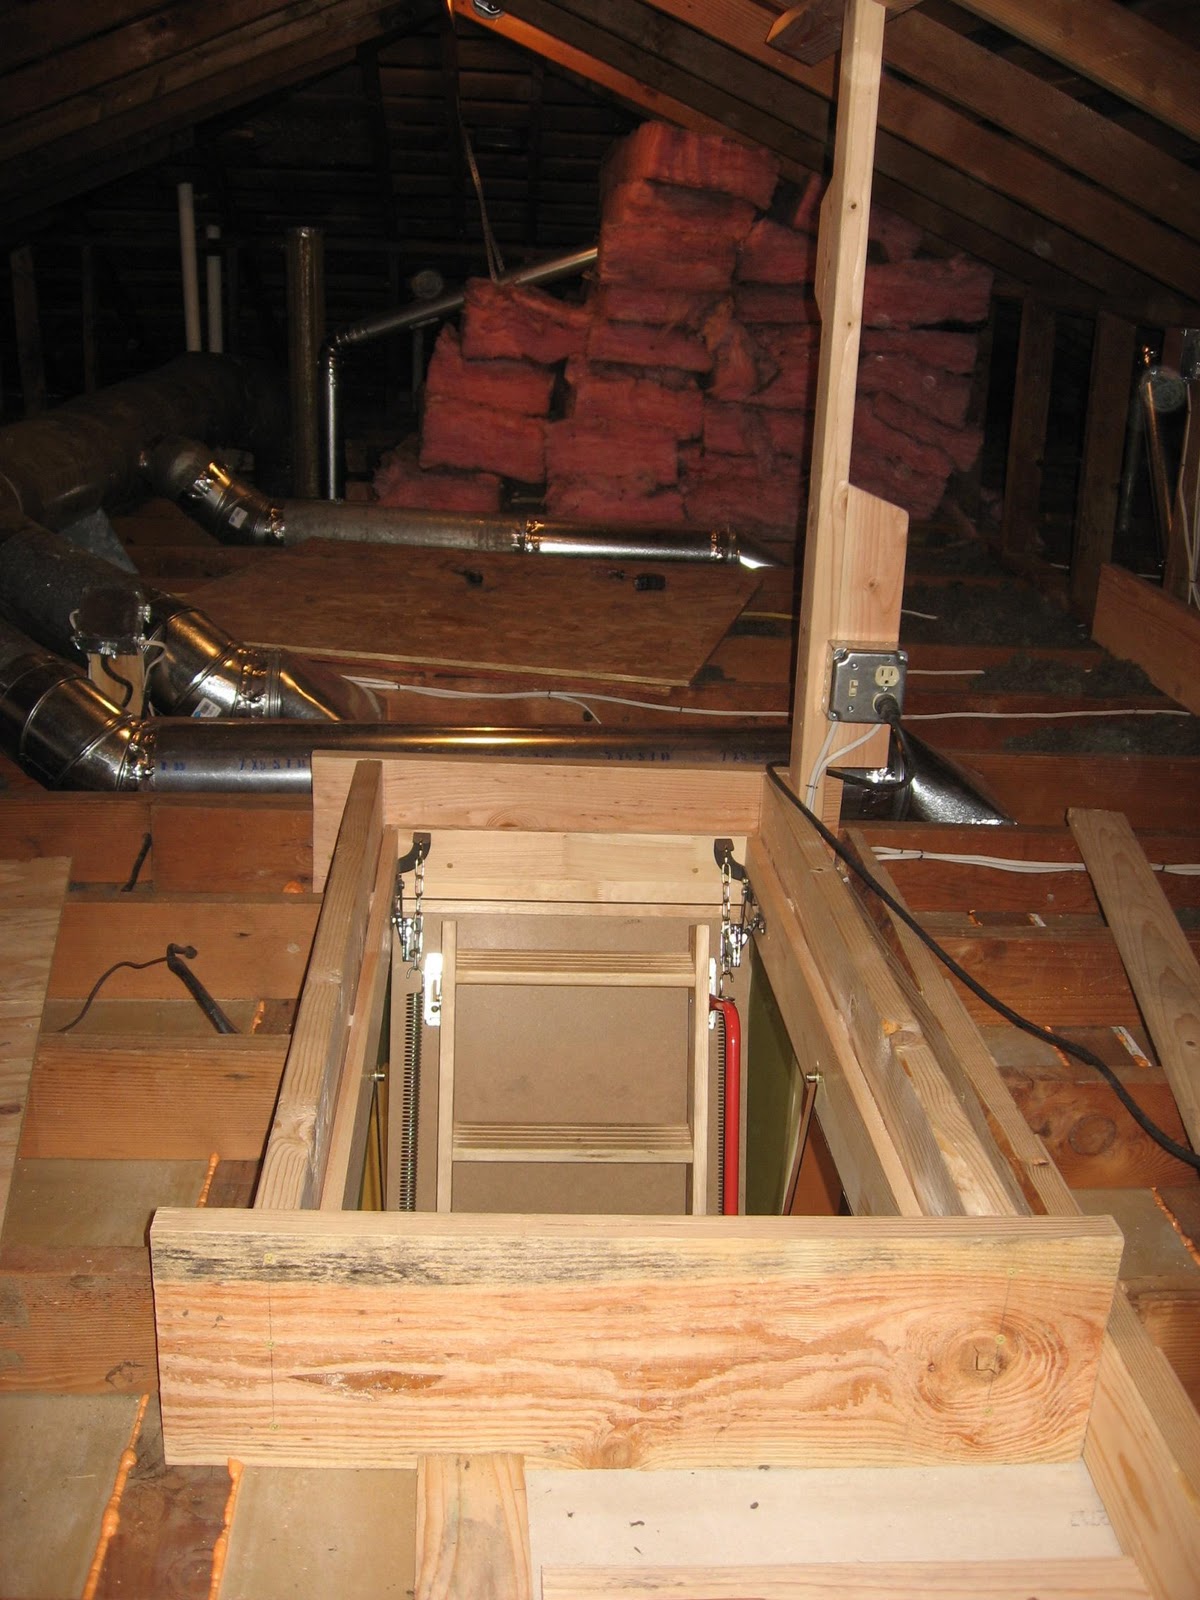
10. Build secure decking, tied to the frame of the attic ladder. Some minimum of decking along the path of momentum to and from the ladder is necessary for safety. Joist insulation must be completed at this point. The job of assembling deck frames gets easier, as deck area grows.


Google Sites
Report abuse