Embedded Files

Snowflakes
How can I make a snowflake that looks like the real ones?
How can I make a snowflake that looks like the real ones?

Lesson Notes For Teachers:
This lesson can be as long or as brief as you choose. Additional notes at very bottom of page.Science: how snowflakes form in the atmosphere (weather), volume of snow versus water, measurement and data collection, Claim/Evidence/Reasoning
Technology: microscope viewing of snowflakes (virtually)
Engineering: design iteration process, teamwork if done collaboratively, extension to design and build snow forts in teams
Art: design and make your own snowflakes. Hang on windows, string to make garland, hang from ceiling. (These decorate our classroom all winter!)
Math: symmetry in natural world, 6 points NOT 8 points, fractions when folding correctly, measurement and data collection, can use a protractor to design snowflake
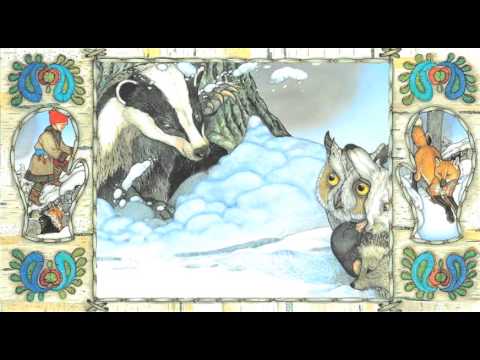
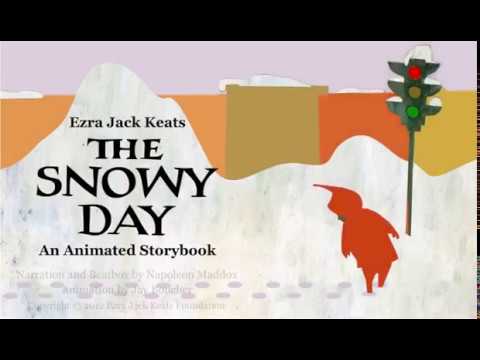
Reading: multicultural literature read alouds
Writing: Make thank you cards and glue the snowflakes on the cover. (Kids take these home to send to family members after the holidays. We make templates and leave space for what the gift is.) Friendly letter writing, cursive.
Plus Mindfulness meditation.
Science of Snowflakes
Science of Snowflakes

"Just like fingerprints, no two snowflakes are alike...but do you know why? Join Tim and Moby in this BrainPOP movie as they explore the science behind these miniature ice sculptures. First, you’ll see the conditions needed inside a cloud for snowflakes to form. You’ll also learn how the microscopic order of ice molecules translates into snowflakes’ unique patterns! Discover why the flakes in one snowfall may have simple shapes, while those in another have more dramatic structures. Plus, find out why the difference in flake structure is linked to humidity and temperature. Follow a snowflake on its unique journey from a cloud to the ground — just make sure you dress warm!"
Easy Science Lab!
If there is snow outside where you are, take a clear plastic cup outside and fill it with snow. If you have a way to measure the snow, like a graduated cylinder or kitchen measuring cup or scale, measure it and record your data in your science notebook. Put the snow in your cup. Use a Sharpie to mark how high the snow is in the cup while you are outside. Draw a line and label it "snow."
Then bring your cup inside and you will let the snow melt into water. Record the time you bring your snow inside.
Predict how high the water will be once the snow is completely melted. Draw a line where you think the water level will be and label it "Prediction."
Once the snow is fully melted, record the time in notebook. Draw a line on your cup and label it "water." If you have a way to measure the water, like a graduated cylinder or kitchen measuring cup or scale, measure it and record your data in your science notebook.
How does the volume and/or mass of snow compare to to the volume of water? Why do think this is? Draw pictures in your science notebook to show what you did today and your thinking. Include a claim, your evidence, and your reasoning.
Video
Math and Art of Snowflakes under microscopes
Math and Art of Snowflakes under microscopes
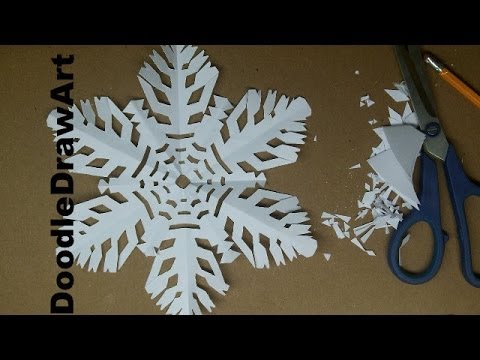
Try making your own snowflakes that are as beautiful, as symmetrical, and as detailed as nature makes!
Try making your own snowflakes that are as beautiful, as symmetrical, and as detailed as nature makes!

You can use
any piece of white paper cut into a square
OR
a circular white coffee filter.
(You can buy these on Amazon or find them in most stores.)
Other Materials:
Scissors
Pencil (optional)
Steps:
Fold your coffee filter in half so it looks like a taco shell.
MOST IMPORTANT STEP: Fold the taco into THREE equal parts! (Draw this step on the board.)
Cut now to make a 6 pointed snowflake OR fold your slice in half and cut to make a 12 pointed snowflake.
When you cut, experiment with cutting all sides of the slice: the center, the top edge, both long sides.
Some kids like to draw on their slice before they cut, some kids like to shape their slice just with scissors without drawing first.
The more snowflakes you make, the better they will turn out. You learn to refine your designs by making mistakes.
This video shows you how to use white paper.
Watch these while you make your snowflakes.
Have popcorn and hot cocoa. Have a cozy Snowfake Day!
Watch these while you make your snowflakes.
Have popcorn and hot cocoa. Have a cozy Snowfake Day!

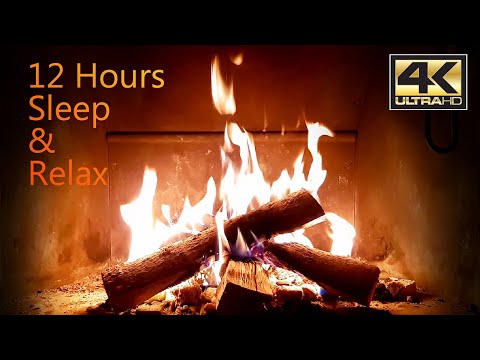
Mindfulness Mediation
Mindfulness Mediation
Lesson by Kim Davis
I have used this lesson for over 15 years with my 3rd/4th multi-age classes at a STEM magnet school. This is the lesson for the last day before December break, and this lesson takes up the entire day! The kids love it so much. I make them popcorn in my air popper, clementine oranges, and maybe hot cocoa/tea, depending on our allergies that year. I buy a ton of coffee filters and send them home with the kids for winter break fun. We decorate the classroom together in our creations. A lot of years, I loop this lesson to continue on the day we return from break for a smooth transition back.
Report abuse